
Creamy Dreamy Milkshake: Your Ultimate Guide to Bliss in a Glass
Hey there, fellow food lovers! Welcome back to my cozy kitchen, where today we’re about to embark on a sweet adventure that will take you right back to those carefree summer days when the sun kissed your skin and a thick, creamy milkshake was the ultimate treat. If you’re like me, you know that nothing beats the joy of sipping a chilled milkshake while lounging with friends or family (bonus points if you’re outdoors).
Milkshakes are the quintessential comfort food that span generations. Whether you’re feeling nostalgic about those trips to the local diner in your childhood or looking to recreate that magical moment at home, I’ve got you covered. With just a few simple ingredients, we’ll whip up a shake so delicious, you’ll wonder why you ever settled for anything bottled. Plus, I promise it’ll be a cinch—trust me, if I can make it with flour on one hand and a whisk in the other, you can totally do this!
Today, I will guide you step-by-step to make a classic milkshake with heaps of flavor and inspiration drawn from my fondest memories in the kitchen. So grab your favorite glass and let’s get ready to create a deliciously creamy milkshake that’s perfect any time of year!
Personal Story
Whenever I think of milkshakes, I’m transported back to my childhood summer vacations spent at Grandma’s house. The moment we arrived, there would be the unmistakable sound of her old blender whirring and the sweet aroma of vanilla wafting through the air. Grandma had a knack for creating creamy delights that brought everyone together, and the milkshakes were the highlight. Her secret? A little bit of love and a lot of laughter blended right in!
One particular memory stands out—I remember sitting on her porch with my cousins, big sun hats perched on our heads, giggling and making a mess as we tried to finish those towering milkshakes topped with whipped cream and maraschino cherries. We’d make bets on who could finish first while the ice cream dripped down our arms. It was a chaotic, sticky mess, but in that moment, I felt so alive, so connected. That’s the magic of food; it transcends the plate and creates bonds that last a lifetime.
Now, every time I make a milkshake, I think of those sunny days and the timeless joy they brought. Let’s create some new memories together, shall we?
Ingredients
Here’s what you’ll need to make a classic milkshake:
-
Ice Cream (2 cups): The star of the show! I love using vanilla for a classic shake, but feel free to experiment with rich flavors like chocolate or strawberry. Pro tip: For a sundae-style shake, go for chunks of ice cream!
-
Milk (1 cup): Whole milk gives it a creamy texture, but you can use any milk you prefer (almond, oat, or soy) for a dairy-free option. Just adjust the amount based on your desired thickness.
-
Flavorings (optional): A splash of vanilla extract (1 tsp) or chocolate syrup can elevate your milkshake to another level. Don’t skip this if you want a pop of extra flavor!
-
Toppings: Whipped cream, chocolate shavings, sprinkles, or even a drizzle of caramel are excellent choices! Feel free to go wild—this is your shake!
Each ingredient plays a crucial role in achieving a milkshake that not only satisfies your sweet tooth but also invites creativity from your heart.
Step-by-Step Instructions
Step 1: Gather Your Ingredients
Start by prepping your work area. Measure out your ice cream and milk, and have your toppings ready. Having everything in arms reach makes the process smoother. Trust me, nothing is worse than mid-blend chaos!
Step 2: Blend It Up!
In a blender, combine the ice cream and milk. If you’re adding any flavorings or extras, toss them in now! For a thicker shake, start with about ½ cup of milk, and add more as needed.
Tip: Blend until just mixed; you want to see some chunks of ice cream still visible. It makes for a creamier texture rather than a soupy shake.
Step 3: Taste Test
Here’s a fun chef hack—use a spoon (or a straw!) to taste a little of your creation before pouring it out. This is where you can decide if it needs more chocolate or maybe a touch more milk for a thinner consistency!
Step 4: Serve It Up
Pour the milkshake into your favorite glass. Halfway through, consider adding layers of whipped cream or sprinkles for a fun treat. Such an easy way to impress your guests!
Step 5: Top It Off
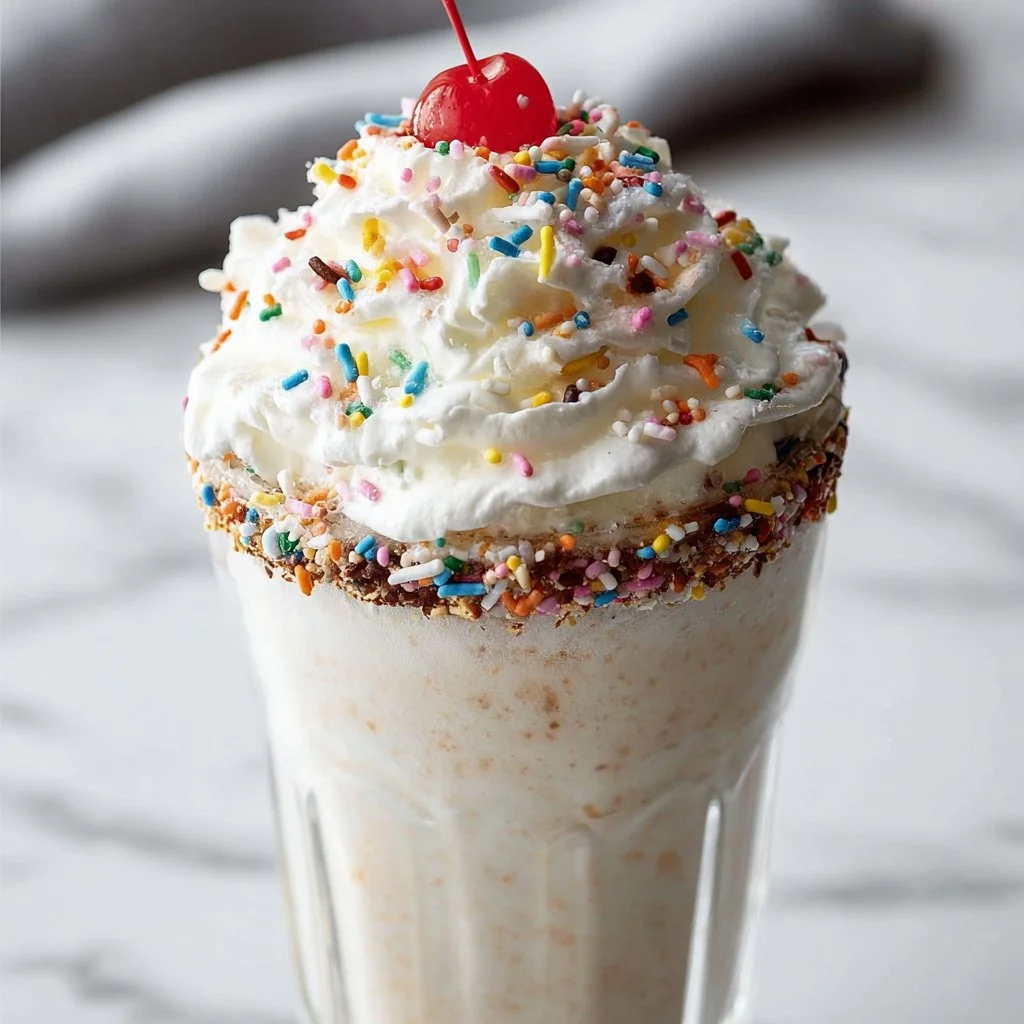
Finish your shake with a generous dollop of whipped cream on top, a sprinkle of chocolate shavings, and a cherry. Don’t forget the straw—this is a milkshake, after all!
Step 6: Enjoy!
Savor every sip! There’s nothing like sitting back and enjoying something you’ve created yourself. Let each sip take you back to those sun-soaked memories and savor that sweet nostalgic bliss.
Serving Suggestions
For an added touch of elegance (and fun!), consider serving your milkshake in mason jars or unique glassware. Garnish with whipped cream and a sprinkle of your favorite toppings, and if you’re feeling adventurous, add a homemade cookie on the side. Instant happiness!
Recipe Variations
-
Chocolate Banana Shake: Add half a ripe banana to the blender for a fruity twist. Delicious!
-
Mint Chocolate Chip Shake: Swap the vanilla for mint chocolate chip ice cream and top with crushed mint candies. Perfect for mint lovers!
-
Peanut Butter Cup Shake: Throw in a couple of tablespoons of peanut butter and a handful of crushed chocolate peanut butter candies for a decadent treat.
-
Protein Power Shake: Swap ice cream with a scoop of vanilla/yogurt protein powder and use Greek yogurt for a healthy pick-me-up.
-
Coffee Lover’s Shake: Add a scoop of coffee ice cream and a splash of brewed coffee for a pick-me-up after dinner.
Chef’s Notes
Over the years, my milkshake recipe has transformed as I’ve experimented with different flavor profiles and toppings. I’ve tried everything from crushed cookies to fresh fruit and even savory spices! Each iteration, though different, always reminds me of Grandma’s kitchen—the heart of our family celebrations.
I remember one fateful summer when cousin Beta thought it would be fun to make a “spicy milkshake” and added cinnamon. Surprisingly, it became a hit! It was quirky ideas like that, born out of spontaneity, that added a new twist to my classic recipe. Always remember, the kitchen is a space for creativity and experimentation!
FAQs and Troubleshooting
-
Why is my milkshake too thin?
- You might need more ice cream! A dash more should help thicken it right up. If you’ve added too much milk, don’t panic; simply add a scoop of ice cream to balance it out.
-
Can I make it ahead of time?
- Sure! Blend the ingredients together but store it in the freezer. However, you’ll want to give it a quick blend again before serving, as it can harden quite a bit.
-
What’s the best way to clean my blender?
- Fill your blender with warm water and a drop of dish soap. Blend on high for 30 seconds and rinse. Voila!
-
How can I make my milkshake vegan?
- Simply swap regular milk for almond, soy, or oat milk and use dairy-free ice cream. You won’t lose any deliciousness!
Nutritional Info (if applicable)
Each serving (based on the classic recipe) contains approximately:
- Calories: 350
- Total Fat: 18g
- Saturated Fat: 10g
- Carbohydrates: 45g
- Sugars: 35g
- Protein: 7g
Note: Nutritional values will vary based on ingredient choices.
And there you have it, my deliciously creamy milkshake adventure! I hope the nostalgia inspired you to create your own memories in the kitchen, not to mention enjoying every creamy sip along the way. Remember, cooking isn’t just about the food—it’s about the love, laughter, and memories you share. Happy blending, friends!


