When Two Weeknight Heroes Fall in Love: Taco Mac & Cheese
Hey there, friend! Olivia here, waving from my flour-dusted kitchen. Is there anything better than the smell of something cheesy and incredible bubbling away on the stove? I’m convinced it’s one of life’s simplest, coziest joys. And if you’re anything like me, you have a handful of go-to recipes that you can make with your eyes closed—the ones you turn to after a long day, when you need something guaranteed to bring a chorus of “mmmm” from everyone at the table.
For most of us, that shortlist almost always includes two legendary dishes: the hearty, spice-packed goodness of taco night and the creamy, soul-soothing embrace of a perfect mac and cheese. They’re both champions in their own right. But what if I told you we could smash these two titans of deliciousness together into one epic, show-stopping, single-pot wonder?
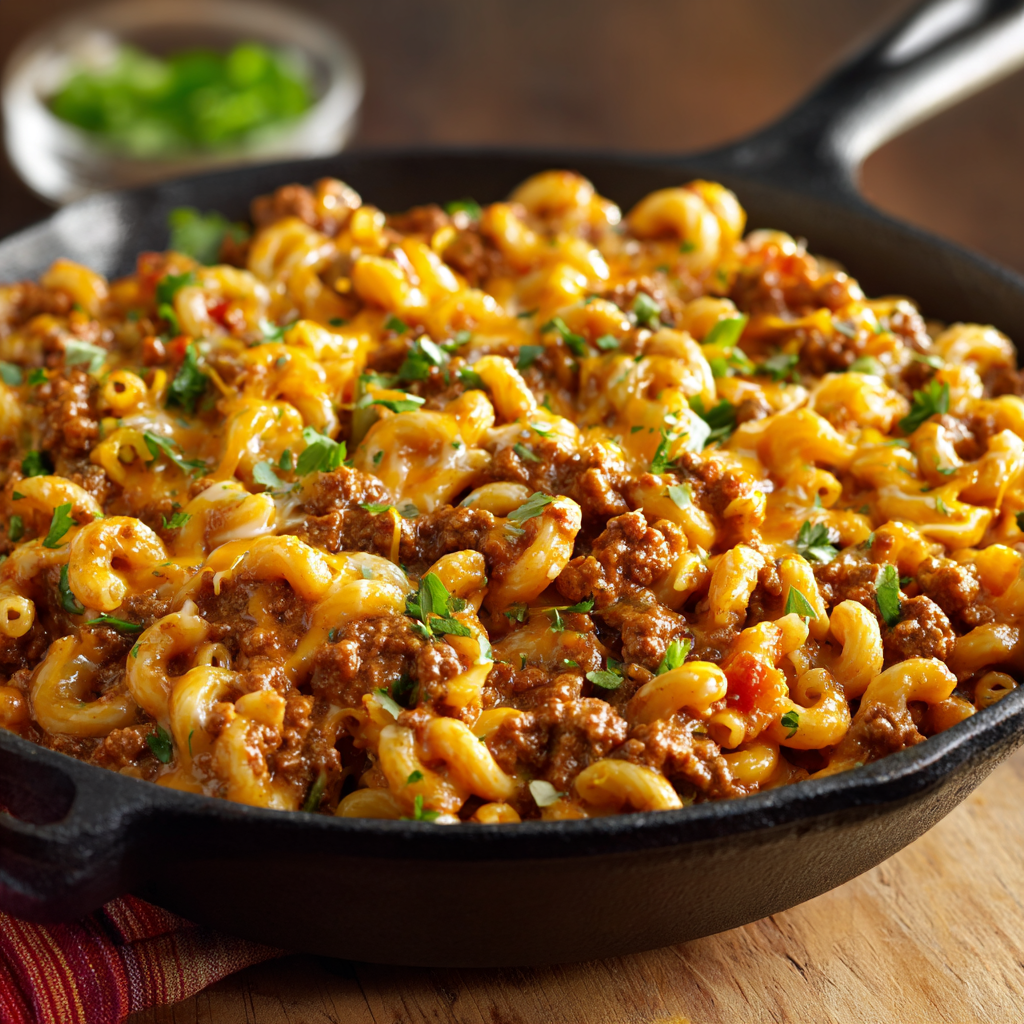
Welcome to the glorious world of Taco Mac and Cheese! This isn’t just dumping a packet of seasoning into a boxed mac. This is a from-scratch, creamy, cheesy dream situation loaded with savory taco-seasoned beef and finished with all your favorite toppings. It’s bold, it’s incredibly kid-friendly, and it comes together in a flash with minimal fuss. It’s the ultimate comfort food mashup, and it’s about to become your new secret weapon for winning weeknights. So, grab your favorite apron (the messy one with character!), and let’s make something unforgettable together.
The Night We Invented Dinner Magic
This recipe was born from one of those “what on earth am I making for dinner?!” nights. You know the ones. It was a rainy Tuesday, my energy was at zero, but my craving for something satisfying was at a hundred. My fridge held the usual suspects: some ground beef, a block of cheddar, and milk. My pantry offered up elbow macaroni and a lone packet of taco seasoning, left over from a fiesta weekend.
I stood there, staring into the abyss, and had a lightbulb moment. Instead of choosing between tacos or mac, why not choose… both? I’ll be honest, I wasn’t sure if it was a moment of genius or desperation. I browned the beef with the seasoning, whipped up a simple, creamy cheese sauce, and combined it all with the tender pasta. The result was nothing short of magic. My family wandered into the kitchen, noses first, asking what that amazing smell was. When I served it up, letting everyone pile on their own toppings—sour cream, fresh cilantro, a few daring jalapeños—dinner turned into a party. It was messy, joyful, and an instant classic that’s been requested ever since. It just goes to show that the best recipes often come from a little bit of chaos and a whole lot of heart.
Gathering Your Flavor Squad
Here’s everything you’ll need to create this masterpiece. I’ve included some of my favorite chef insights and swaps to make this recipe your own!
- 1 lb ground beef – I like an 80/20 blend for the best flavor, but leaner 90/10 works great too (you just might need a tiny splash of oil to start). Chef’s Tip: For a lighter twist, ground turkey or chicken works beautifully here!
- 8 oz elbow macaroni – The classic vessel for cheesy goodness. Their small shape and hollow center are perfect for trapping all that saucy flavor.
- 1 packet taco seasoning – This is our flavor shortcut hero! It’s a perfect blend of chili powder, cumin, garlic, and more. Chef’s Tip: If you have 5 extra minutes, try my homemade taco seasoning—it’s less sodium and you control the spice level!
- 1/2 cup water – This works with the seasoning to create our flavorful sauce for the beef.
- 2 cups shredded cheddar cheese – Please, please shred your own! Pre-shredded bags contain anti-caking agents that can make your sauce grainy. Freshly shredded melts like an absolute dream.
- 1/2 cup milk – Whole milk will give you the creamiest result, but 2% works just fine. This helps create a luxuriously smooth sauce.
- 1 tbsp butter – A little richness to bring it all together. Unsalted is best so you can control the salt level.
- 1 small onion, diced (optional) – I highly recommend this! It adds a sweet, savory depth. Swaps: No onion? A pinch of onion powder works in a pinch.
- Salt to taste – Wait until the end to add this! The taco seasoning and cheese already bring plenty of salt.
- Chopped cilantro, sour cream, or jalapeños for topping (optional) – This is where the fun begins! Toppings make it interactive and let everyone customize their bowl.
Let’s Get Cooking: Your Foolproof Guide
Follow these steps for a perfectly creamy, flavorful Taco Mac every single time. I’m chatting right alongside you with all my best tips!
- Cook the Pasta: Bring a large pot of well-salted water to a rolling boil. Add your elbow macaroni and cook according to package directions until it’s just al dente (that means it still has a slight bite to it). Why? Because it’s going to hang out in the hot skillet with the sauce later and we don’t want it to turn to mush! Drain it well and set it aside. Chef’s Hack: Drizzle a tiny bit of oil over the drained pasta and give it a stir to prevent sticking if you’re not using it right away.
- Brown the Beef: While the pasta cooks, place a large skillet or Dutch oven over medium-high heat. Add your ground beef (and diced onion, if using) and cook, breaking it up with a wooden spoon, until the beef is no longer pink and the onion is soft and translucent. This should take about 5-7 minutes. Chef’s Tip: Don’t rush this step! Getting a little bit of crispy, browned bits on the meat equals big flavor.
- Drain the Fat: Carefully tilt the skillet and spoon out most of the rendered fat. I like to leave about a tablespoon behind for extra flavor, but draining most of it keeps the final dish from being greasy.
- Create the Taco Base: Reduce the heat to medium. Sprinkle the taco seasoning evenly over the cooked beef. Pour in the 1/2 cup of water and give everything a good stir, scraping up any browned bits from the bottom of the pan. Let it simmer for 2-3 minutes until the liquid reduces and thickens into a fragrant sauce coating the beef. Your kitchen should smell amazing right now!
- Bring It All Together: Reduce the heat to low. To the skillet with the taco meat, add the cooked and drained macaroni, the tablespoon of butter, and the 1/2 cup of milk. Stir everything to combine and get it heated through.
- The Cheesy Grand Finale: Now, take your 2 cups of freshly shredded cheddar cheese and add it one handful at a time, stirring continuously until each handful is fully melted and incorporated before adding the next. This is the secret to a smooth, non-grainy sauce! Keep stirring over low heat until the cheese is completely melted and everything is gloriously creamy and cohesive.
- Final Taste Test: Give it a taste! This is when you decide if it needs a pinch of salt or maybe a crack of black pepper. Remember, the cheese and seasoning are already salty, so you likely won’t need much.
- Serve Immediately! This dish is best enjoyed hot and fresh, right from the stove. Spoon it into bowls and get ready for the topping bar!
Dishing It Up: The Topping Bar is Open!
The beauty of this dish is in the customization! I love serving it family-style with a spread of toppings in little bowls right in the middle of the table. Let everyone dive in and create their perfect bite. Think: a generous dollop of cool, tangy sour cream, a sprinkle of fresh chopped cilantro for a burst of herbaceousness, some diced juicy tomatoes, a handful of sharp red onion, sliced jalapeños for heat, sliced black olives, or even a squeeze of fresh lime juice. It’s a fun, interactive meal that feels special but couldn’t be easier.
Mix It Up: Endless Possibilities
This recipe is a fantastic base for creativity. Here are a few of my favorite ways to switch it up:
- Buffalo Chicken Style: Swap the ground beef for shredded rotisserie chicken and use a buffalo sauce seasoning blend instead of taco seasoning. Stir in a 1/2 cup of crumbled blue cheese at the end with the cheddar!
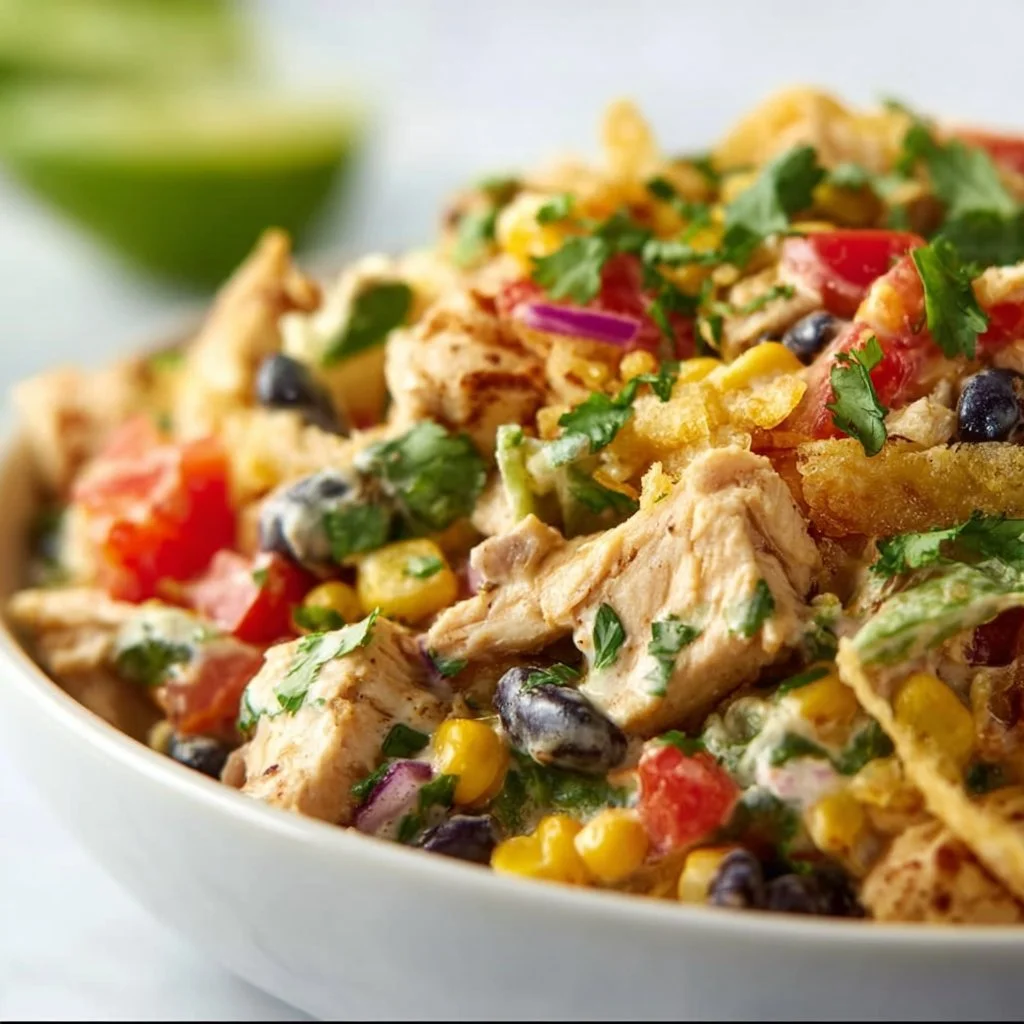
- Vegetarian Fiesta: Omit the beef and sauté a bell pepper and zucchini with the onion. Stir in a can of rinsed black beans and corn when you add the taco seasoning.
- Spicy White Cheddar: Use ground chorizo instead of beef and swap the cheddar for pepper jack and sharp white cheddar cheese. Top with pickled jalapeños!
- Gluten-Free Goodness: This is an easy one! Simply use your favorite gluten-free elbow macaroni and ensure your taco seasoning is certified gluten-free.
Olivia’s Kitchen Notes
This recipe has evolved so much since that first desperate Tuesday night! I’ve learned that the key truly is shredding your own cheese—it makes a world of difference in the texture. I also sometimes add a teaspoon of smoked paprika to the beef with the taco seasoning for an extra layer of warmth.
One funny story: I once, in a hurry, tried to speed up the cheese-melting process by cranking the heat. Big mistake! The high heat can cause the cheese to seize up and become oily and clumpy. We had to lovingly call that batch “Taco Mac Crumbles.” It still tasted good, but it was not the creamy dream we were going for. Low and slow is the way to go for melt-y, perfect cheese bliss!
Your Questions, Answered!
Q: My cheese sauce turned out grainy/oily. What happened?
A: This is usually one of two things: 1) Using pre-shredded cheese. The cellulose coating prevents smooth melting. Always shred your own! Or 2) The heat was too high when you added the cheese. Cheese prefers to melt low and slow. If your sauce breaks, try stirring in a splash of warm milk or cream off the heat to bring it back together.
Q: Can I make this ahead of time?
A: You can! Assemble the entire dish, let it cool, and store it covered in the fridge for up to 2 days. When ready to eat, reheat it gently in a skillet over low heat, adding a small splash of milk to loosen it up as it reheats. The pasta will absorb liquid as it sits.
Q: This seems like it could be spicy for my kids. Any tips?
A> Absolutely! You have a few options. Use a “mild” taco seasoning packet. You can also use only half the packet and taste, adding more if you want. Another great trick is to stir in a couple of tablespoons of cream cheese at the end—it adds creaminess and really mellows out any spice.
Q: Can I bake it to get a crispy top?
A> Oh, I love this idea! Yes, absolutely. Prepare the recipe as directed, then transfer it to a greased baking dish. Top with an extra 1/2 cup of shredded cheese and a handful of crushed tortilla chips. Bake at 375°F (190°C) for 15-20 minutes, until bubbly and golden on top.

Taco Mac & Cheese
- Total Time: 30 minutes
Description
Taco Mac & Cheese: When Comfort Foods Collide
A creamy, cheesy, taco-seasoned macaroni dish that’s bold, kid-friendly, and ready in a flash.
Ingredients
-
1 lb (450 g) ground beef (80/20 preferred; ground turkey, chicken, or chorizo works too)
-
8 oz elbow macaroni (or cavatappi, shells, rotini)
-
1 packet taco seasoning (or homemade blend)
-
½ cup water
-
2 cups shredded cheddar cheese, freshly shredded
-
½ cup milk (whole milk preferred)
-
1 tbsp butter
-
1 small onion, diced (optional)
-
Salt to taste
Optional toppings: sour cream, chopped cilantro, diced tomatoes, red onion, jalapeños, black olives, lime wedges
Instructions
Step 1: Cook Pasta
-
Boil macaroni in salted water until just al dente. Drain and drizzle with a little oil to prevent sticking.
Step 2: Brown the Beef
-
Heat a large skillet over medium-high. Cook ground beef (and onion, if using), breaking into crumbles, until no longer pink and onions are translucent.
Step 3: Drain Excess Fat
-
Remove most of the fat, leaving about 1 tbsp for flavor.
Step 4: Make the Taco Base
-
Reduce heat to medium. Sprinkle taco seasoning over beef, pour in water, and stir, scraping browned bits from the skillet. Simmer 2–3 min until sauce thickens.
Step 5: Combine Pasta and Sauce
-
Lower heat to low. Add cooked pasta, butter, and milk. Stir to combine and heat through.
Step 6: Add Cheese
-
Gradually stir in shredded cheddar, one handful at a time, until fully melted and creamy. Keep heat low to avoid grainy or oily sauce.
Step 7: Taste & Serve
-
Adjust salt if needed. Serve hot with your favorite toppings.
Notes
-
Grate your own cheese: Avoid pre-shredded for smoother sauce.
-
Low & slow: Melt cheese on low heat to prevent clumping.
-
Make-ahead: Assemble and refrigerate for up to 2 days; reheat gently with a splash of milk.
-
Adjust spice: Use mild seasoning, halve the packet, or add cream cheese to mellow heat.
- Prep Time: 10 min
- Cook Time: 20 mins
Nutrition
- Calories: 500 cal Per Serving
- Fat: 29 g
- Carbohydrates: 35 g
- Protein: 28 g
Nutritional Information*
Per Serving (Serves 6):
Calories: 500 | Protein: 28g | Carbohydrates: 35g | Fat: 29g | Saturated Fat: 14g | Fiber: 2g | Sugars: 4g | Sodium: 820mg | Cholesterol: 85mg
*Please note: This is an estimate generated using a third-party calculator and will vary based on specific ingredients and brands used. Toppings are not included.
Prep Time: 10 min | Cook Time: 20 min | Total Time: 30 min
Final Thoughts: More Than Just a Meal
Well, friend, there you have it. What started as a desperate “what’s for dinner?” night has become one of my family’s most-requested comfort food legends. This Taco Mac and Cheese is proof that the very best recipes aren’t about perfection; they’re about joy, simplicity, and the magic that happens when you’re brave enough to smash your favorite flavors together.
It’s a humble dish, really—just pasta, beef, and cheese—but it has this incredible power to turn an ordinary weeknight into something a little more special. It’s the sound of your people gathered around the table, customizing their bowls with a flourish of toppings. It’s the satisfied silence that falls as everyone takes their first, glorious bite. It’s the happy, messy face of a kid who just got the best of both their favorite worlds.