
Warm, Fluffy, and Full of Heart: The Story of My Sourdough Dinner Rolls
Hello, my friend! Come on in, grab an apron, and let’s fill this kitchen with the best smell in the world: bread baking in the oven. Is there anything more comforting, more universally welcoming, than a basket of warm, homemade rolls? It’s the edible equivalent of a hug. Today, we’re making my absolute favorite: Soft Sourdough Dinner Rolls.
Now, if the word “sourdough” makes you think of crusty, chewy loaves (which I also adore!), let me introduce you to its softer, more cuddly cousin. These rolls are a game-changer. They have that subtle, intriguing tang from the natural leavening, but their texture is pure cloud—fluffy, tender, and impossibly soft. They pull apart in the most satisfying way, perfect for sopping up gravy, cradling a pat of butter, or just eating plain because you simply can’t resist.
I know working with a sourdough starter can feel a bit mysterious, but I promise you, this recipe is wonderfully approachable. We’re using it here for incredible flavor and a beautiful, tender crumb, not necessarily for a cavernous, open structure. It’s a fantastic, forgiving way to use your starter and create something that will impress everyone at your table. Whether it’s a holiday feast, a Sunday supper, or just a Tuesday that needs a little extra love, these rolls turn a meal into a moment. Let’s bake some magic!
Grandma’s Bread Bowl and the Joy of Sharing
My love for these rolls really started in my Grandma Eleanor’s kitchen. She wasn’t a “sourdough person,” but she was a “bread person” through and through. Every big family dinner featured her famous cloverleaf rolls, served in a worn wooden bowl lined with a checkered cloth. The ritual was sacred: the bowl placed in the center of the table, the collective sigh as the cloth was lifted, the race to get one while they were still steaming.
When I began my sourdough journey years later, bubbling starter jar on the counter, I wanted to create something that captured that same feeling—the warmth, the sharing, the pure comfort. I tinkered for months, combining the nostalgic, pillowy texture of Grandma’s rolls with the complex flavor of my sourdough. The first time I pulled a pan of these golden, tangy beauties out of the oven and placed them in that very same wooden bowl, I knew I had it. It was a beautiful mash-up of tradition and my own kitchen story. Now, they’re a non-negotiable part of my own family gatherings. They’re more than bread; they’re a thread connecting generations, a simple way to say, “I’m glad you’re here.”
Gathering Your Ingredients: A Chef’s Notes
Here’s what you’ll need. Remember, baking is part science, part heart. I’ve included my little insights and swaps so you can bake with confidence!
- 500g (about 4 cups) all-purpose flour: I weigh my flour for consistency, but if using cups, fluff the flour in the bag, spoon it gently into the cup, and level it off. A heavy hand can lead to dense rolls. Chef Insight: All-purpose gives us the perfect balance of structure and tenderness.
- 100g (½ cup) active sourdough starter: This is the soul of the recipe! Make sure your starter is bubbly, lively, and has been fed 4-12 hours before using. It should roughly double in size and pass the float test (a spoonful dropped in water floats).
- 250g (1 cup) warm milk: Whole milk adds richness, but 2% or even a plant-based milk like oat or almond works beautifully. “Warm” means just barely warm to the touch (about 105°F/40°C)—too hot will hurt the starter and yeast.
- 50g (¼ cup) melted butter, plus extra for brushing: Butter equals flavor and softness. I use unsalted. The post-bake butter brush gives them that gorgeous, glossy finish and an extra hit of richness.
- 25g (2 tbsp) sugar or honey: This tiny bit of sweetness balances the tang and feeds the starter. Honey adds a lovely floral note, while plain sugar lets the sourdough flavor shine a bit more.
- 1 large egg: Our superstar for richness, color, and helping to create that tender, cake-like crumb. Bring it to room temperature for better incorporation.
- 8g (1½ tsp) fine sea salt: Do not skip this! Salt controls fermentation and is absolutely essential for flavor. Add it separately from the starter to avoid direct contact initially.
Let’s Make the Dough: Step-by-Step with Chef Olivia
Step 1: The Pre-Mix. In a large bowl (or the bowl of your stand mixer), combine the active starter, warm milk, melted butter, sugar/honey, and the egg. Use a whisk or fork and stir until it’s a smooth, homogenous, slightly frothy liquid. This ensures everything is evenly distributed before we add the flour. Little Hack: Swirl the warm milk in your melted butter bowl to get every last bit of buttery goodness!
Step 2: Bringing It Together. Add the flour and salt to the wet ingredients. I like to add the salt to one side of the bowl and the flour on top, just to give it a brief buffer from the liquid. Use a sturdy spoon or the dough hook on low speed to mix until a shaggy, floury dough forms. It will look messy—that’s perfect!
Step 3: The Knead. Now, we develop gluten. Turn the dough out onto a lightly floured surface (or keep it in the mixer). Knead by hand for 8-10 minutes, or with a dough hook on medium-low for 6-8 minutes. You’re looking for a smooth, slightly tacky (but not sticky) dough that springs back slowly when you poke it. It should feel supple and alive in your hands. Chef Commentary: Kneading is therapeutic! Put on some music and feel the dough transform. If it sticks to your hands, add a tiny sprinkle of flour, but resist the urge to add too much.
Step 4: The First Rise (Bulk Fermentation). Place your beautiful smooth dough ball in a lightly oiled bowl, turning once to coat. Cover with a damp kitchen towel, beeswax wrap, or plastic wrap. Let it rise at room temperature for 4-6 hours, until roughly doubled in size. This time can vary wildly based on your kitchen’s warmth and starter strength. Look for the dough to be puffy, bubbly underneath, and leave a slight indent when gently poked. Overnight Option: For deeper flavor, cover the bowl and let it rise in the fridge for 12-16 hours. Let it sit at room temp for an hour before shaping the next day.
Step 5: Shape with Love. Gently turn the risen dough out onto a clean surface. Without punching it down aggressively, divide it into 12 equal pieces (a kitchen scale is great for this, aiming for ~75g each). To shape each roll, cup your hand over a piece of dough and move it in small, tight circles on the counter, tucking the dough under itself to form a smooth, tight ball. Place each ball seam-side down into a generously buttered 9×13 inch baking dish or round cake pan. They should be just touching.
Step 6: The Final Proof. Cover the pan and let the shaped rolls proof for 1-2 hours until they are puffy, look relaxed, and are nestling into each other. They won’t quite double again, but they should feel light and airy. Preheat your oven to 375°F (190°C) during the last 30 minutes of this proof.
Step 7: Bake to Golden Perfection. Bake the rolls on the center rack for 20-25 minutes. You’re looking for a deep, golden-brown top. The internal temperature should read about 190°F (88°C). The smell will be incredible.
Step 8: The Finishing Touch. As soon as you pull the pan from the oven, brush the tops generously with melted butter. This adds flavor, keeps the crust soft, and gives them that professional bakery shine. Let them cool in the pan for at least 15-20 minutes before devouring. I know it’s hard to wait!
How to Serve These Fluffy Clouds of Joy
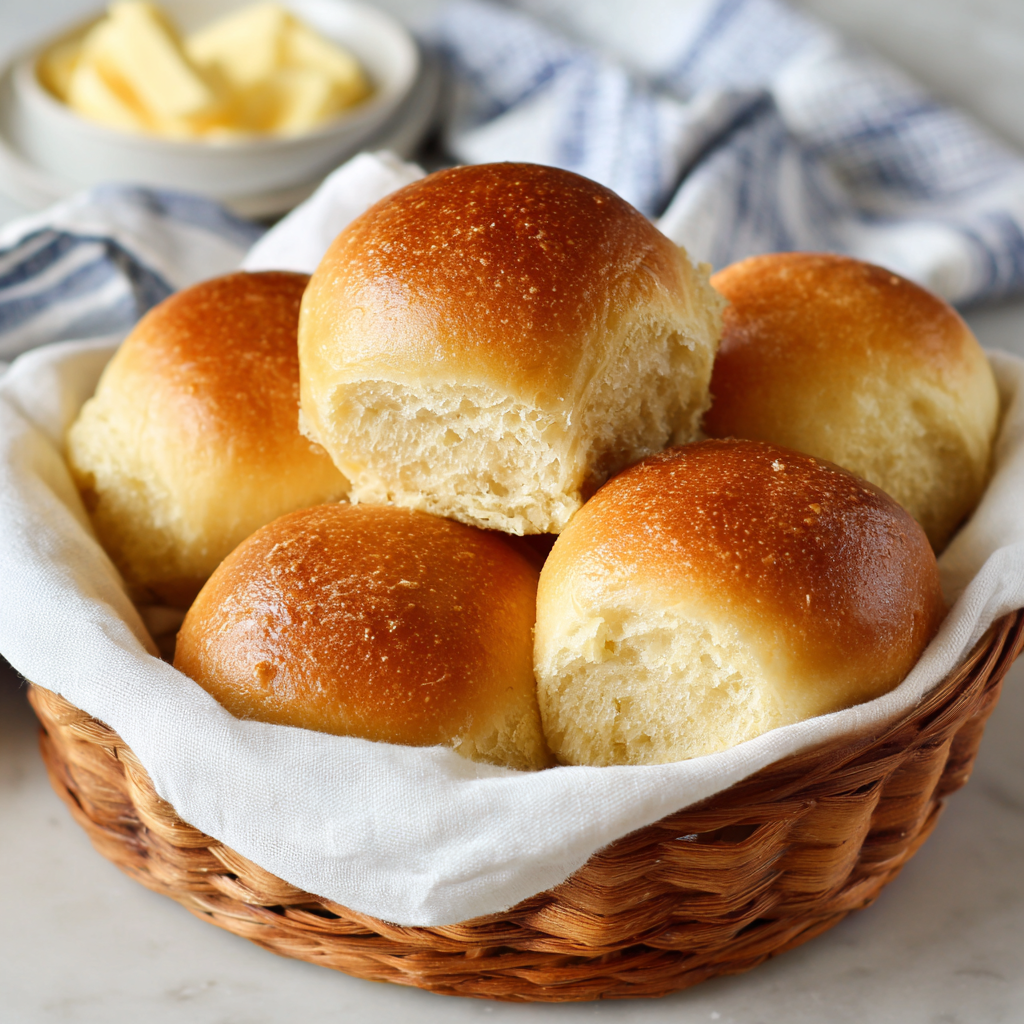
Presentation is part of the fun! I love serving these straight from the pan, family-style, or turned out onto a board. For a special touch, line a rustic basket or that beloved wooden bowl with a clean linen napkin and pile the warm rolls inside. Place a small dish of softened, flaky sea salt butter or honey butter right alongside. They’re the ultimate sidekick to hearty soups, stews, holiday roasts, or a simple weeknight pasta. Honestly, they’re a meal all on their own with a good slather of jam and a cup of tea.
Make Them Your Own: Creative Twists
Once you master the base recipe, the world is your buttery, bready oyster! Here are a few of my favorite riffs:
- Garlic-Herb Butter Rolls: Add 2 minced garlic cloves and 2 tbsp of chopped fresh herbs (rosemary, thyme, chives) to the melted butter used for the post-bake brush.
- Everything Bagel Rolls: After the final butter brush, immediately sprinkle the tops with Everything Bagel seasoning for a savory, crunchy finish.
- Cinnamon Sugar Knots: Roll the dough into ropes, tie into loose knots, and after baking, brush with butter and roll in cinnamon sugar.
- Cheese & Chive Swirl: Roll the dough into a rectangle, sprinkle with grated sharp cheddar and chives, roll up jelly-roll style, slice, and place cut-side up in the pan to proof and bake.
- Whole Wheat Blend: Substitute up to half of the all-purpose flour with whole wheat flour for a nuttier, heartier roll. You may need a splash more milk.
Chef Olivia’s Notebook Scribbles
This recipe is my kitchen workhorse, and it’s evolved with me. The first batch I ever made? Let’s just say they could have doubled as hockey pucks. I learned that patience with the proof is key—sourdough doesn’t run on our clock! My biggest “aha” moment was using the egg. It was the missing piece that took them from good to “oh-my-goodness-I-made-these?!” levels of softness.
I also have a funny habit of naming my starters. My current one is “Bubbles.” So, in our house, we don’t say, “The sourdough rolls are ready,” we say, “Bubbles’ fluffy offspring are done!” It makes me smile every time. Don’t be afraid to make this recipe yours. Bake them, share them, and soak up the compliments. You’ve earned them.
Your Questions, Answered!
Q: My dough didn’t rise much during bulk fermentation. What happened?
A: This usually points to a starter that wasn’t active enough. Make sure your starter is bubbly and passes the float test before you begin. Also, check your kitchen temperature. If it’s chilly (below 70°F/21°C), the rise will be slower. Find a warm spot, like near (not on) the oven, or let it go longer.
Q: Can I make these with commercial yeast instead of sourdough starter?
A: Absolutely! For a quick version, use 7g (2 ¼ tsp) of instant yeast. Add it to the dry ingredients. Reduce the first rise to 1-2 hours (until doubled), and the second proof to 45-60 minutes. You’ll lose the tang, but they’ll still be deliciously soft rolls.
Q: How do I store and reheat them?
A: They keep in an airtight bag at room temp for 2 days. To freeze, let them cool completely, then seal in a freezer bag for up to 3 months. Reheat from frozen, wrapped in foil, in a 350°F oven for 10-15 minutes, or until warm. They taste freshly baked!
Q: My rolls are dense. What did I do wrong?
A: Density typically comes from three places: 1) Over-measuring flour (always spoon and level or weigh!), 2) Under-proofing (let them get truly puffy in the final proof), or 3) Over-kneading (which can make the dough tough).

Soft Sourdough Dinner Rolls : Fluffy, Tangy & Perfect for Any Meal
Description
There’s nothing quite like a pan of warm dinner rolls fresh from the oven. These soft sourdough dinner rolls are fluffy, tender, and lightly tangy, with a pillowy texture that pulls apart beautifully. They’re perfect for holidays, Sunday dinners, or any day that needs a little extra comfort. Using sourdough starter adds depth of flavor without making the rolls dense or chewy—just soft, rich, and irresistible.
Ingredients
-
500 g (about 4 cups) all-purpose flour
-
100 g (½ cup) active sourdough starter
-
250 g (1 cup) warm milk (about 105°F / 40°C)
-
50 g (¼ cup) unsalted butter, melted (plus more for brushing)
-
25 g (2 tbsp) sugar or honey
-
1 large egg, room temperature
-
8 g (1½ tsp) fine sea salt
Instructions
-
Mix the wet ingredients
In a large bowl or stand mixer, whisk together the sourdough starter, warm milk, melted butter, sugar (or honey), and egg until smooth. -
Add dry ingredients
Add the flour and salt. Mix until a shaggy dough forms. -
Knead the dough
Knead by hand for 8–10 minutes or with a mixer for 6–8 minutes, until smooth and slightly tacky. The dough should be soft and elastic. -
First rise (bulk fermentation)
Place the dough in a lightly oiled bowl, cover, and let rise at room temperature for 4–6 hours, or until doubled and puffy.
Optional: Refrigerate overnight (12–16 hours) for deeper flavor. -
Shape the rolls
Gently turn out the dough and divide into 12 equal pieces. Shape into smooth balls and place seam-side down in a buttered 9×13-inch pan. -
Final proof
Cover and let rise for 1–2 hours, until rolls are puffy and touching. Preheat oven to 375°F (190°C). -
Bake
Bake for 20–25 minutes, until golden brown and an internal temperature of about 190°F (88°C) is reached. -
Finish with butter
Brush the hot rolls generously with melted butter. Cool slightly before serving.
Notes
-
Use an active starter: It should be bubbly and fed 4–12 hours before baking.
-
Don’t rush the rise: Under-proofed rolls will be dense. Let them get truly puffy.
-
Measure flour carefully: Spoon and level, or weigh for best results.
-
For extra softness: Brush with butter immediately after baking.
Nutritional Information (Per Roll, Approximate)
Calories: 180 | Total Carbohydrates: 26g | Dietary Fiber: 1g | Sugars: 2g | Protein: 4g | Total Fat: 6g | Saturated Fat: 3g | Cholesterol: 25mg | Sodium: 220mg
Note: Nutrition information is an estimate only and will vary based on specific ingredients used and precise portion sizes.
Final Thoughts
As the last of the butter melts into the warm crumb and the final crumbs are swept from the table, what remains is more than just the memory of a delicious roll. It’s the feeling of creating something truly magical from just flour, water, and the living breath of your starter.
These Soft Sourdough Dinner Rolls are a beautiful lesson in patience and reward. They remind us that the most comforting things in life often take time—time to ferment, to rise, to develop their full character. They bridge the gap between the rustic art of sourdough and the cozy, universal love for a soft, pillowy bread. In every batch, there’s a story: the quiet bubbling of the starter on the counter, the rhythmic meditation of kneading, the triumphant golden-brown finish, and the shared silence of people enjoying something made by hand.
Whether you’re continuing a generations-old tradition or starting your very own, these rolls are a testament to the fact that baking is an act of love. It’s love for the process, for the people you’ll share it with, and for the simple, profound joy of transforming humble ingredients into edible warmth.
So, my friend, I hope your kitchen is now filled with that incredible aroma, your bread bowl is full, and your heart is as light as these fluffy rolls. Thank you for baking alongside me. Remember, every time you bake them, you’re not just making bread—you’re crafting a moment, an heirloom, a hug from the oven. Now, go on and share that hug.


