
Your New Favorite Fall Party Trick: The Pumpkin Cheese Ball
Hey there, friend! Come on in, the kitchen’s warm, I’ve got a chai latte simmering, and I am just buzzing to share this recipe with you. Is there anything better than that first crisp, leafy-smelling day that truly signals the start of fall? It gets me so excited for all things cozy: chunky sweaters, flickering candles, and most importantly, the food that brings everyone together.
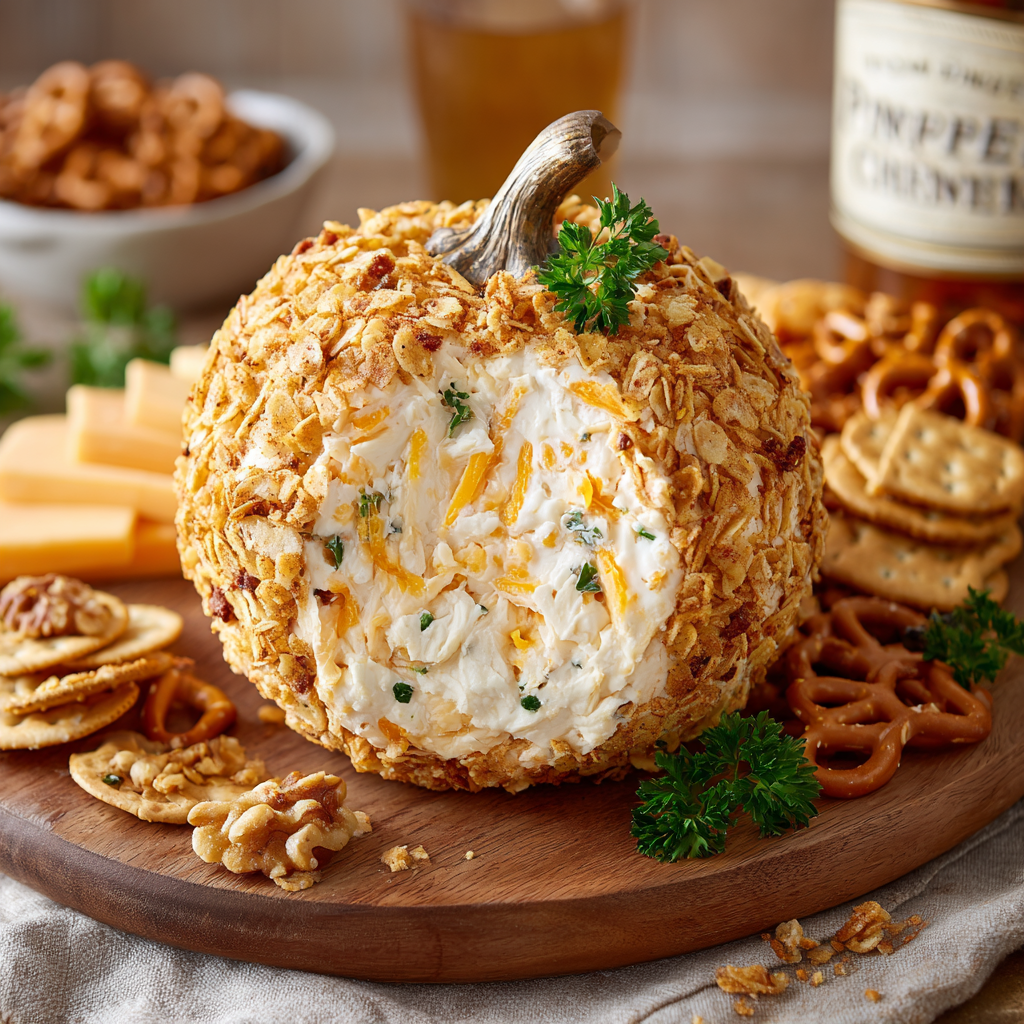
If you’ve ever scrolled through Pinterest or foodie Instagram in October and November, you’ve definitely seen them—those absolutely adorable, almost-too-pretty-to-eat pumpkin-shaped cheese balls. They look like they require a culinary degree and hours of painstaking work, right? I’m here to let you in on a little secret: they are one of the EASIEST, most foolproof showstoppers you will ever make.
This isn’t just a cheese ball, it’s a creamy, savory, slightly smoky centerpiece that will have your guests gasping (in the best way!) before they even take a bite. It’s the perfect blend of rich cream cheese, sharp cheddar, and warm spices, all hugged by a crunchy, flavorful coating. It’s the ultimate make-ahead appetizer for your Thanksgiving feast, Halloween party, or any cozy gathering where you want to spread a little edible joy. So, tie on your favorite apron (the messy one with stories to tell), and let’s make some magic!
A Cheese Ball and a Happy Little Accident
This recipe takes me right back to my very first Friendsgiving, years ago. I was so nervous to impress my new friend group, a vibrant mix of artists, writers, and—gulp—actual professional chefs. I wanted to make something that said, “I’m cool and put-together,” but my budget and time said, “I’m a recent grad who owns one mixing bowl.”
I decided on a classic cheese ball, but my nerves got the best of me. I over-softened the cream cheese, and when I went to roll it in the crushed pecans, it was a goopy, melty disaster. In a panic, I scooped the whole mess into some plastic wrap, bundled it up like a burrito, and shoved it in the freezer, praying for a miracle. An hour later, I pulled out a firm, oddly spherical lump. In a moment of pure, autumnal desperation, I grabbed a piece of celery from the fridge, stuck it on top, and used a knife to score some lines down the sides. I arrived at the party, plopped my “Pumpkin Cheese Ball” on the table, and held my breath. It was the first thing to disappear. They raved about it! That happy little accident taught me a huge lesson: cooking isn’t about perfection; it’s about heart, a little creativity, and sharing something delicious with people you love.
Gathering Your Pumpkin Patch: The Ingredients
Here’s the beautiful part: you probably have most of these ingredients in your kitchen right now. This is a simple, humble list that transforms into something spectacular. Let’s break it down:
- 16 oz cream cheese, softened – This is the creamy, tangy base of our cheese ball. Pro Tip: *Really* let it soften to room temperature. This is non-negotiable for a smooth, lump-free mixture! If you forget, you can microwave it for 15-20 seconds, but be careful—you don’t want it melted.
- 2 cups shredded sharp cheddar cheese – The flavor superstar! Sharp cheddar gives a fantastic tang that cuts through the richness of the cream cheese. For a next-level experience, shred your own from a block. Pre-shredded cheese is coated to prevent clumping, which can make your cheese ball less smooth.
- ½ cup sour cream – This is my secret weapon! It adds a wonderful tang and, more importantly, makes the texture incredibly light and spreadable.
- ½ tsp garlic powder – We’re using powder instead of fresh garlic here. Fresh garlic can be too pungent and overpowering in a cold cheese ball, and its flavor can intensify oddly as it sits.
- ½ tsp smoked paprika (plus extra for coating) – This is the flavor game-changer. Smoked paprika adds a warm, subtle smokiness that evokes all those cozy fall feelings. We’ll also use it for that beautiful orange “pumpkin” color later!
- ¼ tsp onion powder – This builds a savory, umami foundation that complements the garlic and paprika perfectly.
- Salt and pepper, to taste – Don’t skip this! Taste your mixture and season it well. The cheeses need a little help to truly sing.
- 1 cup crushed cheese crackers or finely chopped pecans (for coating) – The “skin” of our pumpkin! Crushed cheese crackers (like Cheez-Its or Goldfish) add a salty, cheesy crunch. Finely chopped pecans offer a richer, toastier flavor. You could also use pretzels for a salty crunch!
- 1 pretzel rod or bell pepper stem (for the “pumpkin stem”) – The final touch! A pretzel rod is my go-to for its salty crunch and sturdiness. A small piece of bell pepper stem is a great fresh, edible option.
- Fresh parsley leaves (optional, for garnish) – A few little leaves placed around the base make it look like a pumpkin freshly picked from the vine. So cute!
Let’s Build a Pumpkin: Step-by-Step Instructions
Ready to create your edible masterpiece? It’s so simple. Let’s do this together, step by step.
Step 1: The Creamy Base
In a large mixing bowl, combine your softened cream cheese, shredded cheddar, sour cream, garlic powder, smoked paprika, onion powder, salt, and pepper. Now, here’s my favorite method: use a hand mixer on medium speed for about 1-2 minutes. This ensures everything is perfectly smooth, well-combined, and slightly fluffy. You can absolutely do this by hand with a sturdy spatula and some elbow grease, but the mixer is a guaranteed no-lump hack! Scrape down the sides of the bowl once to make sure no lonely pockets of cream cheese are left behind.
Step 2: Shape and Chill (The Most Important Step!)
Lay a large piece of plastic wrap on your counter. Scoop the entire cheese mixture onto the center of the plastic. This is where we form our pumpkin shape. Bring the edges of the plastic wrap up and over the cheese, twisting the top to encase it completely. Now, gently shape the bundle into a sphere. It doesn’t have to be perfect! Once it’s a generally round shape, pop it into the refrigerator for at least 2 hours, or ideally, overnight. Do not skip this chilling time! This firms up the cheese ball, making it possible to roll in the coating and score the lines without it turning into a goopy mess. Trust me, I learned this the hard way!
Step 3: The Fun Part: Creating the Pumpkin
Once your cheese ball is firm and chilled, unwrap it. Place your coating (crushed crackers or nuts) in a shallow dish or plate. Gently roll the cheese ball in the coating, pressing lightly to make sure it adheres on all sides. Get it fully covered! Now, for the signature pumpkin look. Take 3-4 pieces of kitchen twine or even clean rubber bands and space them evenly around the cheese ball, pressing them gently into the sides to create ridges. Leave these on for just a minute to make an impression, then carefully remove them.
Step 4: The Final Flourish
Take your pretzel rod or bell pepper stem and gently press it into the top center of the cheese ball to create the stem. If you’re using a pretzel rod, you might want to break it to a shorter, stubbier length so it looks more like a stem. For a gorgeous finishing touch, place a few fresh parsley leaves around the base of the stem. And voila! You’ve just created a stunning, conversation-starting appetizer.
How to Serve Your Masterpiece
Place your beautiful pumpkin cheese ball on a serving platter or a cute wooden board. Surround it with an array of dippers so your guests have options! I love offering:
- Classic: Buttery crackers (like Ritz) or water crackers.
- Healthy: Crisp apple slices, carrot sticks, celery, and cucumber rounds.
- Salty/Crunchy: Pretzel chips, pita chips, or even sturdy tortilla chips.
Let it sit at room temperature for about 15-20 minutes before serving. This allows the flavors to bloom and the texture to become perfectly spreadable!
Make It Your Own: Delicious Variations
The beauty of this recipe is its versatility. Feel free to get creative and tailor it to your taste!
- Everything Bagel Twist: Swap the cheddar for 1.5 cups of everything bagel seasoning mixed right into the cheese, and use the remaining ½ cup for the coating. Savory, oniony, and incredible!
- Jalapeño Popper: Add 2-3 tablespoons of finely diced pickled jalapeños and ¼ cup of cooked, crumbled bacon to the mixture. Roll it in crushed bacon bits for the ultimate savory kick.
- Sweet & Savory: Use pepper jack cheese instead of cheddar and mix in ¼ cup of finely diced dried apricots. Roll it in crushed pistachios for a gorgeous color and flavor contrast.
- Festive Cranberry: After the first chill, make an indentation in the top and fill it with a layer of whole-berry cranberry sauce before adding the stem. A stunning Thanksgiving centerpiece!
From My Kitchen to Yours: Chef’s Notes
Over the years, this recipe has become my go-to for pretty much any fall event. It’s evolved from that first freezer-fiasco into something I can make with my eyes closed. One of my favorite memories is making it with my niece, who is now six. She’s in charge of “sprinkling the orange dust” (the paprika) and placing the parsley leaves. Her little face, so serious and proud as she creates her “baby pumpkin,” absolutely melts my heart. It’s a reminder that food is about so much more than eating; it’s about connection and making memories.
Another little hack I’ve picked up: if your cheese ball seems a little soft after its initial chill, don’t panic! Pop it in the freezer for 20-30 minutes to firm it up just enough to handle. It’s all about working with what you’ve got. No kitchen twine? Use uncooked spaghetti noodles to score the lines—they work surprisingly well!
Your Questions, Answered: FAQs & Troubleshooting
Q: Can I make this ahead of time?
A: Absolutely! This is the ultimate make-ahead appetizer. You can prepare the entire cheese ball, complete with coating and stem, wrap it tightly in plastic wrap, and store it in the refrigerator for up to 3 days. The flavors actually get better as they meld!
Q: My cheese ball is too soft to handle. What did I do wrong?
A> The two most common culprits are 1) The cream cheese wasn’t chilled long enough, or 2) The cream cheese was too warm to begin with. If it’s too soft after mixing, just chill the mixture in the bowl for 30 minutes before shaping it into a ball. If it’s too soft after the initial shape, just chill it longer! The freezer is your friend for a quick firm-up.
Q: Can I make a lighter version?
A> You can! Use reduced-fat or Neufchâtel cream cheese and reduced-fat sharp cheddar. The texture might be a *tiny* bit less rich, but the flavor will still be fantastic. I don’t recommend fat-free products, as they don’t set up as well and can alter the texture dramatically.
Q: The coating isn’t sticking! Help!
A> This usually happens if the cheese ball is too cold and hard on the outside. Let it sit on the counter for just 2-3 minutes to “sweat” slightly—this sticky surface will help the coating adhere. You can also very lightly mist the chilled ball with water or brush it with a tiny bit of mayo before rolling.

Pumpkin Cheese Ball
Description
This isn’t just an appetizer—it’s edible art that wows before the first bite. Creamy, smoky, and tangy with just the right crunch, this pumpkin-shaped cheese ball is the ultimate centerpiece for your fall gatherings. Whether you’re hosting a Halloween bash, Friendsgiving, or cozy night in, this make-ahead treat guarantees gasps, smiles, and lots of cracker-dipping action.
Ingredients
-
16 oz cream cheese, softened
-
2 cups sharp cheddar, shredded
-
½ cup sour cream
-
½ tsp garlic powder
-
½ tsp smoked paprika (+ extra for coating)
-
¼ tsp onion powder
-
Salt & pepper, to taste
-
1 cup crushed cheese crackers or finely chopped pecans (for coating)
-
1 pretzel rod or bell pepper stem (for pumpkin stem)
-
Fresh parsley leaves (optional garnish)
Instructions
-
Mix: Beat cream cheese, cheddar, sour cream, garlic powder, paprika, onion powder, salt, and pepper until smooth.
-
Shape & Chill: Scoop mixture onto plastic wrap, form into a ball, and chill at least 2 hours (overnight is best).
-
Coat: Roll chilled ball in crushed crackers or nuts until fully covered.
-
Shape Pumpkin: Use twine (or spaghetti noodles) to gently press ridges around the sides, then remove.
-
Add Stem: Insert pretzel rod or pepper stem on top. Garnish with parsley leaves.
-
Serve: Let sit 15–20 minutes at room temp before serving with crackers, pretzels, or crisp veggies.
Notes
-
Jalapeño Popper: Mix in jalapeños + bacon, coat with bacon bits.
-
Everything Bagel: Swap cheddar for everything bagel seasoning.
-
Sweet & Savory: Use pepper jack + dried apricots, coat with pistachios.
Nutrition
- Calories: 215 cal Per Serving
- Sugar: 1g
- Fat: 18g
- Carbohydrates: 4g
- Fiber: 1g
- Protein: 8g
Nutritional Information*
*This is an approximate calculation based on the specific ingredients listed and can vary greatly based on brands and substitutions used.
Prep time: 15 minutes | Chill time: 2 hours | Total time: 2 hours 15 minutes | Servings: 12
Per serving (approx.): Calories: 215 | Protein: 8g | Fat: 18g | Carbohydrates: 4g | Fiber: <1g | Sugar: 1g
Well, that’s it, my friend! I hope you feel inspired and empowered to whip up this adorable and incredibly delicious pumpkin cheese ball for your next gathering. It’s more than just a recipe; it’s a little bundle of joy meant to be shared. If you make it, I’d be absolutely thrilled to see your creation! Tag me on Instagram @OliviasCozyKitchen or leave a comment below. Happy cooking!
With love and a full heart (and a slightly messy apron),
Final Thoughts: Your New Party Trick Awaits
And there you have it! Your very own, impossibly charming pumpkin cheese ball. This recipe is proof that you don’t need fancy skills or complicated ingredients to create something truly magical and memorable. It’s a dish that embodies the very best of the season: warmth, creativity, and the joy of sharing.
So the next time you’re headed to a gathering, don’t just bring a dish—bring a conversation piece. Bring a centerpiece that whispers of crisp autumn air and cozy kitchens. Bring the effortless wow-factor.
Whip this up, share it with your favorite people, and watch it disappear. I have a feeling this little pumpkin will become a cherished part of your fall traditions, just as it has in mine.


