
Sunshine in a Candy Jar: My Homemade Lemon Drops
Hey there, my fellow flavor-lover! There’s something magical about that moment you open a candy bowl, isn’t there? Your eyes scan the options, and then—bam!—you spot that one vibrant, sugar-dusted gem that promises a jolt of pure, unadulterated joy. For me, that gem has always been the lemon drop. It’s not just a candy; it’s a tiny, edible sunbeam. That first sharp, tangy zing followed by the sweet, crystalline sugar coating is a sensation that instantly brightens my mood, no matter how grey the day might be outside my kitchen window.
While I adore a rich chocolate truffle or a chewy caramel as much as the next person, there’s a special place in my heart (and my candy jar) for treats that offer a refreshing contrast. These homemade lemon drops are exactly that. They cut through the richness of holiday feasts, cleanse the palate after a big meal, and bring a cheery pop of citrusy sunshine to any gathering. And the best part? They are so much easier to make than you might think. Forget the fancy candy-making equipment and intimidating techniques. Today, we’re making magic with just a few simple ingredients and a whole lot of love. So, tie on your favorite apron (the messy ones are the most loved!), and let’s create something wonderfully zingy together.
A Jar Full of Sunshine Memories
My love affair with lemon drops didn’t start in a fancy candy shop; it started in my grandmother’s bustling, always-warm kitchen. My Nana was the queen of “pantry magic,” conjuring up incredible treats from what seemed like thin air. But her lemon drops were something she made with deliberate, joyful care, usually in the deep of winter when we all needed a reminder that spring was on its way.
I can still vividly remember the sound—the gentle *clink-clink* of the glass jars as she’d pull them down from the cupboard. I’d pull a chair right up to the stove (under strict instructions not to touch a thing!), mesmerized as the clear, bubbling syrup transformed into golden, fragrant candy. The air would fill with the most incredible scent of sharp, sweet lemons, a smell that felt like pure happiness. She’d let me be the official “sugar roller,” a job I took with the utmost seriousness, ensuring every single drop was perfectly coated. To this day, the taste of a real, homemade lemon drop instantly transports me back to that warm kitchen, filled with laughter and the promise of a sweet treat made with love. It’s that feeling I want to share with you today.
Gathering Your Sunshine: The Ingredients
One of the beautiful things about this recipe is its beautiful simplicity. Each ingredient plays a specific role in creating that perfect balance of hard crackle, intense flavor, and sugary coating. Here’s what you’ll need:
- 2 cups granulated sugar: This is the foundation of our candy. It creates the structure and the sweet base that makes the tart lemon flavor pop. I use regular white granulated sugar for the cleanest, purest candy base.
- ½ cup light corn syrup: Don’t let this ingredient scare you! Its job is crucial—it prevents the sugar from recrystallizing, ensuring our lemon drops are gloriously smooth and glassy, not grainy and cloudy. For a potential swap, you could try golden syrup, though it will impart a very slight, but lovely, buttery note.
- ⅓ cup water: This is just enough to dissolve the sugar without making the cooking process take forever. It all evaporates out as the sugar syrup cooks.
- 1 tbsp fresh lemon juice: This is where the powerful, authentic tang comes from! Always, always use fresh juice. The bottled stuff just doesn’t have the same bright, vibrant kick. Chef’s insight: roll your lemons on the counter firmly before juicing to get the most liquid out of them.
- 1 tsp lemon zest: This is the secret weapon! The zest is packed with potent lemon oils that give an incredible aroma and a deeper, more complex citrus flavor than juice alone. It makes all the difference.
- ½ tsp lemon extract: While the fresh juice and zest do the heavy lifting, a tiny bit of extract amplifies that lemon flavor and ensures it stays powerful even after the candy has cooled and hardened.
- Yellow food coloring (optional): This is purely for fun and visual appeal! A drop or two of gel food coloring gives them that classic, sunny yellow hue. I like to use it, but they are just as delicious without it for a more natural, translucent look.
- Additional granulated sugar, for coating: This creates that classic, crunchy, sweet exterior we all love. It’s the perfect textural contrast to the smooth, hard candy interior.
Let’s Make Some Magic: Step-by-Step Instructions
Ready to create some candy kitchen alchemy? Let’s do this! Read through all the steps once before you begin. Candy-making is fast-paced, so having a game plan is key.
Step 1: Prep Your Station. First things first, line a baking sheet with parchment paper and give it a very light dusting of sugar. This prevents the hot candy drops from sticking and makes your life much easier later. Also, have everything measured and ready to go right next to the stove (this is called your mise en place). Once the sugar hits temperature, you have to work quickly, so no time for measuring lemon juice then!
Step 2: Dissolve the Sugar. In a medium-sized, heavy-bottomed saucepan, combine the 2 cups of sugar, corn syrup, and water. Cook this over medium heat, stirring gently but consistently with a wooden spoon or heatproof spatula, just until the sugar granules have completely dissolved. This usually takes 3-4 minutes. Chef’s Hack: To test if the sugar is dissolved, dip a spoon in and feel the liquid between your fingers. If it feels gritty, keep stirring. You should feel no granules at all.
Step 3: Cook to Hard Crack. Now, stop stirring! This is important. Once the sugar is dissolved, stop stirring entirely. You can gently swirl the pan once or twice if you see spots cooking faster than others, but no more stirring. Attach your candy thermometer to the side of the pan, making sure the tip is submerged in the syrup but not touching the bottom of the pan. Let the syrup boil away until it reaches 300°F (150°C), also known as the hard crack stage. This is the stage where a drop of syrup in cold water will form hard, brittle threads that break when bent. This process can take 10-15 minutes. Be patient!
Step 4: The Flavor Frenzy! As soon as the thermometer hits 300°F, immediately remove the pan from the heat. Working quickly but carefully (the syrup is extremely hot!), stir in the fresh lemon juice, lemon zest, lemon extract, and food coloring (if using). The mixture will bubble and sizzle violently—this is normal! Just keep stirring until everything is fully incorporated. The aroma that hits you at this moment is pure heaven.
Step 5: Form the Drops. Working swiftly (the candy starts to set fast!), carefully spoon small, round drops of the hot syrup onto your prepared baking sheet. I use a teaspoon, but a small cookie scoop also works wonders for uniform size. Pro Tip: If the syrup in the pan starts to thicken and harden before you’re done, you can place it back over very low heat for just 20-30 seconds to loosen it up again.
Step 6: The Sugar Shower. Let the drops cool for just a minute or two—you want them to be firm enough to handle but still very warm. Place your extra sugar in a shallow bowl. Once they’re cool enough to touch, roll each lemon drop in the sugar until it’s completely coated. This warm coating helps the sugar stick perfectly.
Step 7: Cool Completely. Let the sugar-coated lemon drops cool completely on the baking sheet until they are hard and shiny. This usually takes about 20-30 minutes. Once cool, they’re ready to eat or store!
How to Serve Your Sunny Creations
Presentation is part of the fun! I love piling these sunny little gems into a beautiful glass jar or a vintage ceramic bowl. The clear glass lets that beautiful yellow color shine through and makes them look incredibly inviting. They are the perfect finishing touch on a dessert table, a wonderful little gift tied up in a cellophane bag with a ribbon, or just a happy treat to keep by the coffee maker for a quick sweet bite. They’re fantastic alongside a cup of hot tea or as a palate-cleanser after a rich, savory meal.
Get Creative: Lemon Drop Variations
Once you’ve mastered the classic, feel free to play with the flavors! Here are a few of my favorite twists:
- Lemon-Lavender: Add ½ teaspoon of culinary-grade dried lavender buds with the lemon zest. It adds a beautiful, floral sophistication.
- Lemon-Raspberry: Add a few drops of raspberry extract and a tiny drop of red food coloring for a beautiful pink-and-yellow swirled effect (don’t over-mix!) and a berry-lemon flavor.
- Sparkling Sugar Coat: For a fancy finish, roll the warm drops in sparkling sugar or sanding sugar instead of granulated sugar for extra crunch and sparkle.
- Meyer Lemon: Use juice and zest from sweeter, less acidic Meyer lemons for a more floral, complex lemon flavor.
- Spicy Ginger-Lemon: Add ¼ teaspoon of ground ginger or a very small amount of finely minced crystallized ginger for a warm, spicy kick.
Olivia’s Chef Notes & Kitchen Stories
This recipe has evolved so much from watching my Nana. She never used a thermometer! She used the cold water test, which is a fantastic skill to have if your thermometer ever breaks. I’ve added the extract over the years for that extra flavor punch, and I’m a firm believer in the power of fresh zest.
I’ll never forget the first time I made these on my own. I was so nervous I’d burn the sugar, I hovered over that pot like a hawk. I misread the thermometer and took it off the heat too early. Let’s just say I ended up with a pan of delicious but *very* chewy lemon taffy instead of hard candy! It was a delicious, sticky failure that taught me the importance of patience and trusting the process (and the thermometer!). So if your first batch isn’t perfect, don’t worry. It’s still probably delicious, and you’ve learned something for next time. That’s what cooking is all about!
Your Lemon Drop Questions, Answered!
Q: My candy turned out cloudy and grainy. What happened?
A: This is almost always caused by sugar crystallization. The most common culprit is stirring the syrup after the sugar has dissolved. Remember, once it comes to a boil, don’t stir! Also, make sure you wash down the sides of the pan with a wet pastry brush in the initial dissolving stage to remove any sugar crystals. Using corn syrup helps prevent this, as it’s an invert sugar that interferes with crystal formation.
Q: My lemon drops are sticky and won’t harden. Why?
A: This means the syrup didn’t quite reach the hard crack stage (300°F). The sugar needs to cook long enough for almost all the water to evaporate. The most likely reason is your thermometer might be off! It’s a good idea to test your candy thermometer’s accuracy by seeing if it reads 212°F (100°C) in boiling water. If it doesn’t, you’ll know to adjust your target temperature accordingly.
Q: Can I use bottled lemon juice?
A: You *can*, but I really don’t recommend it for the best flavor. Fresh lemon juice has a brighter, sharper, more vibrant taste. Bottled juice often has a flat, slightly metallic taste that will come through in the final candy. For that true “wow” factor, fresh is best!
Q: How do I store these, and how long do they last?
A: Store your completely cooled lemon drops in an airtight container at room temperature. Putting a small packet of food-safe silica gel in the container can help keep them dry and prevent them from getting sticky in humid environments. Properly stored, they should stay perfect for 2-3 weeks… if they last that long!

Lemon Drops
Description
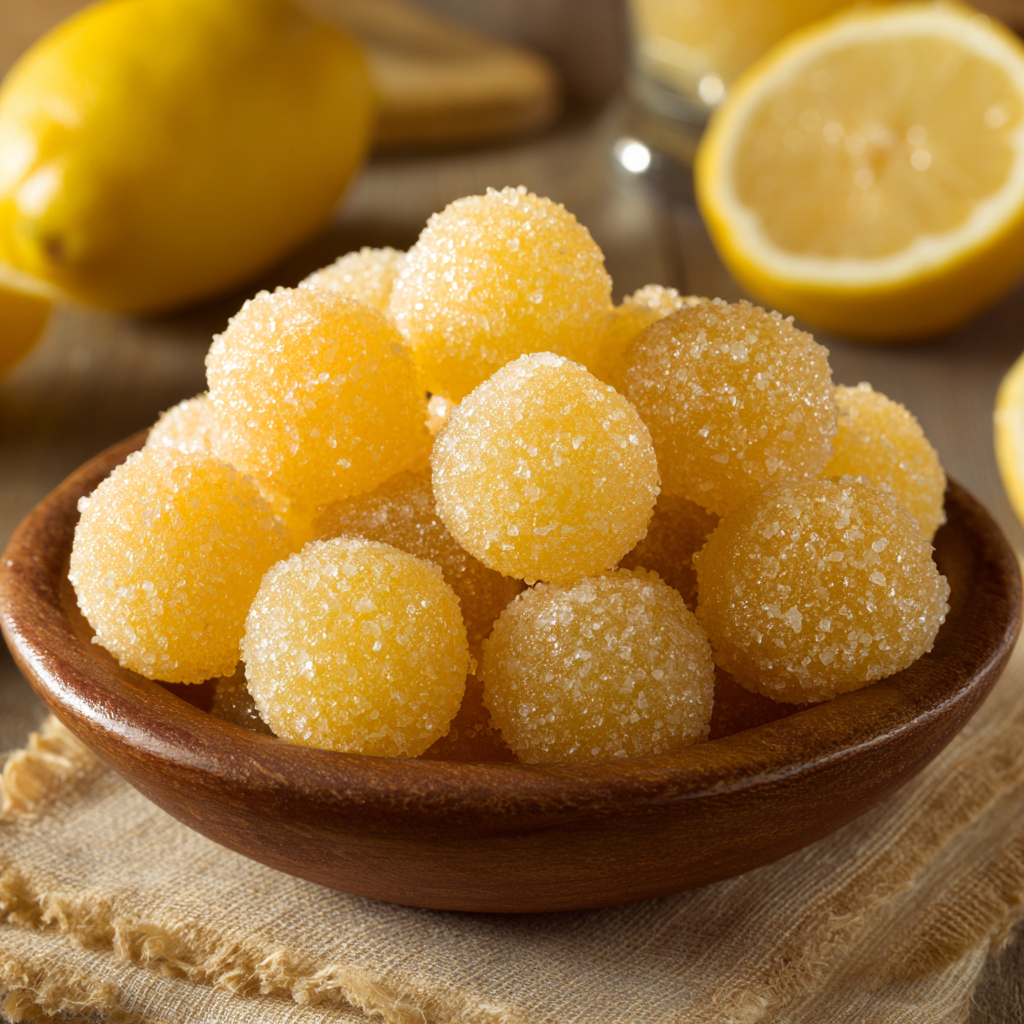
Bright, tangy, and wonderfully sweet, these lemon drops are little edible sunbeams that instantly lift the spirits. Perfect for candy jars, gifts, or a cheerful treat anytime, they combine a hard, glossy candy shell with a sugary coating and a burst of citrus flavor. No fancy equipment needed—just a candy thermometer and a little patience!
Ingredients
-
2 cups granulated sugar
-
½ cup light corn syrup (or golden syrup)
-
⅓ cup water
-
1 tbsp fresh lemon juice
-
1 tsp lemon zest
-
½ tsp lemon extract
-
Yellow food coloring (optional)
-
Additional granulated sugar, for coating
Instructions
-
Prep Your Station: Line a baking sheet with parchment and lightly dust with sugar. Measure all ingredients and have them ready.
-
Dissolve Sugar: In a medium, heavy-bottomed saucepan, combine sugar, corn syrup, and water. Cook over medium heat, stirring gently until sugar dissolves (3–4 minutes).
-
Cook to Hard Crack: Stop stirring. Attach a candy thermometer. Boil syrup until it reaches 300°F (150°C), the hard crack stage (10–15 minutes).
-
Add Flavor: Remove from heat. Stir in lemon juice, zest, extract, and food coloring (if using). The mixture will bubble—this is normal!
-
Form Drops: Quickly spoon small drops onto the prepared baking sheet. If syrup hardens in the pan, gently reheat for 20–30 seconds.
-
Sugar Coating: Once slightly cooled, roll drops in additional granulated sugar to coat.
-
Cool Completely: Let candy harden at room temperature for 20–30 minutes before storing or serving.
Notes
-
Lemon-Lavender: Add ½ tsp dried culinary lavender with zest.
-
Lemon-Raspberry: Add a few drops raspberry extract + a tiny drop of red coloring for a swirled effect.
-
Sparkling Sugar Coat: Use sanding sugar for extra sparkle.
-
Meyer Lemon: Substitute juice/zest for a sweeter, floral twist.
-
Spicy Ginger-Lemon: Add ¼ tsp ground or finely minced crystallized ginger.
Nutrition
- Calories: 45 kcal Per Serving
- Sugar: 10 g
- Fat: 0 g
- Carbohydrates: 11 g
- Protein: 0 g
Nutritional Information*
*This is an estimate provided for informational purposes only. I am not a nutritionist.
Per Lemon Drop: Calories: 45 | Fat: 0g | Carbohydrates: 11g | Sugar: 10g | Protein: 0g | Sodium: 0mg
Prep Time: 10 mins | Cook Time: 15 mins | Cool Time: 30 mins | Total Time: 55 min | Yield: ~40 lemon drops
Final Thoughts: A Little Jar of Sunshine
Well, my friend, there you have it—your very own kitchen-conjured jar of sunshine. I hope this recipe has shown you that the magic of candy-making isn’t reserved for fancy confectioners. It’s found in the simple, joyful act of transforming a few basic ingredients into something that sparks pure delight.
These lemon drops are more than just a sweet treat; they’re a connection. A connection to memories of my Nana’s kitchen, and now, I hope, a connection to new memories you’ll create in yours. Whether you’re making them for a holiday party, a thoughtful homemade gift, or just a quiet moment of personal indulgence, I hope they bring a little burst of brightness to your day.
So, don’t be intimidated by the candy thermometer. Embrace the sizzle, learn from any sticky mishaps (they’re still delicious!), and most importantly, have fun with it. You’ve just unlocked a wonderful, zingy little secret.


