
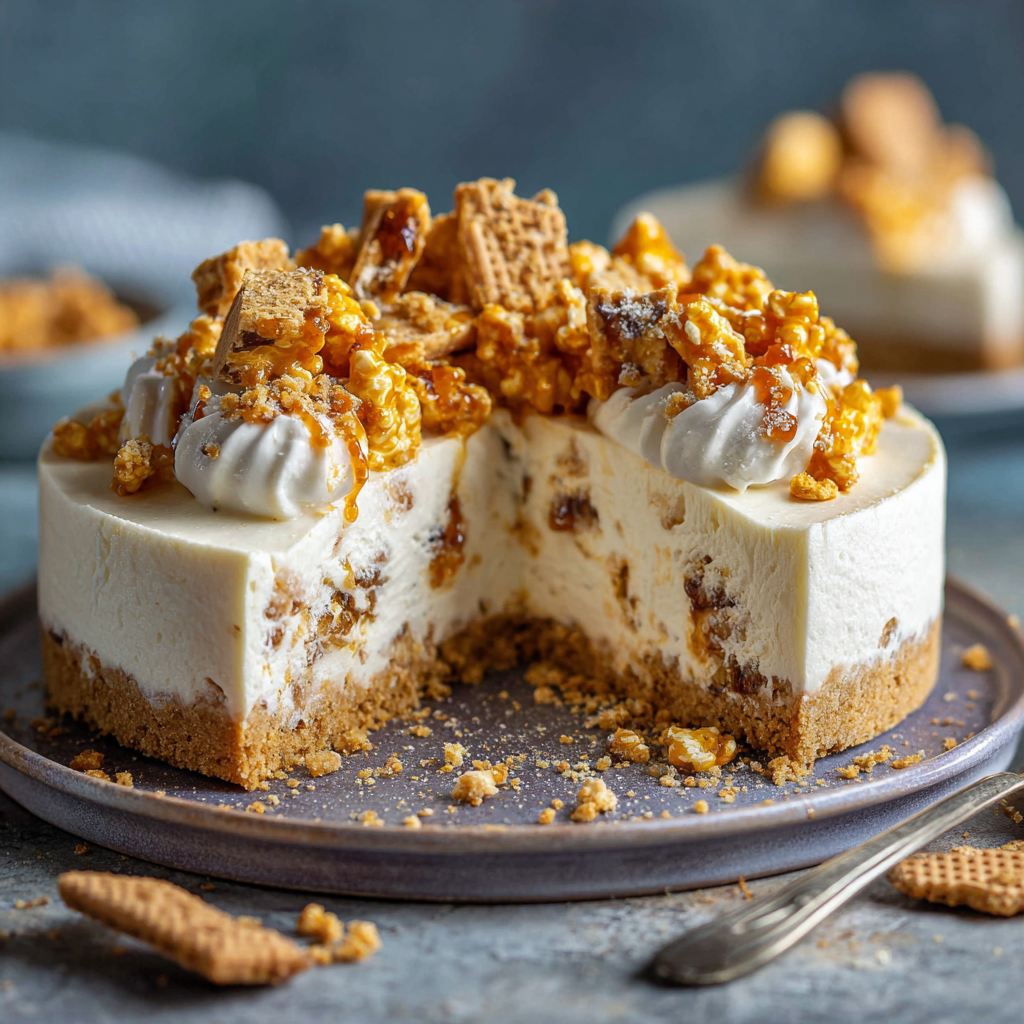
Honeycomb & White Chocolate No-Bake Cheesecake: Your New Favorite Dessert Obsession
Hey there, kitchen friend! Olivia here, waving from my flour-dusted countertop. Can you smell that? It’s the sweet promise of no-bake magic wafting through the air. If you’ve ever stared longingly at dessert recipes but hesitated because, well, oven drama, this Honeycomb & White Chocolate No-Bake Cheesecake is your golden ticket to bliss. Picture this: velvety cream cheese hugging melted white chocolate, crunchy honeycomb candy exploding like little caramel fireworks, all cradled by a buttery biscuit crust. It’s like a cloud and a crunch had a delicious love child!
Here’s why I’m obsessed: zero baking, minimal effort, maximum wow factor. Whether you’re hosting a last-minute girls’ night, celebrating a birthday, or just bribing yourself through a Tuesday (no judgment!), this dessert delivers pure joy. And that honeycomb? It’s not just pretty—it’s textural wizardry that’ll make everyone’s eyes light up. So grab your favorite mixing bowl and that apron with the questionable stain (mine’s sporting chocolate and beet juice—it’s a vibe). Let’s make magic happen!
That Time Honeycomb Saved My Dinner Party
Rewind to my first-ever dinner party as a “real adult.” I was 22, living in a tiny apartment, and determined to impress my new coworkers. I’d planned a fancy baked cheesecake… until I realized my oven was basically a temperamental dragon. Smoke alarm serenades? Not the mood. Panicking, I tore through my grandma’s recipe box and found her “Emergency No-Bake Cheesecake” scribbled on an index card. No oven required—praise the dessert gods!
But here’s the twist: I only had a rogue Crunchie bar (honeycomb-filled chocolate) in my pantry. In a stroke of sleep-deprived genius, I crushed it into the filling. When my guests took that first bite? Silence. Then, actual applause. My boss whispered, “Olivia, this is *everything*.” That humble cheesecake became my signature dish—and taught me that kitchen “failures” often birth the best traditions. Now, every time I make this, I taste a little nostalgia and a lot of triumph.
Gather Your Sweet Soldiers
Pro Tip: Use room-temp ingredients! Cold cream cheese = lumpy filling. We want SMOOTH.
- Hobnobs or Digestive Biscuits (200g): These oat-rich biscuits give a nutty, sturdy base. Chef’s Swap: Graham crackers or gluten-free biscuits work too!
- Honeycomb Candy (30g + 50g + 30g): That golden, airy crunch! Chef’s Insight: Buy it pre-made or make your own (it’s just sugar, golden syrup + baking soda!). Keep pieces chunky for topping.
- Unsalted Butter (120g, melted): The glue for our crust. Chef’s Secret: Salted butter works, but skip extra salt in the filling.
- White Chocolate (75g): Use baking bars, not chips! Chips have stabilizers that seize up. Chef’s Rant: Cheap white choc tastes like sweet wax—splurge a little!
- Philadelphia Cream Cheese (200g): Full-fat ONLY. This is the lush backbone of our filling. Chef’s Rule: Never use “light”—it weeps!
- Heavy Whipping Cream (250ml): The fluffy dream-weaver. Whip it to soft peaks—overdo it, and your filling gets stiff.
Let’s Build Some Deliciousness!
Tools You’ll Need: 7-inch springform pan, food processor (or rolling pin + rage), electric mixer.
- CRUST TIME: Blitz biscuits and 30g honeycomb into rubble (or smash in a bag with a wine bottle—therapy!). Mix with melted butter until it feels like wet sand. Press into your pan hard—use a glass to compact it. Chef’s Hack: Chill crust 30 mins. Skipping this? Your base crumbles like bad decisions!
- FILLING FANTASY: Beat cream cheese until satiny (1-2 mins). Drizzle in COOLED melted white chocolate—if it’s hot, it’ll melt the cream cheese. Fold in softly whipped cream with a spatula in 2 batches. Chef’s Whisper: Fold, don’t stir! Overmixing deflates the fluff.
- HONEYCOMB HUG: Gently fold in 50g crushed honeycomb. Warning: Overmixing turns candy to dust! Pour over crust and smooth the top. Tap the pan to release air bubbles.
- THE CHILL ZONE: Refrigerate 4+ hours (overnight = BEST). Chef’s OCD Tip: Loosely cover with foil to avoid fridge smells. No peeking!
- GRAND FINALE: Run a hot knife around the pan’s edge. Unclasp! Scatter 30g honeycomb chunks on top. Why now? Doing this earlier turns candy sticky.
Honeycomb & White Chocolate No-Bake Cheesecake: A Masterclass in Texture & Flavor
The Science of No-Bake Cheesecake Success
No-bake cheesecakes rely on emulsification and stabilization rather than eggs or heat to set. Here’s why this recipe works:
-
Cream Cheese Physics: Full-fat Philadelphia has the perfect stabilizing gums (xanthan, guar) that help it hold shape without baking. Low-fat versions contain more water = weepy filling.
-
White Chocolate’s Role: The cocoa butter acts as a solidifying agent when chilled, giving structure. Cheap white chocolate (with vegetable fats) won’t set as firmly.
-
Whipped Cream’s Magic: When cream is whipped to soft peaks, its air bubbles expand in the fridge, creating a mousse-like texture. Over-whipping = grainy filling.
-
Honeycomb’s Instability: Honeycomb (cinder toffee) is hygroscopic—it absorbs moisture and dissolves. Folding it in last-minute preserves its crunch.
Pro Tip: For a silkier filling, sieve the cream cheese before mixing. Lumps = enemy!
The Cultural Journey of Honeycomb: From British Treat to Global Star
1. Honeycomb’s Humble Origins
-
17th-Century England: Known as “hokey pokey” or “cinder toffee,” it was a cheap carnival treat made from golden syrup and baking soda.
-
The Science Behind the Bubbles: When baking soda hits molten sugar syrup, it releases CO₂, creating those iconic air pockets.
2. How Honeycomb Conquered Desserts
-
Australia/New Zealand: Crunchie bars (honeycomb coated in chocolate) became a national obsession.
-
Modern Gourmet Revival: Chefs now use honeycomb for textural contrast in desserts like panna cotta, ice cream, and—of course—cheesecake.
3. Why It Works in This Cheesecake
-
Flavor: The burnt caramel notes cut through the sweetness of white chocolate.
-
Texture: The brittle crunch against the creamy filling is everything.
-
Visual Drama: Those golden shards make a simple cheesecake look chef-level fancy.
Fun Fact: In Scotland, honeycomb is called “soor plooms” when dipped in sour powder!
Expert Troubleshooting & Next-Level Hacks
1. Avoiding Common Disasters
-
Soggy Crust? Bake it at 350°F (180°C) for 8 minutes before adding filling (even though it’s “no-bake”).
-
Filling Won’t Set? Add 1 tsp gelatin (bloomed in cold water) for foolproof firmness.
-
Honeycomb Melted? Freeze chunks before folding in—they’ll stay crunchier longer.
2. Pro Upgrades
-
Brown Butter Crust: Toast the butter until nutty for a darker, richer base.
-
Salted Honeycomb: Sprinkle flaky salt over the topping for sweet-salty nirvana.
-
Torched Meringue: Pipe Swiss meringue on top and brûlée for a showstopper finish.
3. Storage Secrets
-
Keep Topping Separate: Store honeycomb in an airtight jar with rice (absorbs moisture).
-
Freeze for Later: Slice individual portions and wrap in parchment. Thaw in the fridge 1 hour before serving.
Plate It Like a Pro (Minimal Effort, Max Glam)
Slide each slice onto a dessert plate with a dollop of extra whipped cream and a drizzle of salted caramel. For summer vibes, add fresh raspberries—their tartness cuts the sweetness beautifully! Hot Knife Trick: Dip your knife in hot water before slicing for Instagram-worthy clean edges. Serve straight from the fridge—warm cheesecake is a sad puddle.
Shake It Up, Sugar!
- Chocoholic Twist: Swap white chocolate for dark chocolate (70%) and add orange zest.
- Berry Burst: Swirl 2 tbsp raspberry jam into the filling before chilling.
- Salted Caramel Swagger: Layer store-bought caramel sauce under the filling.
- Vegan Vibes: Use coconut cream (chilled overnight), vegan cream cheese, and dairy-free chocolate.
- Boozy Fun: Add 1 tbsp Baileys to the filling—just for the grown-ups!
Confessions from My Messy Apron
This recipe evolved from my grandma’s “dump-and-stir” method to my current obsession with texture. The first time I added honeycomb, I used a WHOLE Crunchie bar (rookie move)—it dissolved into goo! Lesson learned: fold gently. My kids now fight over who crushes the honeycomb (I hand them a hammer—supervised chaos!). Pro tip: Double the recipe in a 9×13 dish for potlucks—it disappears faster than my willpower near cookie dough. Oh, and if your cheesecake cracks? Smother it with extra honeycomb. We call that “designer rustic.”
Your Questions, My Answers (No Judgement!)
Q: Can I freeze this cheesecake?
A: Technically yes, but I don’t love it. Freezing changes the honeycomb’s crunch to a chewy texture. If you must, freeze WITHOUT topping, wrap tightly, and thaw overnight in the fridge. Add honeycomb fresh!
Q: Why is my filling runny?
A: Three culprits: 1) Under-whipped cream (should be soft peaks!), 2) Warm ingredients (chill your bowl!), or 3) Not chilling long enough (4 hours MINIMUM). If it’s soupy, pop it back in the fridge—it might firm up!
Q: Help! My honeycomb turned into sticky syrup!
A: Honeycomb hates moisture. Always store it airtight with silica packets (the ones in jerky bags!). If your kitchen is humid, add it JUST before serving. DIY honeycomb? Bake soda is key—it creates those magical bubbles.
Q: Can I use mascarpone instead of cream cheese?
A: Absolutely! Swap 1:1 for a richer, silkier filling. Just know it’ll be less tangy and more decadent (is that really a problem?).

Honeycomb & White Chocolate No-Bake Cheesecake
- Total Time: 20 minutes
Description
Hey, sweet tooth! Olivia here—ready to ditch oven drama and whip up a no-bake cheesecake that’s dreamy, creamy, and packed with honeycomb crunch. Picture a buttery biscuit crust, silky white chocolate filling, and caramel honeycomb nuggets in every bite. It’s my failproof showstopper for birthdays, brunches, or just because. Grab that mixing bowl—let’s make dessert magic!
Ingredients
-
200g Hobnobs or Digestive Biscuits (or graham crackers)
-
30g honeycomb candy (for crust)
-
120g unsalted butter, melted
-
200g full-fat cream cheese, room temp
-
75g white chocolate, melted & cooled
-
250ml heavy whipping cream, softly whipped
-
50g honeycomb (folded in) + 30g extra (for topping)
Instructions
1️⃣ Crust: Crush biscuits + 30g honeycomb. Mix with melted butter. Press into a 7-inch springform pan. Chill 30 mins.
2️⃣ Filling: Beat cream cheese until smooth. Gently mix in cooled white chocolate. Fold in whipped cream in 2 batches. Fold in 50g crushed honeycomb—don’t overmix!
3️⃣ Chill: Pour filling over crust. Smooth top, tap out air bubbles. Cover, refrigerate 4+ hours (overnight best!).
4️⃣ Finish: Run a hot knife around edge, release pan. Scatter remaining honeycomb on top just before serving.
Notes
-
Warm knife = perfect slices!
-
Serve with raspberries or caramel drizzle.
-
Honeycomb melts in humidity—add last minute for max crunch.
- Prep Time: 20 min (+ 4 hrs chill)
Nutrition
- Calories: 380 cal Per Slice
- Sugar: 22g
- Fat: 28g
- Carbohydrates: 28g
Nutritional Nibbles (Per Slice)
Calories: ~380 | Carbs: 28g | Fat: 28g | Sugar: 22g
Note: Stats vary based on ingredients. For lower sugar, reduce honeycomb by 20% and use dark chocolate.
Final Thoughts: Why This Cheesecake Beats the Oven
This isn’t just a dessert—it’s a textural symphony and a testament to lazy genius. No water baths, no cracks, just pure indulgence. Whether you’re a kitchen newbie or a pastry pro, this cheesecake delivers crowd-worthy results every time.
So go ahead, crush that honeycomb with abandon, lick the white chocolate spoon, and savor the victory of a dessert that’s easier than pie (and twice as impressive). And when someone asks, “Is this store-bought?” wink and say


