
Soup’s New Best Friend: Homemade Pretzel Bread Bowls
Hey there, friend! Olivia here, from my cozy, flour-dusted kitchen to yours. Tell me, does anything beat the smell of fresh bread baking in the oven? That warm, yeasty aroma that wraps around you like a hug? Now, imagine taking that feeling and turning it into an edible, chewy, salty, golden vessel for your favorite soup, stew, or even a warm, gooey dip. That, my friends, is the pure magic of a Homemade Pretzel Bread Bowl.
I’m a firm believer that the vessel is just as important as what’s inside it. A regular bowl? It’s fine. Functional. But a warm pretzel bread bowl? That’s an experience. It’s the kind of thing that makes a simple Tuesday night feel like a festive gathering. It turns “what’s for dinner?” into “wow, what’s for dinner?!” The best part? They look and taste like they came from a fancy artisanal bakery, but I promise you, they are completely within your reach. We’re using simple ingredients and a fun, slightly quirky technique (hello, boiling dough!) that is an absolute game-changer. So, tie on your favorite apron, clear a little counter space, and let’s bake up some joy. Your soup nights are about to get a major upgrade, and spoons are officially optional.
The Cozy Ski Trip That Started It All
My love affair with pretzel bread bowls began not in a kitchen, but on a freezing cold ski trip with my best friends years ago. After a long day on the slopes, our fingers and toes were like little icicles, and we stumbled into a rustic lodge searching for warmth. The special that night was a rich, creamy broccoli cheddar soup served in a warm, soft pretzel bowl. The moment I broke off that first piece of chewy, salty crust and dipped it into the hot, cheesy soup, I was a goner. It was pure comfort. We were all laughing, tearing into our edible bowls, and for that hour, the world outside just melted away.
That feeling—the warmth, the connection, the sheer deliciousness—stuck with me. I spent weeks in my own kitchen trying to recreate that magic. My first few attempts were… let’s call them “learning experiences.” One batch came out looking like sad, pale rocks. But finally, I nailed it. Now, every time I make these, the smell instantly transports me back to that cozy lodge and the joy of sharing a truly fantastic meal with my favorite people. It’s more than just bread; it’s a memory maker.
Gathering Your Kitchen Crew: The Ingredients
Let’s gather our simple, superstar ingredients. This is where the magic begins! You probably have most of this in your pantry right now.
- 1½ cups warm water: Not hot, not cold—think baby-bath warm, around 105-115°F (40-46°C). Too hot, and you’ll send our next ingredient into a panic. This warmth wakes up the yeast and gets the party started.
- 1 tbsp sugar: This is the yeast’s favorite snack! It gives the little microorganisms a quick burst of energy to get them foaming and active, which is what makes our bread rise and become beautifully airy.
- 1 packet active dry yeast (2¼ tsp): The tiny, mighty engine of our recipe. Make sure your yeast is fresh for the best rise. If it doesn’t get foamy after 5-10 minutes in the warm water, it might be time for a new packet.
- 2 tsp salt: Essential for flavor! We’ll add this after the yeast is foamy, as direct contact with a lot of salt can sometimes slow yeast down.
- 4½ cups all-purpose flour: The backbone of our bowl. I use regular all-purpose here for a perfect chewy-yet-tender crumb. For a slightly heartier texture, you can swap in 1 cup of whole wheat flour, but the bowls will be a bit denser.
- 2 tbsp melted butter: This adds a touch of richness and helps keep the interior of the bread wonderfully soft. For a dairy-free version, olive oil works beautifully!
For the Boiling Solution (The Secret Sauce!):
- 10 cups water: Just plain tap water, ready for a boil.
- ⅔ cup baking soda: This is the pretzel-making hack! Boiling the dough in this alkaline solution is what gives pretzels their iconic dark, glossy, mahogany-brown crust and that distinct, irresistible flavor. Don’t be alarmed by the amount—it’s what makes it authentic!
For the Topping:
- 1 egg yolk + 1 tbsp water (egg wash): This is our edible glue and shine-maker. Brushing it on right before baking gives the bowls that professional, glossy finish and helps the salt stick.
- Coarse salt, to taste: I use flaky Maldon sea salt for delicate bursts of salinity, but any coarse salt or pretzel salt works perfectly. This is the final flavor pop!
Let’s Get Baking: Step-by-Step Instructions
Ready for the fun part? Let’s transform these simple ingredients into golden, edible masterpieces. Follow along, and don’t forget my little chef hacks for the best results!
- Wake Up the Yeast: In a large mixing bowl, combine the warm water, sugar, and the packet of yeast. Give it a gentle stir and then walk away for 5-10 minutes. You’re looking for a foamy, creamy layer on top—this is your sign that the yeast is alive, happy, and ready to work its rising magic. Chef’s Tip: If your kitchen is chilly, let the bowl rest in a warm (not hot!), draft-free spot, like an oven that’s off with the light on.
- Make the Dough: Once your yeast is foamy, stir in the salt and melted butter. Now, start adding the flour, one cup at a time, mixing as you go. Once the dough becomes too stiff to stir, dump it onto a lightly floured surface. Knead for 5-7 minutes. You’re looking for a smooth, slightly elastic dough that springs back slowly when you poke it. Chef’s Tip: Don’t over-flour your surface! Add just enough so it doesn’t stick. A slightly tacky dough is better than a dry, tough one.
- The First Rise: Place your beautiful, smooth dough ball back into a lightly oiled bowl, turn it over to coat, and cover the bowl with a clean kitchen towel or plastic wrap. Let it rise in a warm spot for about 1 hour, or until it has doubled in size. Chef’s Hack: To test if it’s ready, gently poke the dough with your finger. If the indentation remains, it’s perfectly proofed!
- Shape the Bowls: Punch the dough down (this is the most satisfying step!) to release the air. Turn it out onto your counter and divide it into 4-6 equal pieces, depending on how big you want your bowls. Shape each piece into a tight, smooth ball by pulling the edges down and pinching them together at the bottom. Place the balls seam-side down on a parchment-lined baking sheet, giving them plenty of room to expand. Let them rest for 10 minutes—they’ll puff up just a bit more.
- Preheat and Prep the Boil: While the dough rests, preheat your oven to a hot 425°F (220°C). Now, for the signature pretzel move! In a large, wide pot (a Dutch oven is perfect), bring the 10 cups of water and the ⅔ cup of baking soda to a rolling boil. It will fizz a bit—that’s normal!
- The Boiling Bath: Carefully lower 1-2 dough balls (don’t crowd the pot) into the boiling water. They will sink and then float. Boil them for 30 seconds, then gently flip them over and boil for another 30 seconds. This brief bath is what sets the classic pretzel crust. Use a slotted spoon or spider strainer to lift them out, letting the excess water drip off, and place them back on the baking sheet. Chef’s Note: They will look a little wrinkly and weird at this stage—that’s totally okay! They transform in the oven.
- Egg Wash and Score: Whisk the egg yolk with 1 tablespoon of water to make your egg wash. Gently brush it over the entire surface of each boiled dough ball. Now, generously sprinkle with coarse salt. Finally, take a sharp knife or a lame (a baker’s scoring tool) and make a shallow “X” on the top of each ball. This scoring allows steam to escape and gives the bread a beautiful, rustic look as it bakes.
- Bake to Golden Perfection: Pop the baking sheet into your preheated oven and bake for 18-22 minutes. You’re looking for a deep, rich, mahogany brown color. The bowls should sound hollow when you tap on the bottom. Chef’s Tip: For extra color, you can rotate the pan halfway through baking.
- Cool and Hollow: Transfer the baked bowls to a wire rack and let them cool completely. Once cool, use a small, sharp knife to cut a circle out of the top. Pull out the soft bread inside, leaving a sturdy wall for your soup. Don’t throw the lid or the insides away! They are perfect for dipping.
How to Serve Your Masterpiece
Presentation is part of the fun! Place a warm pretzel bowl right in the center of a shallow bowl or plate (this catches any potential soup spills beautifully). Ladle in your hottest, steamiest soup or stew—a thick, creamy chowder or a hearty chili is just perfect. Lean the cute little bread “lid” up against the side of the bowl for a charming, rustic look. For a party, fill them with warm spinach and artichoke dip or a queso fundido and let everyone dig in. The only rule? Serve them warm and watch the smiles appear.
Get Creative: Recipe Variations
Once you’ve mastered the classic, the world is your pretzel bowl! Here are a few fun twists:
- Cheesy Everything: Knead 1 cup of shredded sharp cheddar cheese into the dough during the last minute of kneading. Top with everything bagel seasoning instead of coarse salt.
- Whole Wheat & Honey: Substitute 1 cup of all-purpose flour with whole wheat flour and use honey instead of sugar for a slightly nutty, wholesome flavor.
- Garlic & Herb: Add 2 tsp of garlic powder and 1 tbsp of dried herbs (like rosemary or Italian seasoning) to the dry ingredients. Brush with garlic butter right after baking.
- Mini Pretzel Dip Bowls: Divide the dough into 8-10 small balls for the perfect individual dip vessels for your next game day spread.
- Sweeter Side: Skip the coarse salt topping and after baking, brush with melted butter and roll in a cinnamon-sugar mixture. Perfect for holding fruit salad or pudding!
Olivia’s Chef’s Notes
This recipe has been a labor of love in my kitchen. My first time making these, I was so nervous about the boiling step that I almost skipped it. I’m so glad I didn’t! It’s the heart and soul of a pretzel. Over the years, I’ve learned that a confident, shallow score on top makes all the difference in the final look. And a little confession: I am not a patient person, but I’ve learned that letting these cool completely before hollowing them out is non-negotiable. If you try to cut them warm, they can get gummy and are more likely to collapse. Trust me on this one! The best part? My husband now knows the sound of me scoring the dough means pretzel bowls are happening, and he magically appears in the kitchen, “just to see if I need help with taste-testing.”
Your Questions, Answered: FAQs & Troubleshooting
Q: My dough didn’t rise. What went wrong?
A: The most common culprits are old yeast or water that was too hot, which can kill the yeast. Always test your yeast in warm (not hot) water with a bit of sugar first. Also, make sure your rising spot is warm enough—a chilly kitchen can slow fermentation way down.
Q: Can I make the dough ahead of time?
A: Absolutely! After the first rise, punch the dough down, place it in a greased bowl, cover tightly with plastic wrap, and refrigerate for up to 24 hours. When you’re ready, let the dough balls come to room temperature for 30 minutes before shaping and proceeding with the boiling and baking steps.
Q: My pretzel bread bowls turned out pale, not dark brown. Why?
A> This usually points to the boiling solution. Make sure your water is at a vigorous, rolling boil before you add the dough, and don’t skimp on the baking soda. That alkaline bath is the key to the classic dark, glossy crust. Also, ensure your oven is fully preheated.
Q: The bottoms of my bowls got a bit soggy after filling them with soup. How can I prevent this?
A> This is a great question! To create a moisture barrier, you can brush the *inside* of the hollowed-out bowl with a little melted butter or olive oil and pop it back into a 350°F (175°C) oven for 5-7 minutes to crisp up before filling. Also, only fill them right before serving to keep that wonderful chewiness intact.

Homemade Pretzel Bread Bowls (Perfect for Soups & Dips)
Description
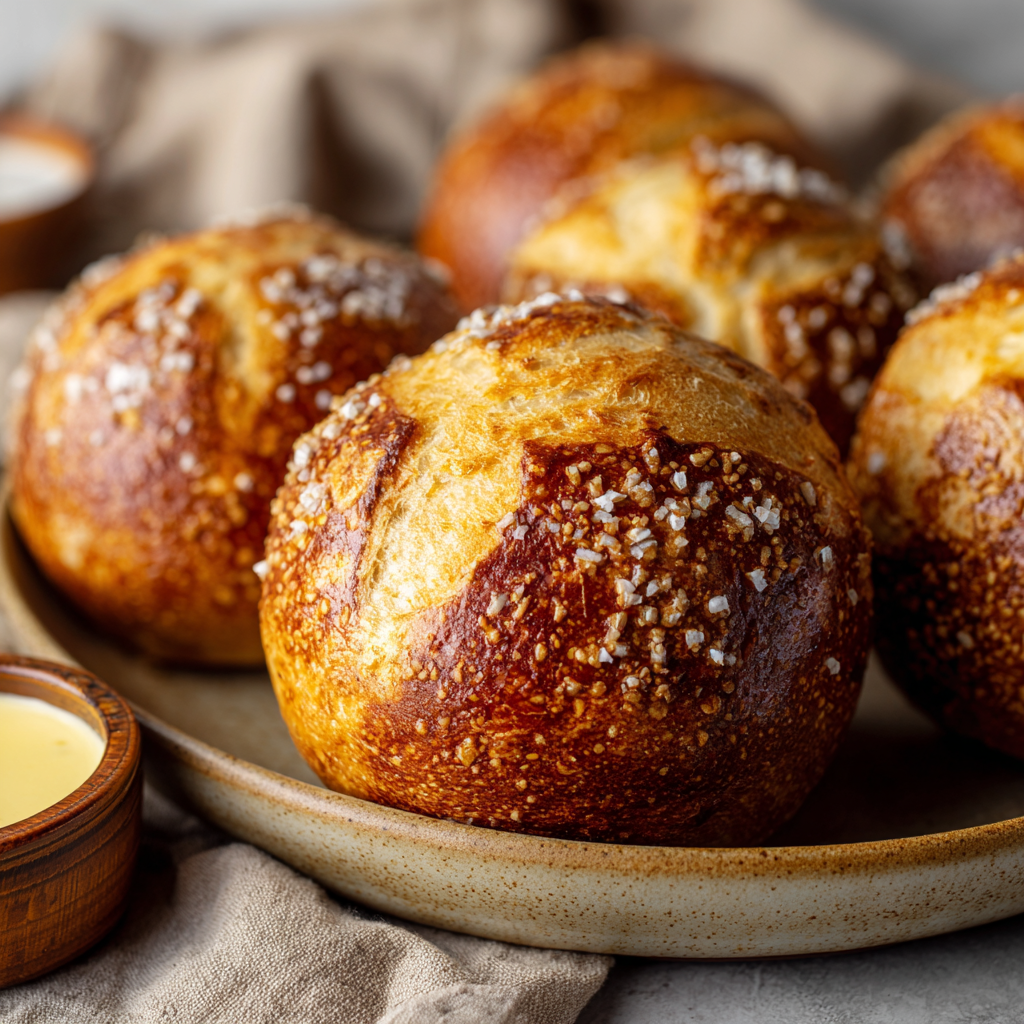
Nothing beats the smell of warm, golden bread baking in your kitchen—but when that bread becomes the bowl? Pure magic. These Homemade Pretzel Bread Bowls are chewy on the outside, soft inside, and perfect for holding your favorite soups, stews, or dips. With a simple dough, a quick baking soda boil, and a glossy egg wash, you’ll have bakery-worthy bowls that make any meal unforgettable. So grab your apron—your soup’s new best friend is about to be born!
Ingredients
-
1½ cups warm water (105–115°F / 40–46°C)
-
1 tbsp sugar
-
1 packet (2¼ tsp) active dry yeast
-
2 tsp salt
-
4½ cups all-purpose flour
-
2 tbsp melted butter (or olive oil)
For Boiling:
-
10 cups water
-
⅔ cup baking soda
For Topping:
-
1 egg yolk + 1 tbsp water
-
Coarse or pretzel salt
Instructions
-
Activate Yeast: Mix warm water, sugar, and yeast. Let foam for 5–10 min.
-
Make Dough: Stir in salt and butter, then gradually add flour. Knead 5–7 min until smooth and elastic.
-
First Rise: Place dough in a greased bowl, cover, and let rise 1 hour or until doubled.
-
Shape: Punch down dough and divide into 4–6 balls. Rest 10 min.
-
Boil: Preheat oven to 425°F (220°C). Boil each dough ball 30 sec per side in baking soda water.
-
Bake: Place on parchment, brush with egg wash, sprinkle salt, and score tops. Bake 18–22 min until deep golden brown.
-
Cool & Hollow: Let cool completely, then cut a lid and scoop out the center to form your bowl
Notes
✨ For crispier insides, brush with melted butter and bake 5 more minutes before filling.
✨ Add cheese, herbs, or garlic for flavor twists!
Nutrition
- Calories: 290cal Per Serving
- Fat: 4g
- Carbohydrates: 54g
- Fiber: 2g
- Protein: 8g
Quick Nutrition Info
Per Bowl (if recipe makes 6):
Calories: 290 | Protein: 8g | Fat: 4g | Carbs: 54g | Fiber: 2g | Sugar: 2g | Sodium: ~600mg (depending on salt topping)
Final Thoughts:
Forget the spoon. Forget the ordinary bowl. These Homemade Pretzel Bread Bowls are a warm, chewy, edible hug for your favorite soup. They turn a simple meal into a memorable experience, and the best part? You made them yourself. So go on, bake up some joy, and get ready for the most delicious soup night of your life.


