Effortless Indulgence: Welcome to Cherry Pineapple Dump Cake Heaven!
Hello, my friend, and welcome to the coziest corner of the internet! Come on in, tie on an apron (don’t worry, mine’s already a little flour-dusted), and get ready for a treat that feels like a warm hug. If you’ve ever stared into your pantry, dreaming of something sweet, comforting, and miraculously easy, you’ve just hit the jackpot.
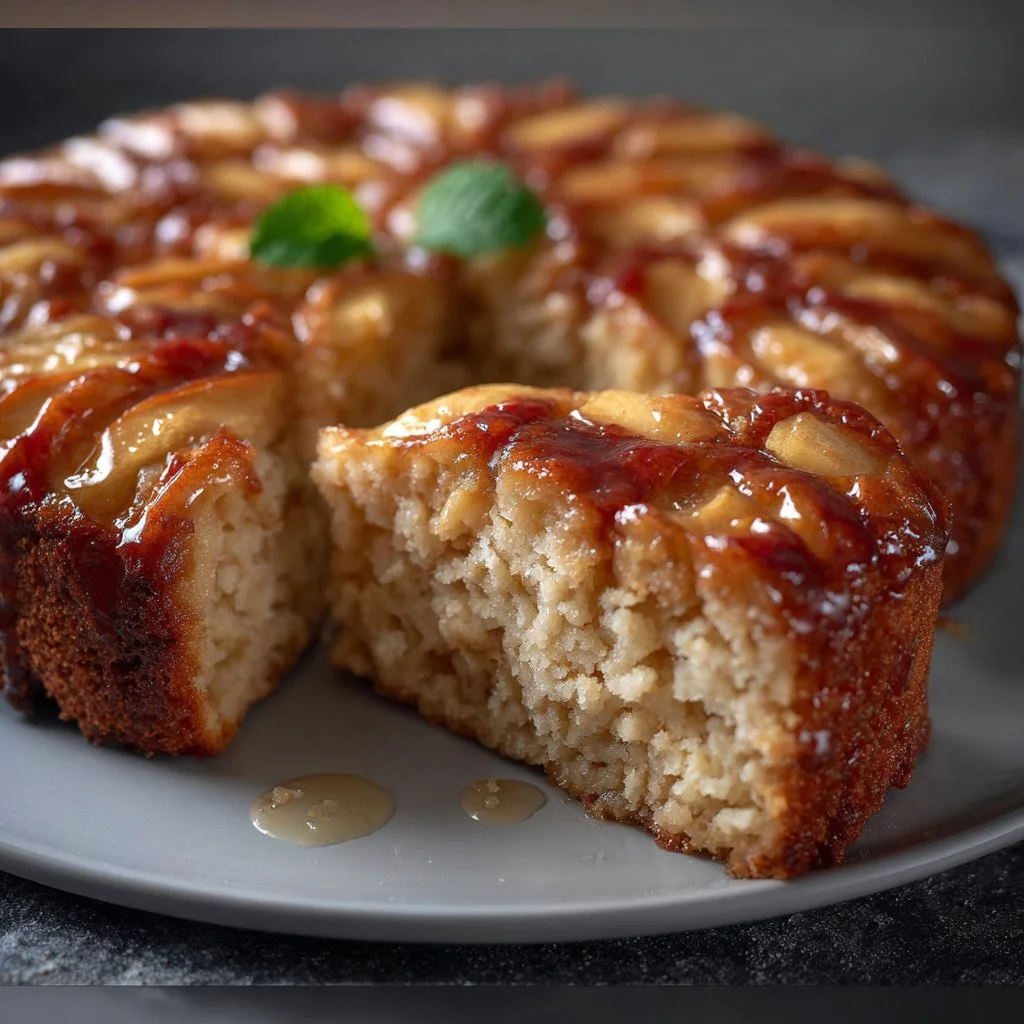
Today, we’re making magic. We’re talking about my legendary Cherry Pineapple Dump Cake with a Walnut Crunch. The name might make you chuckle—it’s not the most elegant, I’ll admit—but one bite of this golden, bubbling, fruity masterpiece, and you’ll be a believer. This is the dessert that has saved countless of my potlucks, soothed bad days, and become the most-requested recipe by my friends and family. It’s the beautiful chaos of cherry pie filling and juicy crushed pineapple, all snuggled under a blanket of buttery yellow cake mix and toasted walnuts that bake into the most irresistible crunchy topping.
The best part? You are literally minutes away from dessert nirvana. No mixer, no fancy techniques, no stress. Just a little dumping, a little pouring, and a whole lot of anticipation as your kitchen fills with the most incredible aroma. This recipe is proof that you don’t need to be a pastry chef to create pure, unadulterated joy. So, let’s make a mess, let’s make memories, and let’s make a dessert that will have everyone begging for the recipe.
A Sweet Slice of Nostalgia
This recipe takes me right back to my Grandma Eleanor’s linoleum-floored kitchen. She was the queen of “making do” and creating feasts from what seemed like thin air. The first time I saw her make this, I was about ten years old, and my eyes were as wide as dinner plates. She pulled out these simple cans from her well-stocked pantry, and with a series of confident, messy dumps and sprinkles, she created what I was sure was a wizard’s dessert. The sound of the oven door closing was a promise of the goodness to come.
When she finally pulled it out, the top was a glorious, craggy landscape of golden brown, with deep red and bright yellow fruit bubbling up around the edges like lava. She’d always serve it to me scalding hot with a giant scoop of vanilla ice cream that would melt into a creamy river through the cracks. We’d sit at her formica table, not saying a word, just sharing smiles and spoonfuls of pure comfort. That’s the power of this cake. It’s not just a recipe; it’s a vehicle for connection, for memory, and for the simple, profound joy of sharing something delicious.
Gathering Your Cozy Ingredients
Here’s the beautiful lineup for our masterpiece. I love how simple this is! A quick note: using the specific types I mention here makes a big difference in the final texture and flavor.
- 2 (21 oz) cans Cherry Pie Filling: This is the lush, deep, fruity base of our cake. I don’t recommend substituting with plain canned cherries, as the pie filling has that perfect thick, glossy consistency that holds up beautifully during baking. It’s the sweet, vibrant heart of the dish.
- 4 (8 oz) cans Crushed Pineapple in 100% Juice (undrained): Do not drain these! The juice is crucial—it adds natural sweetness and, most importantly, the moisture needed to “cook” the cake mix from below. Using pineapple packed in juice instead of heavy syrup keeps the dessert from being overly sweet. The bright, tropical tang of the pineapple is the perfect counterpoint to the rich cherry.
- 2 boxes (15.25 oz each) Yellow Cake Mix: Yes, the entire box, dry! This is our magical topping. The mix bakes with the butter and fruit juices to create a crumbly, cobbler-like crust. Chef’s Insight: I always use a standard “butter recipe” yellow cake mix if I can find it—it adds an extra layer of rich flavor.
- 4 cups Chopped Walnuts: This is where we get our incredible CRUNCH! Toasting happens in the oven, transforming the walnuts into a nutty, buttery, crispy crown. For a variation, pecans are a fabulous southern-style swap.
- 1 ½ cups Unsalted Butter, melted: The golden glue that holds our crunchy topping together. Melting the butter allows it to seep into every nook and cranny of the dry cake mix and nuts, creating those irresistible buttery, crispy bits. Using unsalted lets you control the sodium level.
- Optional twist: 1 tsp Ground Cinnamon + ½ tsp Nutmeg: My little secret for a “spiced warmth” version. Just sprinkle this right over the dry cake mix before you add the butter. It adds a cozy, holiday-like aroma that is absolutely divine.
- Optional Topping: Whipped Cream or Vanilla Ice Cream: This is non-negotiable for the full experience! The cool, creamy contrast against the warm, bubbling cake is what dreams are made of.
Let’s Bake! Your Foolproof Step-by-Step Guide
Ready? This is the easiest, most satisfying process. Let’s do this together, step by step.
- Preheat and Prep: First things first, get that oven roaring to a cozy 350°F (175°C). While it’s heating up, grab your baking dish(es). I typically use two 9×13-inch pans because it makes serving a crowd super easy, but one large, deep roasting pan works perfectly too! Give it a quick greasing with butter or a spritz of baking spray. Chef’s Hack: A light coating ensures those sticky, bubbly fruit edges don’t cement themselves to the pan, making cleanup a dream.
- The Fruity Foundation: Now for the fun part—the dump! Open your cans of cherry pie filling and crushed pineapple (juice and all!) and pour them directly into your prepared pan. Take a spatula or a large spoon and give it a gentle, loving stir just to swirl the cherries and pineapple together. You’re not mixing it vigorously, just creating a beautiful, marbled fruit base. Seeing those bright reds and yellows combine is already a mood-lifter!
- The Blanket of Cake: Here’s the key step—open both boxes of yellow cake mix and sprinkle the powder evenly, like a soft, golden snowfall, all over the fruit layer. Important Chef’s Note: Do NOT stir it in! I know it’s tempting, but resist! The dry mix needs to sit on top to create that signature textured topping. If you mix it, you’ll lose the wonderful contrast between the soft fruit and the crunchy cake.
- The Nutty Crown: Now, shower the top with all those gorgeous chopped walnuts. Spread them out as evenly as you can. They’re going to toast up in the oven and become the most flavorful, crunchy component. This is also the stage where I’d add my optional cinnamon and nutmeg if I’m feeling that cozy vibe.
- The Golden Drizzle: Take your melted, unsalted butter and slowly, deliberately drizzle it all over the entire surface. I like to use a spoon or a liquid measuring cup for control. You want to try and hit as much of the dry cake mix and nuts as possible. This butter is what transforms the dry powder into a rich, crumbly, cobbler-like crust. Watching it pool and glisten is pure kitchen therapy.
- Bake to Perfection: Carefully place your creation in the preheated oven. Now, the hardest part: waiting! Bake for 35-45 minutes, but start watching at the 30-minute mark. You’re looking for a deep golden-brown topping, with the walnuts looking nicely toasted, and the fruit visibly bubbling and simmering around the edges like a little fruit volcano. That bubbling is your sign that everything is hot, happy, and cooked through.
- The Final Touch (Patience!): Once it’s out of the oven, let it cool on a rack for at least 15-20 minutes. Chef’s Truth Bomb: I know it’s hard, but this resting time is essential. It allows the molten fruit lava to settle and thicken slightly, so you get perfect, scoopable servings instead of a soupy mess. It’s worth the wait, I promise!
How to Serve This Masterpiece
Presentation is everything, even for our rustic, homespun dump cake! I love serving it right from the baking dish at the table—it feels so communal and inviting. Use a large spoon or pie server to scoop down to the bottom, making sure you get all the layers in one glorious bite. Pile it into bowls, and immediately crown it with a generous dollop of freshly whipped cream or, my personal favorite, a melting scoop of high-quality vanilla ice cream. The contrast of the warm, crunchy cake with the cold, creamy ice cream is nothing short of magical. Serve it with a big smile—you’ve just made something amazing.
Get Creative! Fun Flavor Twists
The beauty of this recipe is its versatility! Once you master the classic, try one of these delicious variations:
- Peach Pecan Dream: Swap the cherry for peach pie filling and the walnuts for pecans. It’s a Southern classic that tastes like sunshine.
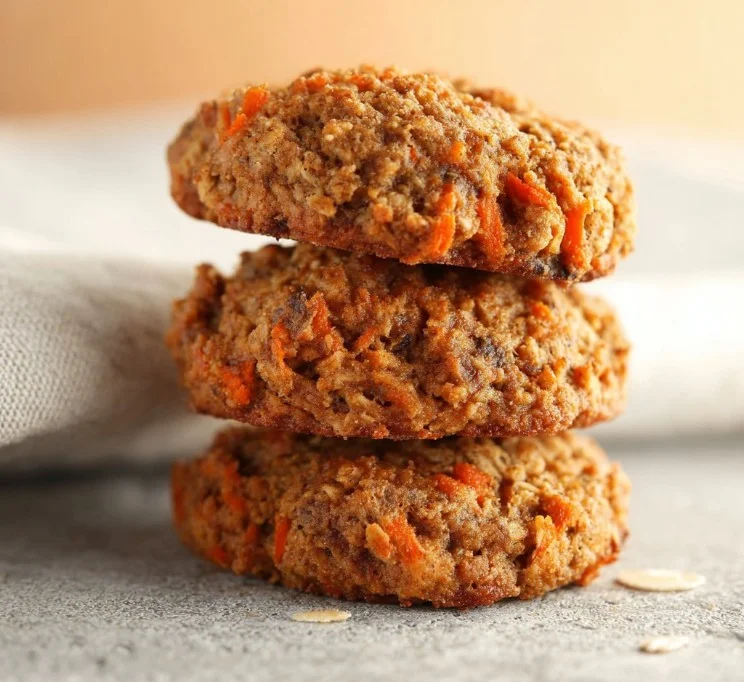
- Apple Spice Delight: Use apple pie filling and add a tablespoon of apple pie spice to the dry cake mix. It’s like fall in a dish!
- Tropical Escape: Use pineapple pie filling and stir a cup of sweetened shredded coconut into the dry cake mix before sprinkling. Top with macadamia nuts for the ultimate vacation vibe.
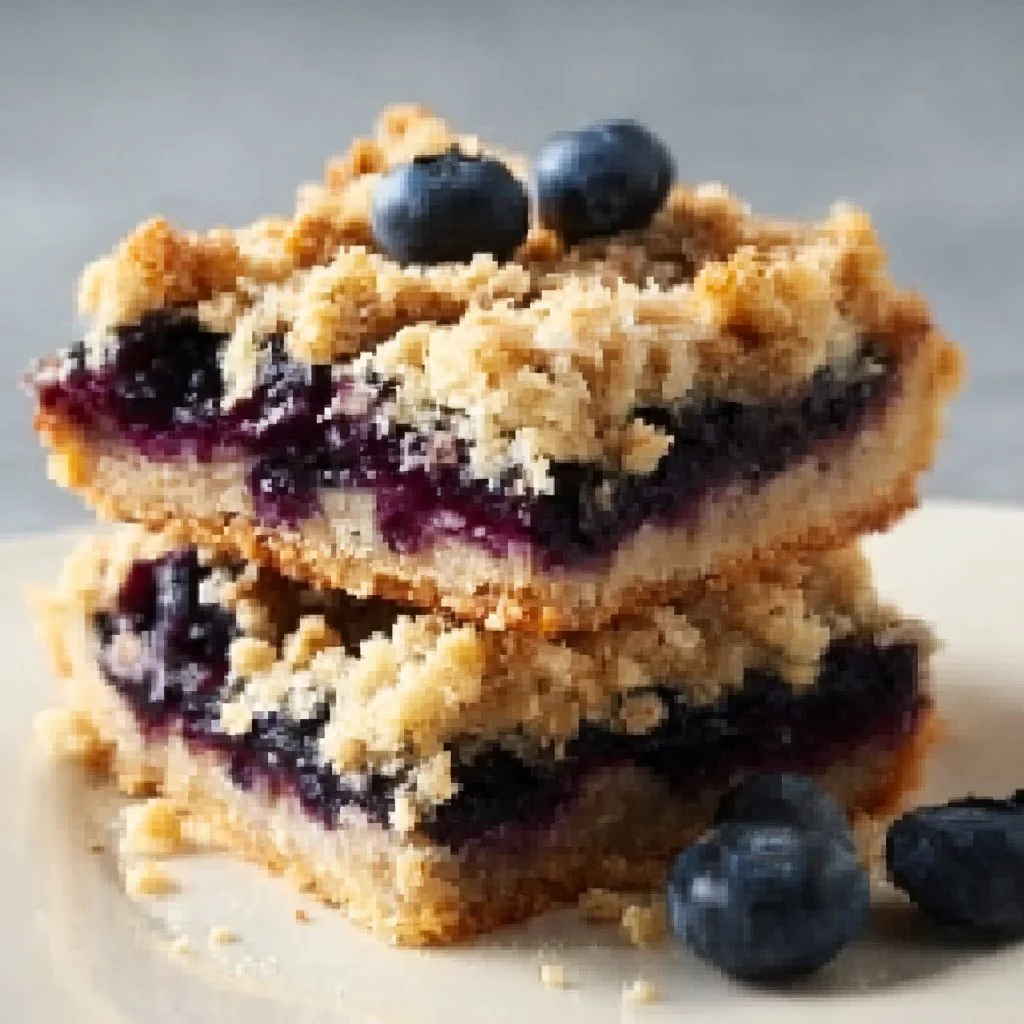
- Berry Medley: Use blueberry or mixed berry pie filling for a vibrant, antioxidant-rich twist.
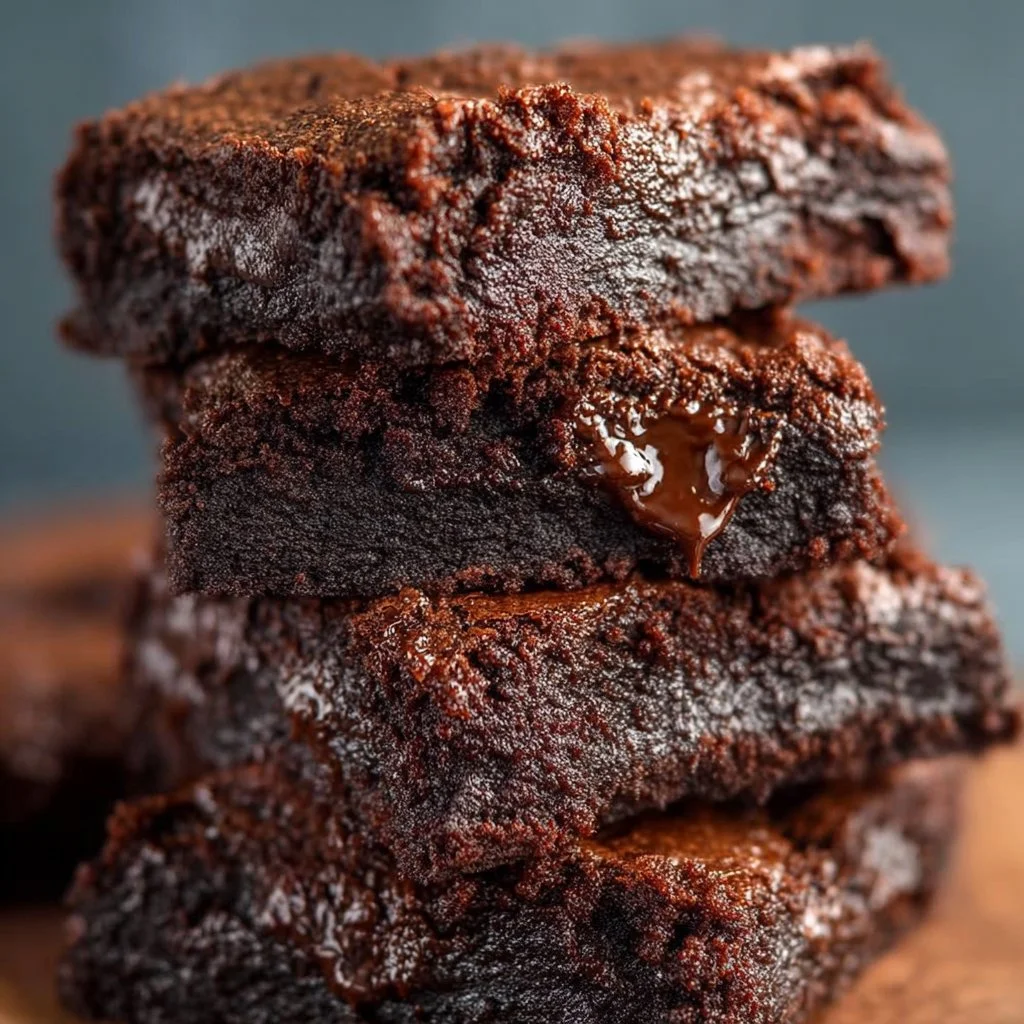
- Chocolate Cherry Bomb: For the chocoholics, use a devil’s food cake mix instead of yellow cake. The combination of chocolate and cherry is a timeless winner.
From My Kitchen to Yours: A Few Parting Thoughts
This recipe has been with me through so many chapters of life. It was the first dessert I ever made for my now-husband (he still says it’s what sealed the deal). I’ve doubled it for church suppers, halved it for a cozy night in, and I even once made it in a disposable pan over a campfire (wrapped tightly in foil—it worked surprisingly well!). It has evolved from my grandma’s simple version to my spiced-up, extra-crunchy rendition, and I love that you can make it your own, too.
The one constant? It always brings people together. There’s something about its unpretentious, hearty beauty that gets everyone talking, laughing, and reaching for a second helping. Don’t be afraid of the mess, embrace the “dump” philosophy, and most importantly, share it with someone you love. That’s where the real magic happens.
Your Questions, Answered!
Over the years, I’ve gotten a few repeat questions about this cake. Here’s the scoop to ensure your baking success!
Q: My topping is still powdery in spots after baking. What happened?
A: Ah, the classic “butter drizzle” dilemma! This usually means the butter didn’t quite reach every bit of dry mix. Next time, take an extra minute to drizzle slowly and methodically, moving in a back-and-forth motion across the entire pan. You can also take a fork and gently poke the powdery areas to help the butter seep down. Don’t stir, just a little nudging!
Q: Can I make this dump cake gluten-free or with a sugar-free option?
A> You absolutely can! I’ve had great success using a gluten-free yellow cake mix. The result is just as delicious. For a lower-sugar version, look for no-sugar-added pie fillings and crushed pineapple, and use a sugar-free cake mix. The texture will be slightly different, but it still makes a wonderful dessert.
Q: Why is my cake soggy on the bottom?
A> A soggy bottom usually points to two things: not using a deep enough pan (causing the fruit to steam too densely) or not letting it rest after baking. That 15-20 minute cooling period is not a suggestion—it’s a crucial step for the filling to set! Also, make sure your oven is fully preheated so the topping starts cooking immediately.
Q: Can I prepare this dump cake ahead of time?
A> For the best texture, I recommend baking it fresh. However, you can be a prep superstar by combining the fruit in the baking dish, covering it, and refrigerating it up to a day ahead. When you’re ready to bake, just continue with the cake mix, nuts, and butter steps. Don’t let the dry mix sit on the fruit in the fridge for hours, as it can start to get gummy.
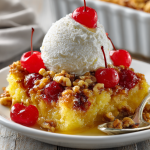
herry Pineapple Dump Cake : Effortless Indulgence in Every Bite
Description
A cozy, no-fuss dessert that’s warm, bubbly, and loaded with fruit, cake mix, and nuts. Perfect for potlucks, family dinners, or any time you want a comfort dessert.
Ingredients
Fruit Base:
-
2 (21 oz) cans cherry pie filling
-
4 (8 oz) cans crushed pineapple in 100% juice (undrained)
Topping:
-
2 boxes (15.25 oz each) yellow cake mix
-
4 cups chopped walnuts
-
1½ cups unsalted butter, melted
Optional:
-
1 tsp ground cinnamon + ½ tsp nutmeg (for a warm, spiced flavor)
-
Whipped cream or vanilla ice cream for serving
Instructions
-
Preheat oven: 350°F (175°C). Grease two 9×13-inch pans (or one large deep pan) with butter or nonstick spray.
-
Layer fruit: Pour cherry pie filling and crushed pineapple (with juice) into the prepared pan. Gently swirl with a spatula to combine.
-
Add cake mix: Sprinkle the dry yellow cake mix evenly over the fruit. Do not stir.
-
Add nuts & spices: Spread chopped walnuts evenly over the cake mix. Sprinkle optional cinnamon and nutmeg if desired.
-
Drizzle butter: Pour melted butter evenly over the top, making sure it reaches all areas of the dry mix.
-
Bake: 35–45 minutes, until topping is golden brown and walnuts are toasted, and fruit is bubbling around the edges. Check at 30 minutes to ensure even browning.
-
Cool: Let the cake rest 15–20 minutes before serving to allow the fruit juices to thicken slightly.
Serving Suggestions:
-
Serve warm straight from the pan for a rustic feel.
-
Top with whipped cream or a scoop of vanilla ice cream for the ultimate comfort dessert.
Variations:
-
Peach Pecan: Swap cherries for peach pie filling and walnuts for pecans.
-
Apple Spice: Use apple pie filling and add 1 tbsp apple pie spice to the cake mix.
-
Tropical: Use pineapple pie filling and mix 1 cup sweetened shredded coconut into the cake mix; top with macadamia nuts.
-
Berry Medley: Substitute blueberry or mixed berry pie filling.
-
Chocolate Cherry: Use devil’s food cake mix instead of yellow cake for a chocolatey twist.
Notes
-
If topping is powdery, drizzle butter more slowly and gently poke dry spots with a fork.
-
For gluten-free or sugar-free versions, use suitable cake mixes and pie fillings.
-
Avoid a soggy bottom by using a deep enough pan and allowing it to rest after baking.
-
You can prep fruit a day ahead, but add cake mix, nuts, and butter just before baking.
Nutrition
- Calories: 370 cal Per Serving
- Fat: 20g
- Carbohydrates: 43g
Nutritional Information (Approximate)
Per Serving (1/24th of the recipe): Calories: 370 | Carbohydrates: 43g | Fat: 20g | Protein: 3g
Please note: This is an estimate generated from the ingredients used and can vary based on specific brands and any substitutions you make.
Final Thoughts: Your New Go-To Joy
And just like that, with a few simple dumps and a drizzle, you’ve created a dessert that feels like a celebration in a dish. This Cherry Pineapple Dump Cake is more than just a recipe—it’s a promise of simplicity, a guarantee of comfort, and an open invitation to create your own sweet memories.
It’s the dessert you can always count on, whether life calls for a last-minute potluck savior or a quiet Tuesday night treat. It proves that the most beloved dishes aren’t about perfection; they’re about the warmth they bring to the table and the smiles they bring to faces. From my Grandma Eleanor’s linoleum kitchen to yours, this cake is a legacy of love, laughter, and the beautiful truth that sometimes, the best things in life are the easiest.
So, the next time a sweet craving hits, don’t overcomplicate it. Embrace the beautiful chaos, trust the process, and dive headfirst into dump cake heaven. I hope this recipe becomes a well-loved, often-requested staple in your home, just as it is in mine.
Now, grab a spoon, scoop yourself a generous helping, and taste the simple, unadulterated joy.
Happy Baking!
Olivia