
Spooky Sweetness in Every Bite: Meet Your New Halloween Cookie Obsession!
Hey there, fellow kitchen adventurer! Olivia here, waving from my flour-dusted countertop. Can you feel that crisp October magic in the air? That little thrill when jack-o’-lanterns start glowing on porches and the scent of cinnamon seems to follow you everywhere? It’s officially ghost cookie season, my friends—and I’ve got the most adorable, buttery, and spook-tacular recipe to make your Halloween extra memorable.
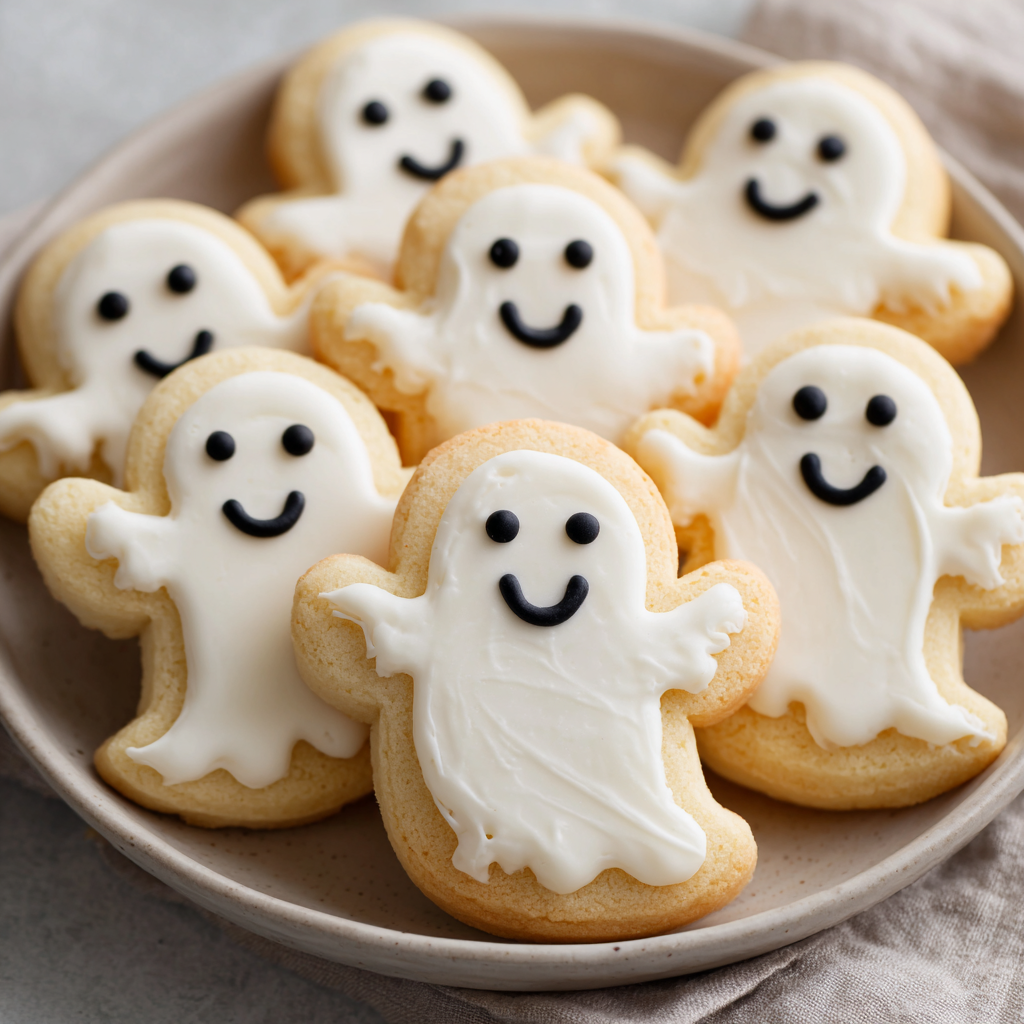
Picture this: tender sugar cookies shaped like playful little phantoms, their edges just begging to be dunked in coffee or cider. They’re not just cute (though trust me, they’ll steal the show on any dessert table)—they’re buttery, melt-in-your-mouth delicious, with that nostalgic sugar cookie charm we all crave. Whether you’re hosting a monster mash, packing treat bags for tiny witches and superheroes, or just craving a cozy baking project while binge-watching horror flicks, these Ghost Sugar Cookies are your perfect sidekick. No fancy skills needed—just big enthusiasm and maybe a dance break to “Thriller” while the dough chills!
I designed this recipe for maximum joy and minimum stress. We’re talking simple ingredients, forgiving techniques, and endless decorating freedom. Your kitchen might get a little messy (mine always does—apron squad unite!), but those giggles when your ghosties come to life with icing eyes? Pure magic. Ready to make some edible spooks? Let’s grab our whisks!
When Ghosts Bring Back Sweet Memories
Every time I roll out this dough, I’m instantly transported to my grandma’s yellow-tiled kitchen circa 1998. Picture tiny me, feet dangling off a stool, “helping” her cut out witch hats and pumpkins with slightly-too-wobbly results. But ghosts? Oh, ghosts were my specialty. I’d proudly declare them “friendly” spirits (to avoid nightmares, obviously) and give them wildly different personalities with crooked chocolate chip eyes.
One rainy Halloween, our oven decided to quit mid-batch. Undeterred, Grandma transformed disaster into legend: “Olivia, darling,” she whispered dramatically, “the oven ghost is just testing our patience! Let’s make a fort and eat the dough while we wait.” We decorated raw cookie shapes at the kitchen table with toothpicks and giggles until the repairman arrived. Those slightly-too-brown, lopsided ghosts were the hit of the neighborhood—proof that imperfect treats made with love always win. Now, baking these feels like a warm hug from her. That’s the real magic of these cookies: they’re not just sweet bites, but little edible time machines.
Your Friendly Ghost Squad Ingredients
Gather these simple pantry heroes—and remember, baking is part science, part intuition! Pro tip: Measure your flour correctly: fluff it with a spoon, lightly spoon into the cup, then level off. Packed flour = dense ghosts.
- 1 cup (225g) unsalted butter, softened – Your flavor foundation! Softened means it dents gently when pressed (about 1 hour out of the fridge). Insight: Unsalted lets YOU control the salt level. In a pinch? Use salted butter but skip the added salt later.
- 1 cup (200g) granulated sugar – Not just sweetness—it helps create that dreamy crisp-yet-chewy texture. Sub: Swap ¼ cup with brown sugar for caramel whispers.
- 1 large egg – The binder! Bring it to room temp for smoother mixing. Cold eggs can make butter seize up.
- 1½ tsp vanilla extract – Pure vanilla is worth it here! Fun twist: Use 1 tsp vanilla + ½ tsp almond extract for hauntingly good depth.
- 2½ cups (315g) all-purpose flour – The ghostly structure. Gluten-free? Use a 1:1 GF blend with xanthan gum.
- ½ tsp baking powder – Our lift secret for slightly puffy, not flat, specters.
- ¼ tsp salt – Balances sweetness and makes flavors pop! Omit if using salted butter.
- Royal icing or white glaze (for decorating) – Royal icing dries hard (perfect for stacking), glaze stays soft. Cheat code: Use store-bought white icing in a squeeze bottle!
- Black decorating gel or mini chocolate chips (for eyes/mouth) – Gel gives precision, chips add yummy crunch. Vegan? Try black icing or finely chopped dark chocolate.
- Ghost-shaped cookie cutter – No ghost cutter? A paring knife + imagination works wonders!
Conjuring Your Cookie Spirits: Step-by-Step
Put on your favorite spooky playlist—this is where the fun begins! Pro mindset: Cookies continue baking slightly on the tray after removal, so pull them when edges JUST start firming up.
- Cream Together: In a large bowl, beat butter and sugar on medium-high speed for 2-3 minutes until pale and fluffy. Why? This incorporates air = lighter cookies! Scrape the bowl. Add egg and vanilla. Mix just until smooth—don’t overbeat here.
- Mix Dry Ingredients: Whisk flour, baking powder, and salt in another bowl. Chef’s hack: Sift if your flour is lumpy for ultra-smooth dough. Gradually add to wet ingredients on low speed. Mix until JUST combined—overmixing = tough ghosts!
- Chill It: Divide dough in half. Flatten into 1-inch thick discs (this speeds chilling!). Wrap in plastic. Chill 30+ mins. Critical step! Cold dough holds sharp shapes. Rushing = blobby ghosts.
- Cut the Ghosts: Preheat oven to 350°F (175°C). Line baking sheets. Lightly flour surface and rolling pin. Roll one dough disc to ¼-inch thick. Cut ghosts close together! Re-roll scraps once. Tip: Dip cutter in flour between cuts to prevent sticking.
- Bake: Place cookies 1 inch apart on sheets. Bake 8-10 mins. Look for: Set edges, slightly puffed centers, NO browning. They’ll look underdone—that’s perfect! Cool 5 mins on sheet, then transfer to rack.
- Decorate: Cool COMPLETELY. Flood cookies with white icing. Let set 10 mins. Add eyes/mouths with gel or chips. Pro tip: Use toothpicks to nudge icing into corners or fix wobbly eyes. Laugh at their quirky expressions!
Making Your Ghosts the Life of the Party
Presentation is half the fun! Pile these cuties on a black cake stand dusted with edible glitter (sparkly ghosts? Yes please!). For trick-or-treaters, stack them in clear cellophane bags tied with orange ribbon. Hosting? Create a “graveyard” scene: crumble chocolate cookies as “dirt” on a platter, stand ghosts upright, and add tombstone cookies (use a knife to cut rectangles from spare dough, frost gray, and write RIP with icing). Serve with hot apple cider for dunking—watch those little ghost faces melt into happy sighs!
Boo-tiful Twists & Dietary Swaps
Make these ghosts YOUR way! Here are my favorite riffs:
- Chocolate Phantom: Replace ½ cup flour with cocoa powder for spooky chocolate ghosts. Decorate with white eyes!
- Vegan Spirits: Use plant-based butter, flax egg (1 tbsp ground flax + 2.5 tbsp water), and vegan icing/chocolate.
- Spiced Specters: Add 1 tsp cinnamon + ¼ tsp nutmeg to dry ingredients—cozy fall vibes!
- Gluten-Free Friendly: Swap AP flour for a 1:1 gluten-free blend (like Bob’s Red Mill).
- Boo-zy Adults: Brush cooled cookies with orange liqueur before icing—spooky-tipsy!
Olivia’s Extra Spooky (and Hilarious) Tips
This recipe has survived flour explosions, a cat stepping on a dough disc (RIP Ghost Batch #3), and my attempt to use beet juice for “bloodshot” eyes (0/10, do not recommend). Through it all, I learned: perfection is overrated. Crooked eyes? They’ve got character! Icing smudge? “Ectoplasm,” obviously. The dough keeps beautifully frozen for up to 3 months—just thaw overnight in the fridge before rolling. Over the years, I’ve added the baking powder for a softer bite (early versions were hockey pucks!) and embraced almond extract for that extra oomph. My biggest lesson? Double the batch. Always. These little haunts vanish faster than a ghost in sunlight!
Ghostly Cookie SOS: Your Questions, Answered!
Q: Why did my ghosts spread into blob monsters?
A: Likely culprits: Dough wasn’t cold enough (chill longer!), butter was too soft, or oven temp too low. Check accuracy with an oven thermometer! Also, avoid placing dough on warm baking sheets.
Q: Can I make these ahead?
A: Absolutely! Bake undecorated cookies, cool, and freeze in layers with parchment for up to 1 month. Thaw, then decorate. Or freeze dough discs for 3 months.
Q: My icing is too runny/thick! Help!
A: For royal icing, aim for “10-second consistency”: Drizzle a spoonful back into the bowl; it should disappear in 10 seconds. Too thick? Add water drop by drop. Too thin? Add powdered sugar slowly.
Q: No cookie cutter? Now what?
A: Get crafty! Draw a ghost template on cardboard, cut out, place on dough, and trace with a knife. Or use a clean plastic cup for round cookies and pipe ghost shapes with icing later!
Ghost Sugar Cookies
- Total Time: 1 hour
Description
Hey there, kitchen adventurer! Halloween is creeping around the corner, and these Ghost Sugar Cookies are the perfect treat for the season. Tender, buttery, and melt-in-your-mouth, these playful little phantoms are easy to make and full of festive charm. Ideal for parties, trick-or-treat bags, or a cozy baking session with your favorite spooky playlist. No fancy skills required—just enthusiasm and a sprinkle of imagination!
Ingredients
For the Cookies:
-
1 cup (225g) unsalted butter, softened
-
1 cup (200g) granulated sugar
-
1 large egg, room temperature
-
1½ tsp vanilla extract
-
2½ cups (315g) all-purpose flour
-
½ tsp baking powder
-
¼ tsp salt
For Decorating:
-
Royal icing or white glaze
-
Black decorating gel or mini chocolate chips (for eyes/mouth)
-
Ghost-shaped cookie cutter (or paring knife for freehand shapes)
Optional Flavor Twists:
-
½ cup cocoa powder for chocolate ghosts
-
1 tsp cinnamon + ¼ tsp nutmeg for spiced ghosts
Instructions
-
Cream Butter and Sugar:
Beat butter and sugar on medium-high speed for 2–3 minutes until pale and fluffy. Scrape the bowl. Add egg and vanilla; mix until smooth. -
Combine Dry Ingredients:
Whisk together flour, baking powder, and salt. Gradually add to wet mixture on low speed until just combined. Avoid overmixing. -
Chill Dough:
Divide dough in half, flatten into 1-inch thick discs, wrap in plastic, and chill for 30+ minutes. Cold dough helps cookies hold their shape. -
Cut and Bake:
Preheat oven to 350°F (175°C). Roll dough to ¼-inch thick on a lightly floured surface. Cut ghost shapes and place 1 inch apart on lined baking sheets. Bake 8–10 minutes until edges are just firm. Cool 5 minutes on sheets, then transfer to a rack. -
Decorate:
Once fully cooled, flood with white icing. Let set 10 minutes. Add eyes and mouths with gel or chocolate chips. Use a toothpick for precision.
Notes
-
Cold Dough: Prevents spreading—if cookies spread too much, chill dough longer.
-
Overmixing: Leads to tough cookies; mix only until combined.
-
Icing Consistency: For royal icing, aim for “10-second consistency”: drizzle a bit, and it should disappear in 10 seconds. Adjust with water or powdered sugar as needed.
-
Storage: Freeze baked cookies undecorated for up to 1 month, or freeze dough discs for 3 months.
- Prep Time: 20 min
- Cook Time: 30 mins
Nutrition
- Calories: 130 cal Per cookie
- Fat: 6g
- Carbohydrates: 18g
- Protein: 1g
Nutritional Notes (Because Balance is Spooky Too!)
Yield: ~24 cookies | Prep: 20 min + chilling | Bake: 10 min | Total: ~1 hour
Per Cookie (approx): 130 calories | 6g fat | 18g carbs | 1g protein
Note: Values include basic white icing. Using chocolate chips or glaze will alter nutrition slightly.
Final Bite: More Than Just Cookies
These ghostly treats have haunted my kitchen for over a decade, evolving from messy first attempts to the foolproof recipe you see today. What began as childhood nostalgia has become a Halloween tradition – the kind where neighbors start asking “Are the ghost cookies coming?” by mid-October.
There’s something magical about how such simple ingredients – butter, sugar, flour – can conjure so much joy. Maybe it’s the way kids’ eyes light up when they give their ghost cross-eyes, or how adults inevitably start reminiscing about their own childhood Halloweens while decorating.
This year, I challenge you to make it your own tradition. Bake them with your kids, your roommate, or just for yourself with a scary movie marathon. Share them with the grumpy neighbor who never decorates, or the coworker who keeps stealing your pens. Because the best recipes aren’t just about flavor – they’re about the connections we make while creating them.
Now if you’ll excuse me, I have some ghost cookies to ice… and a certain black cat eyeing my sprinkles. Happy haunting, bakers!


