
Fluffy Japanese Cotton Cheesecake: The Cloud of Your Dessert Dreams
Hey there, my fellow food-lover! Come on in, grab an apron, and let’s get ready to create some magic. If you’ve ever dreamed of a dessert that’s somehow both incredibly rich and impossibly light, a treat that jiggles with joy and melts on your tongue like a sweet dream, then you are in for the absolute best kind of kitchen adventure today. We’re making a Fluffy Japanese Cotton Cheesecake.
This isn’t your dense, decadent New York-style cheesecake (though I love that one too, don’t get me wrong!). This is its elegant, ethereal cousin. Imagine the creamy, tangy soul of a cheesecake got together with the airy, delicate texture of a soufflé and they decided to throw a party. The result is a cake that’s stunningly beautiful, subtly sweet, and so soft it practically whispers when you take a bite.
I know it looks like something only pastry chefs in spotless kitchens can make, but I promise you, with a little patience and a few key tricks, we can absolutely nail this together. It’s a showstopper that’s perfect for a birthday, a fancy brunch, or just a Tuesday when you need a little extra cloud-like comfort. So, preheat those ovens and let’s whip up something unforgettable!
A Slice of Tokyo and a Happy Kitchen Mishap
My love affair with this cake started years ago in a tiny, steamy bakery in Tokyo. I was traveling, completely lost but happily so, guided only by the smell of sugar and butter. I pointed at something wobbly and beautiful in a glass case, not even knowing its name. That first bite was a revelation. It was like eating a sweet cloud. I was hooked.
Back home, I became obsessed with recreating that memory. My first attempt? A complete kitchen disaster. I was impatient, I over-mixed, and I ended up with a sad, sunken pancake that tasted like sweetened rubber. I almost gave up. But then I thought about that feeling in that Tokyo bakery—the surprise, the delight, the pure joy of a perfect bite. I tried again. And again. Through a lot of trial and error (and a few more rubbery pancakes), I finally cracked the code. Now, it’s my go-to recipe for bringing a little bit of that magic into my own home, and I’m so thrilled to share that victory with you today.
Gathering Your Cloud-Making Ingredients
Here’s what you’ll need. The ingredients are simple, but each one plays a starring role in creating that iconic texture. Read through the notes—they’re your cheat sheet to success!
- 250g (about 8 oz) Cream Cheese, softened: This is the heart of the flavor. Full-fat is non-negotiable here for the richest taste and creamiest texture. Take it out of the fridge at least an hour ahead. If you forget, you can soften it in 15-second bursts in the microwave, but be super careful not to melt it!
- 50g Unsalted Butter: Adds richness and helps create a tender crumb. Salted butter can work in a pinch, but you’d then want to omit the pinch of salt later to control the seasoning.
- 100ml Whole Milk: The liquid base that brings everything together. Whole milk gives the best richness, but 2% will work too.
- 6 large Eggs, separated: This is the magic trick! The yolks enrich the batter, and the whites, when whipped, are what give the cake its incredible rise and airy cotton-like texture. Separate them when they’re cold—it’s easier—but let the whites come to room temperature before whipping for maximum volume.
- 120g Granulated Sugar: Sweetens the deal. We’ll add most of this to the egg whites. Using caster sugar (superfine sugar) can help it dissolve even faster in the meringue, but regular granulated works perfectly.
- 60g Cake Flour: Cake flour has a lower protein content than all-purpose, which means less gluten formation and a more delicate, tender cake. It’s worth seeking out for this recipe!
- 20g Cornstarch: The other half of our thickening team. It helps stabilize the structure so our fluffy cake doesn’t collapse.
- 1 tablespoon Lemon Juice: The secret weapon! It brightens all the flavors, cutting through the richness and making the cheesecake taste even more creamy and less cloying.
- 1/4 teaspoon Cream of Tartar or a pinch of Salt: This is our meringue stabilizer. Cream of tartar helps the egg whites hold onto the air bubbles you’re whipping into them, leading to a sturdier, taller meringue. A tiny pinch of salt does a similar job and enhances flavor.
Let’s Build a Cloud: Step-by-Step Instructions
Okay, friends! Here we go. Read through all the steps once before you start. It’s like a dance—once you know the moves, it flows beautifully. And remember, the most important ingredient is a sense of fun!
Step 1: Prep Like a Pro. Preheat your oven to 320°F (160°C). Take an 8-inch round cake pan (springform is best for easy removal, but a regular one works if you parchment paper it well!). Line the bottom with parchment paper and lightly grease the sides. Now, here’s a CRUCIAL step: tightly wrap the outside bottom and sides of your pan with heavy-duty aluminum foil. Do two layers. This is our waterproof shield for the water bath and it prevents a soggy cake disaster. Place your wrapped pan inside a larger roasting pan. Set aside.
Step 2: Melt and Mingle the Good Stuff. Find a heatproof bowl that fits snugly over a saucepan without touching the water. Fill the saucepan with an inch or two of water and bring it to a gentle simmer. Off the heat, combine the softened cream cheese, butter, and milk in the bowl. Place the bowl back over the simmering water (this is a double boiler or bain-marie). Warm the mixture, stirring constantly with a whisk, until it’s completely smooth, lump-free, and glossy. It should look like a beautiful, creamy sauce. Remove the bowl from the heat and let it cool for about 5 minutes. You don’t want it so hot that it cooks the egg yolks when we add them!
Step 3: Bring in the Yolks and Dry Ingredients. Whisk the egg yolks into the warm cream cheese mixture, one at a time, until each is fully incorporated. Now, whisk in that tablespoon of lemon juice. Sift the cake flour and cornstarch directly over the bowl—yes, sift it! This prevents lumps and incorporates air. Whisk until the batter is silky smooth and uniform. Set this lovely yellow batter aside.
Step 4: Whip the Meringue to Stiff Peaks. In a spotlessly clean, completely dry glass or metal bowl, combine your room-temperature egg whites and the cream of tartar (or salt). Any trace of grease or water can sabotage your meringue! Using a hand mixer or stand mixer with the whisk attachment, beat on medium speed until the mixture becomes frothy and soft peaks form. Now, with the mixer running, gradually add the sugar, a tablespoon at a time. Once all the sugar is in, increase the speed to high and beat until you get stiff, glossy peaks. This means when you lift the whisk out, the peak stands straight up and doesn’t flop over. Don’t overbeat until it looks dry or crumbly!
Step 5: The Gentle Fold. This is the most important step for a fluffy cake! Take about one-third of your meringue and whisk it vigorously into the yolk batter. This first addition lightens the thick batter and makes it easier to fold in the rest. Now, add the remaining meringue in two parts. Using a flexible silicone spatula, gently fold it in. Cut through the center of the bowl, sweep along the bottom, and fold over the top. Turn the bowl a quarter turn and repeat. Be patient and gentle—you want to keep as much of that air in the meringue as possible. The final batter should be light, airy, and uniform in color, with no stark white streaks.
Step 6: Into the Water Bath. Pour the beautiful, airy batter into your prepared pan. Give the pan a few gentle taps on the counter to release any large air bubbles. Carefully place the roasting pan with your cake pan in it into the preheated oven. Now pour hot water into the larger roasting pan until it comes about halfway up the sides of your cake pan. This creates a steamy environment for gentle, even baking—the key to a jiggly, crack-free top!
Step 7: Bake and Rest with Patience. Bake for 60-70 minutes. The cake is done when it’s golden brown on top, it springs back lightly when touched, and it has a slight, gentle jiggle in the very center. Do not open the oven door during baking! The rush of cold air can make it collapse. When the time is up, turn off the oven. Crack the oven door open just a few inches with a wooden spoon, and let the cake sit inside for 15 minutes. This gradual cooling prevents shocking the cake and helps it stay tall.
Step 8: The Final Cool. After its oven rest, carefully remove the cake (and water bath) from the oven. Let the cake cool completely in the pan on a wire rack. I know, the wait is agony! But this is critical for the structure to set. Once completely cool, you can run a thin knife around the edge to loosen it and remove it from the pan. Chill it in the fridge for at least 2-3 hours, or preferably overnight. This resting time allows the flavors to meld and the texture to become perfectly cloud-like.
How to Serve Your Masterpiece
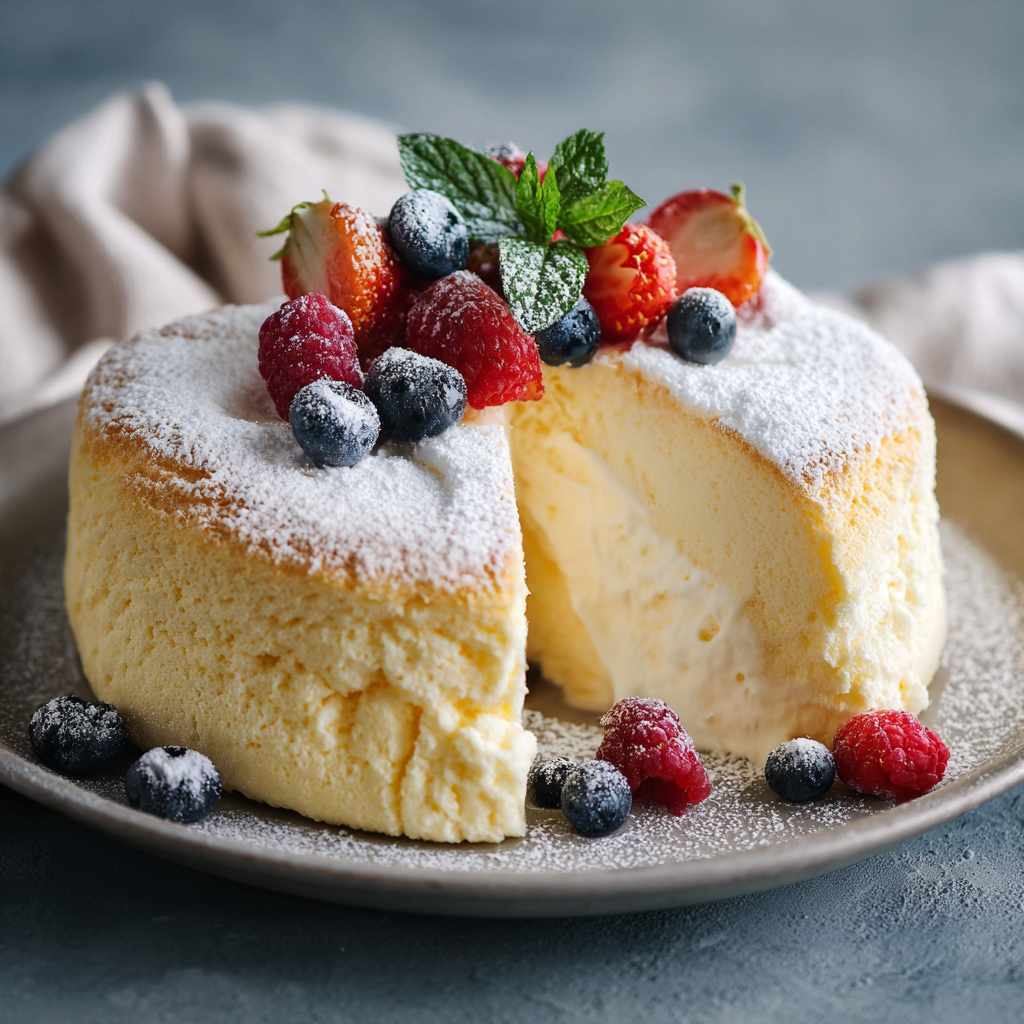
The beauty of this cake is in its simplicity. I love to serve it straight from the fridge, cold and delicate. Slice it with a thin, sharp knife that you dip in hot water and wipe clean between cuts for pristine slices. It’s stunning all on its own, just dusted with a snowy shower of powdered sugar. For a special touch, add a handful of fresh, vibrant berries (raspberries and strawberries are my fave) and a light drizzle of honey or a dollop of barely-sweetened whipped cream. A sprig of mint adds a lovely pop of color. Serve it on its own plate—it’s the star of the show and doesn’t need any clutter!
Make It Your Own: Delicious Variations
Once you’ve mastered the classic, try playing with flavors!
- Citrus Bliss: Add the zest of one lemon or orange to the cream cheese mixture for a bright, sunny flavor.
- Chocolate Cotton Cloud: Replace 2 tablespoons of the cake flour with good-quality cocoa powder for a light chocolate version.
- Matcha Green Tea: Whisk 1-2 tablespoons of high-grade matcha powder into the flour mixture for a beautiful, earthy green cake.
- Berry Swirl: Before baking, drop small spoonfuls of seedless raspberry or strawberry jam onto the batter and gently swirl with a knife.
- Dairy-Free: Use your favorite plant-based cream cheese, butter, and milk (soy or oat work best).
Chef Olivia’s Notes
This recipe feels like an old friend now, but it sure didn’t start that way. I mentioned my first rubbery attempt, right? My biggest lesson was learning to respect the meringue. Folding is not mixing! It’s a gentle, loving incorporation. I also learned the hard way about the foil wrap—let’s just say I had a “soufflé cheesecake soup” incident that required a major oven clean. Not my finest hour, but a hilarious story now!
Over time, I’ve found that using a springform pan makes my life infinitely easier. And the overnight chill? It’s a game-changer. The flavor deepens and the texture sets into that iconic jiggle. Don’t skip it! This cake is a labor of love, but every single minute is worth it when you see the look on someone’s face after their first, magical bite.
Your Questions, Answered!
Q: Why did my cake crack on top?
A: The most common culprits are oven temperature that’s too high, or under-whipped meringue that couldn’t support the structure. Also, avoid opening the oven door! The water bath should prevent cracking, but if it happens, don’t worry—it will still taste incredible. Dust it with powdered sugar to hide the evidence!
Q: My cake sank in the middle after baking. What went wrong?
A: This usually points to a structure issue. The meringue might have been under-whipped (not enough support) or over-whipped (became dry and unstable). It could also be underbaked—the center needs to be just set, even if it’s still a little jiggly. The gradual cooling in the oven is also key to preventing collapse.
Q: Why is it sometimes eggy tasting?
A: That lemon juice is your best friend here—it’s specifically meant to counter any potential “eggy” flavor. Make sure you’re using it! Using extremely fresh eggs also helps. If you’re still sensitive to the taste, a little extra lemon zest can work wonders.
Q: Can I make this without a water bath?
A: I really don’t recommend it. The water bath (bain-marie) provides gentle, moist heat that is essential for cooking the cake evenly without drying it out or causing it to rise too rapidly and crack. It’s the secret to that perfect texture!

Fluffy Japanese Cotton Cheesecake
Description
This ethereal cheesecake is light, subtly sweet, and delicately wobbly—a perfect balance between a classic cheesecake and a soufflé. Ideal for birthdays, brunch, or any time you want a show-stopping dessert.
Ingredients
-
250 g (8 oz) cream cheese, softened
-
50 g unsalted butter
-
100 ml whole milk
-
6 large eggs, separated (whites at room temp, yolks cold)
-
120 g granulated sugar
-
60 g cake flour
-
20 g cornstarch
-
1 tbsp lemon juice
-
¼ tsp cream of tartar or a pinch of salt
Instructions
1. Prep Your Pan
-
Preheat oven to 320°F (160°C).
-
Line an 8-inch round pan with parchment paper and lightly grease the sides.
-
Wrap the pan in two layers of heavy-duty foil. Place it inside a larger roasting pan.
2. Melt and Mix
-
In a heatproof bowl over simmering water (double boiler), combine cream cheese, butter, and milk. Whisk until smooth and lump-free. Remove from heat and cool 5 minutes.
3. Add Yolks and Dry Ingredients
-
Whisk egg yolks into the cooled mixture one at a time.
-
Add lemon juice.
-
Sift cake flour and cornstarch into the bowl and whisk until smooth.
4. Make the Meringue
-
In a clean, dry bowl, beat egg whites with cream of tartar (or salt) until soft peaks form.
-
Gradually add sugar, one tablespoon at a time, and beat to stiff, glossy peaks.
5. Fold Batter
-
Fold one-third of meringue into the yolk mixture to lighten it.
-
Gently fold in the remaining meringue in two additions using a spatula. Rotate the bowl and fold carefully to keep air in the batter.
6. Bake in Water Bath
-
Pour batter into prepared pan and tap gently to release large bubbles.
-
Pour hot water into the roasting pan until halfway up the sides of the cake pan.
-
Bake 60–70 minutes until golden, lightly springy, and slightly jiggly in the center.
7. Cool Gradually
-
Turn off oven and open door slightly. Let cake sit inside 15 minutes.
-
Remove cake and water bath. Cool completely on a wire rack.
-
Chill in fridge at least 2–3 hours or overnight for best texture.
Notes
-
Avoid over-whipping or under-whipping meringue.
-
Always fold gently—mixing will deflate your batter.
-
Foil wrap prevents water bath leaks and soggy cake.
-
Gradual cooling prevents collapse.
-
Water bath is essential for a soft, crack-free top.
Nutrition
- Calories: 180cal Per Serving
- Carbohydrates: 14 g
- Protein: 5 g
Nutritional Information*
*This is an estimated calculation per slice, based on the recipe serving 10.
Calories: ~180 | Protein: 5g | Carbohydrates: 14g | Fat: 12g
Prep Time: 20 min | Cook Time: 70 min | Cooling Time: 1 hr+ | Servings: 10
Final Thoughts: Your Slice of Sweet Success
And there you have it—the secret to creating your very own slice of cloud-like heaven. I know this recipe might seem like it has a few more steps than your average cake, but trust me, each one is a loving step towards something truly magical. This cheesecake isn’t just a dessert; it’s a lesson in patience, a practice in gentle care, and a glorious reward for your efforts.
Remember, even if your first attempt isn’t picture-perfect (mine certainly wasn’t!), it will undoubtedly still be delicious. The gentle lemon, the rich cream cheese, and that impossibly airy texture are a winning combination, no matter what. Embrace the jiggle, celebrate the slight cracks as signs of character, and most importantly, share it with someone you love.


