
Creamy Chicken Bell Pepper Ranch Burritos – Your New Favorite Flavor-Packed Meal
Hey there, friend! Come on in, pull up a stool, and let’s talk about the hero of the busy weeknight, the savior of the “what’s-for-lunch?” dilemma, and the undisputed champion of flavor that somehow also manages to be ridiculously easy. I’m talking about these Creamy Chicken Bell Pepper Ranch Burritos, and trust me, they’re about to become a regular in your rotation.
You know those days when you’re craving something hearty, something satisfying, but the thought of a long ingredient list or a sink full of dishes just makes you want to order takeout? I’ve been there more times than I can count. That’s exactly why I created this recipe. It’s built for real life. It’s for the nights when you want to gather around the table with good food and better company without spending all evening in the kitchen.
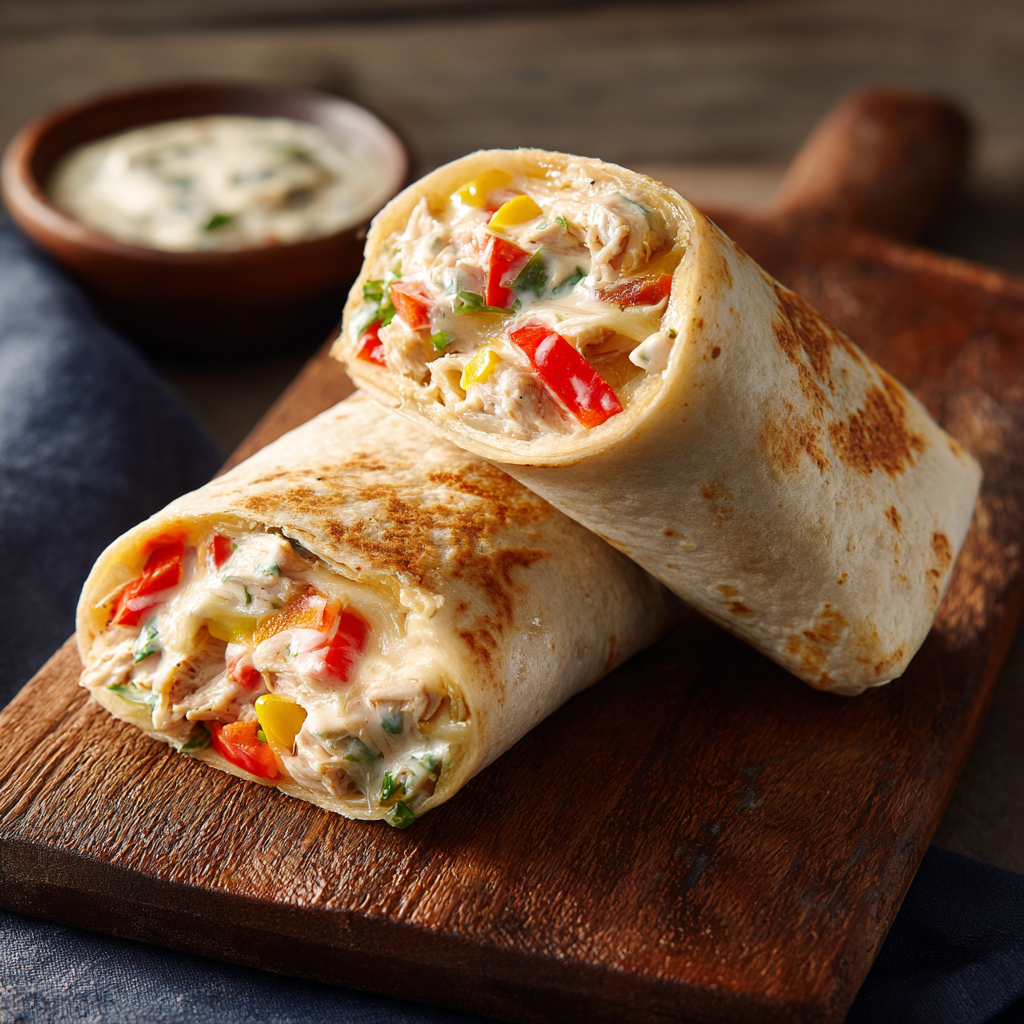
These burritos are a beautiful, colorful, crunchy, creamy, cheesy hug in edible form. The juicy shredded chicken, the crisp bite of fresh bell peppers, the cool tang of ranch, and that glorious melt of cheese all wrapped up in a warm tortilla… it’s a combination that just works. And the best part? It’s a choose-your-own-adventure meal. Got some corn? Toss it in! Want to add beans for extra fiber? Go for it! Need to use up that last bit of spinach? Let’s do it! My goal is to give you a template for deliciousness that you can make your own.
So, tie on that apron (embrace the mess, I always do!), and let’s make a meal that’s guaranteed to bring smiles to the table. Whether you’re feeding a hungry family, prepping lunches for the week, or just treating yourself, these burritos are your ticket to a delicious, stress-free meal.
The Burrito That Saved Beach Day
This recipe has a special place in my heart because it was born out of a beautiful, sun-soaked, slightly sandy necessity. A few summers back, my family planned one of those epic beach days. You know the kind: towels, sunscreen, a good book, and the promise of a picnic lunch. I had grand plans for an elaborate spread, but of course, the morning got away from me. We were running late, the cooler was empty, and panic was starting to set in.
I flung open the fridge and saw the usual suspects: leftover rotisserie chicken from last night’s dinner, a trio of bell peppers looking a little lonely in the crisper, a bottle of ranch, and a pack of tortillas. In a moment of “let’s just throw it all together,” I shredded the chicken, chopped the peppers, stirred in the ranch and some cheese, and rolled up four burritos in about five minutes flat. I wrapped them in foil and tossed them in the cooler, hoping for the best.
Hours later, sitting on the sand with the sound of waves in the background, we unwrapped them. They were cool, creamy, crunchy, and absolutely perfect. No mayo-soggy bread, no wilting lettuce—just pure, refreshing, hearty flavor. My nephew, who is usually a hard sell on anything with a visible vegetable, devoured his and asked for more. That’s when I knew this throw-together miracle needed a permanent spot in my recipe box. It’s a reminder that the best meals aren’t always the most complicated ones; sometimes, they’re the delicious, life-saving solutions we create in a happy rush.
Gathering Your Burrito Building Blocks
Here’s everything you’ll need to make four seriously satisfying burritos. I’ve included some notes on each ingredient because knowing the “why” makes you a more confident cook!
- 2 cups cooked, shredded chicken: This is your fantastic flavor base! I often use the meat from a store-bought rotisserie chicken—it’s a huge time-saver and has great seasoning. Leftover grilled or baked chicken works wonderfully too. For a vegetarian twist, swap in two cans of rinsed and drained chickpeas or a block of crumbled, baked extra-firm tofu.
- 1 cup chopped bell peppers (use a colorful mix!): Don’t just pick one color! Using red, yellow, and orange (or even green) peppers adds a beautiful rainbow of color and a subtle sweetness. They provide the essential CRUNCH. No peppers? Diced celery, jicama, or even shredded carrots can step in for that fresh texture.
- ½ cup ranch dressing: The secret creamy sauce! It brings a cool, herby tang that binds everything together. For a lighter option, Greek yogurt mixed with a tablespoon of ranch seasoning powder is a fantastic swap. Love spice? A chipotle ranch would be incredible here.
- 1 cup shredded cheese: The glorious melty glue. I love a sharp cheddar for its bite, or pepper jack for a little kick. A Mexican cheese blend is always a winner. Pro tip: shred your own from a block! It melts much creamier than pre-shredded cheese (which has anti-caking agents).
- 4 large burrito-size flour tortillas (10-inch): Your edible blanket. Look for the “burrito size” specifically—they’re pliable and large enough to hold all the goodness. Warm them for 10-15 seconds in the microwave or a dry skillet before rolling; it makes them infinitely less likely to tear.
- 1 can (15 oz) black beans, drained and rinsed (optional): My favorite add-in for extra plant-based protein and fiber. It makes the burritos even more hearty and satisfying. Pinto beans or kidney beans are great too!
- ½ cup corn (optional): I love the little pops of sweetness! Frozen (thawed), canned (drained), or fresh off the cob in the summer all work beautifully.
- Salt & pepper to taste: The essential flavor enhancers. Always taste your filling before you roll! The saltiness of your chicken and cheese will vary, so give it a mix and adjust as needed.
Let’s Roll! Your Step-by-Step Burrito Guide
Ready to assemble? This process is fast, fun, and foolproof. Follow these steps, and you’ll have picture-perfect, leak-proof burritos every single time.
-
- The Big Mix. In a large, comfortable bowl, combine your shredded chicken, chopped bell peppers, ranch dressing, shredded cheese, and any optional add-ins like beans and corn. Now, get in there with a big spoon or (clean) hands and mix it all together until every bit is coated in that creamy, cheesy ranch goodness. This is the time to taste! Season with a pinch of salt and a crack of black pepper. Trust your palate.
Chef’s Hack: If you’re using canned beans or corn, make sure they’re very well-drained. A little extra moisture can make your burrito filling soggy. I like to give them a good rinse in a colander and let them air-dry for a minute.
-
- Tortilla Prep is Key. Lay your four large tortillas on a clean work surface. To make them super pliable and tear-resistant, warm them up! You can do this by stacking them and microwaving for 20-30 seconds (covered with a damp paper towel), or by heating each one for about 15 seconds per side in a dry skillet over medium heat. You just want them warm and flexible, not crispy.
Chef’s Hack: Place a tortilla on a piece of aluminum foil or parchment paper (cut to size) before you add the filling. When you roll, you’ll roll the burrito and the wrapper together, making it perfectly portable for lunches later!
-
- Divide and Conquer. Spoon the filling onto the center of each tortilla, dividing it evenly. Use your hands or the back of a spoon to shape the filling into a plump log, horizontally across the tortilla. Leave a 2-inch border at the top and bottom, and a 1-inch border on the sides. This space is your rolling real estate—don’t overcrowd it!
- The Master Roll. This is the only “technique” you need, and it’s easy once you do it. Fold the left and right sides (the 1-inch borders you left) inward over the ends of the filling log. Now, lift the bottom flap (closest to you) up and over the filling, tucking it tightly under the filling as you start to roll away from you. Continue rolling firmly but gently until you have a sealed, neat cylinder. The tucked-in sides should prevent any filling from escaping. Place the burrito seam-side down to seal it.
Chef’s Hack: If your tortilla cracks a little, don’t sweat it! The toasting step in the next stage will seal most small tears. The goal is tasty, not necessarily Instagram-perfect (though you’ll probably get both!).
- Optional (But Highly Recommended) Toast. This step takes your burrito from great to legendary. Heat a dry non-stick or cast-iron skillet over medium heat. Place your burrito seam-side down first. Let it toast for 2-3 minutes, until golden brown and slightly crispy, then carefully flip to toast the other side for another 2 minutes. This warms the filling, melts the cheese into glorious gooeyness, and gives the tortilla a delightful texture and flavor. It also “locks” the burrito shut.
- Serve or Store. You can slice them in half on a diagonal (to show off that beautiful filling!) and serve immediately. Or, let them cool completely, wrap tightly in foil or parchment paper, and store in the fridge for up to 3 days, or in the freezer for up to a month.
How to Serve Your Flavor-Packed Burritos
These burritos are fantastic all on their own, but a couple of simple sides can turn them into a full-on fiesta! I love serving them warm right out of the skillet, maybe with a little extra ranch or a side of cool salsa for dipping. For a lighter meal, pair them with a simple side salad dressed with lime vinaigrette or a quick corn and avocado salad. If you’re going all out for a casual dinner, some baked tortilla chips, chunky guacamole, and a bowl of zesty black bean soup complete the picture perfectly. Remember, if you’ve made them for meal prep, they’re delicious cold straight from the fridge, too!
Make It Your Own: Delicious Twists & Swaps
The beauty of this recipe is its flexibility. Here are a few ways to play with the flavors:
- Southwest Style: Add a teaspoon of chili powder and ½ teaspoon of cumin to the filling. Swap the ranch for a cilantro-lime crema (mix sour cream with lime zest, lime juice, and chopped cilantro).
- Buffalo Ranch: Toss the shredded chicken in ¼ cup of buffalo sauce before mixing with the other ingredients. Use a blue cheese dressing instead of ranch for the ultimate game-day burrito.
- Vegetarian Powerhouse: Omit the chicken. Use a full can of black beans and a can of corn. Add ½ cup of cooked quinoa or brown rice for substance. It’s incredibly filling and flavorful.
- Everything Avocado: Spread a thin layer of mashed avocado or guacamole on the tortilla before adding the filling. It adds a wonderful creaminess and healthy fats.
- Breakfast-for-Dinner Burrito: Scramble 4 eggs and let them cool slightly. Mix them into the filling in place of half the chicken. Add a handful of chopped spinach. Serve with hot sauce!
From My Kitchen to Yours: A Few Parting Thoughts
This recipe has evolved so much since that first beach-day scramble. I’ve learned that adding a spoonful of finely diced red onion or a sprinkle of fresh cilantro to the mix adds a fantastic fresh bite. My husband is a heat-seeker, so I’ll often stir a finely chopped jalapeño into his portion (seeds removed… unless he’s feeling brave).
One of my favorite kitchen memories is teaching my niece how to roll her first burrito. There was filling everywhere, and her first attempt looked more like a stuffed envelope, but the pride on her face when she took a bite of something she made herself? Priceless. That’s what cooking is all about. Don’t worry about perfection. Embrace the mess, have fun with the flavors, and feed the people you love. That’s the real secret ingredient.
Oh, and a final pro-tip: if you’re freezing these, wrap them tightly in foil, then place them in a freezer bag. To reheat, you can pop the frozen, foil-wrapped burrito directly into a 375°F oven for 30-40 minutes, or unwrap and microwave from frozen for 3-4 minutes, flipping halfway. Crisp it up in a skillet for the best texture!
Your Questions, Answered
Q: My tortilla keeps tearing when I roll. What am I doing wrong?
A: This is almost always a tortilla temperature issue! Cold tortillas crack. Always warm them first. Microwave them under a damp towel for 20 seconds, or heat in a dry skillet. Also, don’t overfill—leaving those borders gives you room to roll without pressure.
Q: Can I make these ahead of time for meal prep? Do they get soggy?
A: Absolutely, they’re a meal prep superstar! The key to avoiding sogginess is to let the filling cool completely before rolling, and to make sure your optional ingredients (beans, corn) are very well-drained. Toasting them after rolling creates a barrier. Storing them wrapped in parchment paper or wax paper (not plastic wrap, which traps steam) inside a container helps keep the tortilla texture better.
Q: My filling seems a little dry. How can I fix it?
A: Easy fix! Add an extra tablespoon or two of ranch dressing, or a dollop of sour cream


