
No-Bake Strawberry Cheesecake Bites: Your New Favorite Party Trick
Hey there, friend! Come on in and pull up a stool. Can you smell that? It’s the sweet, buttery scent of graham crackers and the bright, summery promise of ripe strawberries. No, I haven’t been slaving over a hot oven all day. In fact, I’ve been whipping up pure magic without even turning it on. I’m talking about my absolute go-to for last-minute gatherings, spontaneous sweet cravings, and “wow, you made these?!” moments: No-Bake Strawberry Cheesecake Bites.
If you’ve ever stared at a classic cheesecake recipe and felt a mix of desire and dread (all those steps! The water bath! The cracking!), I’m here to liberate you. These little bites deliver every bit of that creamy, tangy, dreamy cheesecake experience but in a fun, poppable, no-stress package. They’re the perfect project for a lazy afternoon, a lifesaver for potlucks, and a guaranteed hit with kids and adults alike. The best part? You don’t need any fancy skills or equipment—just a bowl, a spoon, and a whole lot of love for delicious things. So, tie on your favorite apron (the messy one tells the best stories), and let’s make something wonderfully simple and spectacularly good together.
The Story Behind the Bite: A Sunshine-Filled Memory
Every great recipe has a story, and this one takes me straight back to my first “real” dinner party in my tiny, galley-style first apartment. I was determined to impress my new friends with a multi-course meal. The main course? Respectable. The salad? Fine. But dessert… dessert was a disaster. I attempted a fancy, layered torte that, let’s just say, decided to live its best life as a delicious puddle on my counter.
Panic set in. I had 30 minutes until guests arrived. Then I spotted a sleeve of graham crackers, a block of cream cheese from a bagel breakfast, and a pint of strawberries that were just begging to be used. In a frenzy of inspiration (and slight desperation), I smashed, mixed, whipped, and spooned. What emerged from the fridge an hour later, as we sipped our wine, were these adorable, makeshift cheesecake bites. They were imperfect, a little rustic, but utterly delicious. The laughter that filled my kitchen as we popped them straight from the tray was better than any perfectly-plated dessert could have ever inspired. That night taught me that the best food isn’t about perfection—it’s about joy, improvisation, and sharing something made with heart. These bites have been my little edible reminder of that ever since.
Gathering Your Sunshine: Ingredients & Why They Matter
Part of the joy of no-bake treats is how approachable the ingredient list is. Let’s walk through what you’ll need and why each component is a star player. I’ll also give you my favorite swaps and insider tips!
- 1½ cups graham cracker crumbs: This is the foundation of our crunchy, sweet base. You can buy pre-crumbed crackers or pulse whole ones in a food processor or sealed bag with a rolling pin (super therapeutic!). Chef’s Insight: For a deeper flavor, toast the crumbs in a dry pan for 2-3 minutes before mixing.
- 4 tbsp melted butter: This is the glue that holds our crust together. Use unsalted so you control the sweetness. Substitution Tip: For a dairy-free version, coconut oil works beautifully and adds a subtle tropical note.
- 2 tbsp sugar: A little extra sweetness for the crust to balance the tangy filling.
- 8 oz full-fat cream cheese, softened: NON-NEGOTIABLY SOFTENED. This is the heart of the operation. Take it out of the fridge at least an hour ahead. Full-fat gives you that luxurious, creamy mouthfeel that light versions can’t replicate. Chef’s Insight: Beat it alone first until it’s completely smooth—no lumps allowed!
- ½ cup powdered sugar: We use powdered (confectioners’) sugar because it dissolves instantly, creating a silky-smooth filling without graininess.
- 1 tsp pure vanilla extract: The warm, aromatic backbone of our filling. It elevates everything.
- ½ cup heavy cream, cold: The secret to the cloud-like, airy texture! It must be cold to whip up properly. Substitution Tip: For a stable non-dairy whip, chill a can of full-fat coconut cream overnight and scoop out the solid part.
- 1 cup diced fresh strawberries: The jewel on top! Use ripe, in-season berries for the best flavor. Pat them dry after dicing to prevent sogginess. Chef’s Insight: Toss them with a teensy pinch of sugar to macerate them slightly and create a lovely juicy syrup.
- Optional Garnishes: A sprinkle of extra graham crumbs for texture, a drizzle of melted white or dark chocolate, or a tiny fresh mint leaf. Make it your own!
Let’s Get Building: Step-by-Step with Chef’s Chatter
Ready to create? Here’s where the fun begins. I’ll guide you through each step with all my favorite little hacks to ensure success.
Step 1: The Foundation – Crafting the Crust
In a medium bowl, combine your graham cracker crumbs, melted butter, and sugar. Mix it with a fork until it resembles wet sand—you should be able to pinch it and have it hold its shape. Pro Tip: If it seems too dry, add another ½ tablespoon of melted butter. Too wet? A sprinkle more crumbs.
Now, grab your mini cupcake pan lined with paper or silicone liners. Using a small spoon or a tart tamper if you have one, firmly press about 1 tablespoon of the mixture into the bottom of each liner. We want a compact, solid base. Don’t be shy! Press it down well. Pop the whole tray into the fridge for 10-15 minutes to set. This chill time is what keeps the crust from crumbling when you bite into it later.
Step 2: The Clouds – Making the Dreamy Filling
In a large bowl, beat your softened cream cheese with an electric mixer (or a ton of arm power and a whisk!) for about 30 seconds until it’s completely smooth and lump-free. Scrape down the sides. Add the powdered sugar and vanilla extract, and beat again until fully combined and creamy.
Now, in a separate, clean, cold bowl, pour in your cold heavy cream. Whip it on medium-high speed until stiff peaks form. You’ll know it’s ready when you lift the beaters and the cream stands straight up. Watch closely—you’re going for fluffy clouds, not butter!
Here’s the magic moment: add about one-third of the whipped cream to the cream cheese mixture. Gently fold it in with a spatula. This lightens the dense cream cheese. Then, fold in the remaining whipped cream until no white streaks remain. Be gentle to keep all that beautiful air in the mixture. You should have a gloriously fluffy, pale, and spoonable filling.
Step 3: The Art of Assembly
Pull your crusts from the fridge. You can spoon the filling into the cups, but for a neater look and more fun, scoop the filling into a piping bag (or a zip-top bag with a corner snipped off). Pipe a generous swirl onto each crust.
Top each creamy swirl with a spoonful of your diced strawberries. If you’re feeling fancy, this is the time for that chocolate drizzle or graham crumb sprinkle. And that’s it! See? No oven required.
Step 4: The Patience Game – Chilling
This is the only “hard” part. Carefully transfer the tray to the refrigerator and let the bites chill for at least 1 hour, but ideally 2-3. This allows the fats to firm up, the flavors to meld, and gives you that perfect, cool, creamy cheesecake texture. Trust me, it’s worth the wait.
Sharing the Joy: How to Serve These Little Gems
Presentation is part of the fun! Arrange these bites on a beautiful platter or cake stand. They look stunning on a tiered tray for a party. I love serving them straight from the fridge, maybe with a dusting of extra powdered sugar right before guests arrive. Pair them with a glass of sparkling rosé, a cup of hot coffee, or just grab a couple as you walk through the kitchen—I won’t tell!
Make It Your Own: Delicious Twists & Swaps
The beauty of this recipe is its versatility. Here are a few ways to play:
- Lemon Berry Bliss: Add the zest of one lemon to the cream cheese filling. Top with a mix of strawberries, blueberries, and raspberries.
- Chocolate Dream: Replace the graham crumbs with crushed chocolate wafer cookies or Oreos (filling removed). Drizzle with dark chocolate.
- Tropical Escape: Use crushed vanilla wafers or shortbread for the crust. Top the filling with diced mango, kiwi, and toasted coconut flakes.
- PB&J Style: Add 2 tablespoons of smooth peanut butter to the cream cheese filling. Top with a dollop of strawberry jam instead of fresh berries.
- Boozy Adult Version: Fold 1 tablespoon of Grand Marnier or Chambord into the filling along with the whipped cream.
From My Kitchen to Yours: Chef’s Notes
Over the years, this recipe has become my culinary security blanket. I’ve made it in a heatwave when turning on the oven was unthinkable, and I’ve doubled it for a crowd of 50 with rave reviews. One funny fail? I once tried to use frozen strawberries without thawing and patting them dry. Let’s just say my “cheesecake bites” turned into “cheesecake soups.” Lesson learned! The recipe has evolved to stress the importance of dry fruit and properly softened cheese—two game-changers. Remember, cooking is about the journey, the little messes, and the big smiles at the end. These bites are a celebration of that.
Your Questions, Answered: FAQs & Troubleshooting
Q: Can I make these ahead of time?
A: Absolutely! They are the perfect make-ahead dessert. Assemble them completely, cover the tray tightly with plastic wrap, and store in the fridge for up to 24 hours before serving. The crust might soften slightly, but they’ll still be delicious.
Q: My filling is too runny. What happened?
A: This usually boils down to two things: 1) The cream cheese wasn’t full-fat or wasn’t fully softened, leading to lumps that break the emulsion. 2) The heavy cream wasn’t whipped to stiff peaks. If it happens, don’t panic! Just pop the whole mixing bowl of filling into the fridge for 20 minutes to firm up, then give it one more gentle fold before piping.
Q: Can I freeze strawberry cheesecake bites?
A: You can, but with a caveat. Freeze them on the tray until solid (about 2 hours), then transfer to an airtight container. They’ll keep for about a month. Thaw in the fridge for an hour before serving. Note: The texture of the fresh strawberry topping will change, becoming softer, so for freezing, I recommend using a cooked jam or compote topping instead of fresh fruit.
Q: I don’t have a mini muffin pan. Can I still make these?
A: Yes! You can use silicone molds, which pop out beautifully. Or, make them as bars in a 9×9 dish. Press the crust into the bottom, spread the filling over top, and scatter with strawberries. Chill and slice into squares.
Print
Strawberry Cheesecake Bites (No-Bake, Creamy & Crowd-Pleasing!)
Description
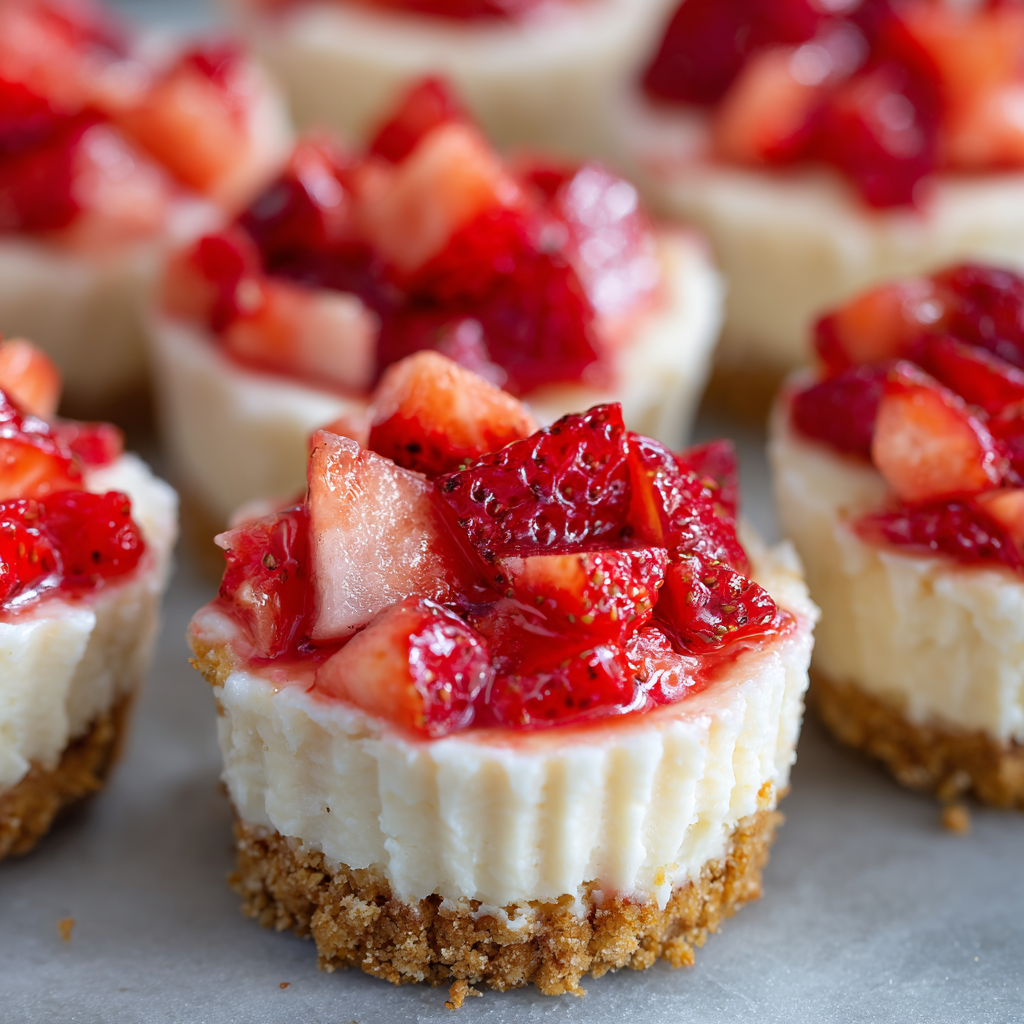
No-Bake Strawberry Cheesecake Bites
Creamy, poppable, and party-perfect—no oven required
Ingredients
Graham Cracker Crust
-
1½ cups graham cracker crumbs
-
4 tbsp butter, melted
-
2 tbsp sugar
Cheesecake Filling
-
8 oz full-fat cream cheese, softened
-
½ cup powdered sugar
-
1 tsp vanilla extract
-
½ cup heavy cream, cold
Topping
-
1 cup fresh strawberries, diced and patted dry
Optional Garnishes
-
Extra graham crumbs
-
Melted chocolate
-
Fresh mint
Instructions
-
Make the crust:
In a bowl, mix graham crumbs, melted butter, and sugar until it resembles wet sand. Press about 1 tablespoon into each lined mini muffin cup. Chill 10–15 minutes. -
Prepare the filling:
Beat softened cream cheese until smooth. Add powdered sugar and vanilla; beat until creamy. -
Whip the cream:
In a separate cold bowl, whip heavy cream to stiff peaks. -
Fold & combine:
Gently fold one-third of the whipped cream into the cream cheese mixture, then fold in the rest until fluffy and smooth. -
Assemble:
Spoon or pipe the filling over the chilled crusts. Top with diced strawberries and any garnishes. -
Chill:
Refrigerate at least 1 hour (2–3 hours best) until set. -
Serve:
Enjoy cold straight from the fridge.
Notes
-
Fully softened cream cheese = ultra-smooth filling.
-
Whip cream to stiff peaks for structure.
-
Pat strawberries dry to prevent soggy tops.
Quick Nutritional Snapshot
Please note: This is an approximate estimate for 1 cheesecake bite (recipe makes ~16).
- Calories: ~135
- Fat: 10g
- Carbohydrates: 11g
- Protein: 2g
- Prep Time: 20 mins | Chill Time: 1 hour+ | Total Time: 1 hour 20 mins | Storage: Refrigerated, up to 3 days.
Final Thoughts: More Than Just a Bite
So there you have it—your new secret weapon for effortless, impressive, and utterly delicious entertaining. These No-Bake Strawberry Cheesecake Bites are more than just a recipe; they’re a reminder that the best moments often come from simplicity, not complexity. They prove that you don’t need fancy techniques or hours of labor to create something that feels like a celebration.
Remember, cooking is an act of love—for yourself and for others. These little bites, born from a happy accident and perfected through shared laughter, are a testament to that. They’re forgiving, adaptable, and always ready to bring a smile. Whether you’re hosting a grand party, needing a sweet treat after a long day, or simply wanting to make an ordinary Tuesday feel special, this recipe is here for you.


