
The Day I Fell in Love: My Journey to the Perfect Easy Tiramisu
Hello, my fellow flavor lovers! Olivia here, welcoming you back to my cozy kitchen corner. Can we just take a moment to appreciate the magic of a dessert that feels like a warm hug and a jolt of joyful energy all at once? I’m talking about the one, the only, the legendary tiramisu. Just saying the name makes me smile. “Tirami-sù” – it literally translates to “pick me up,” and trust me, one bite of this creamy, coffee-laced dream, and you’ll feel lifted to cloud nine.
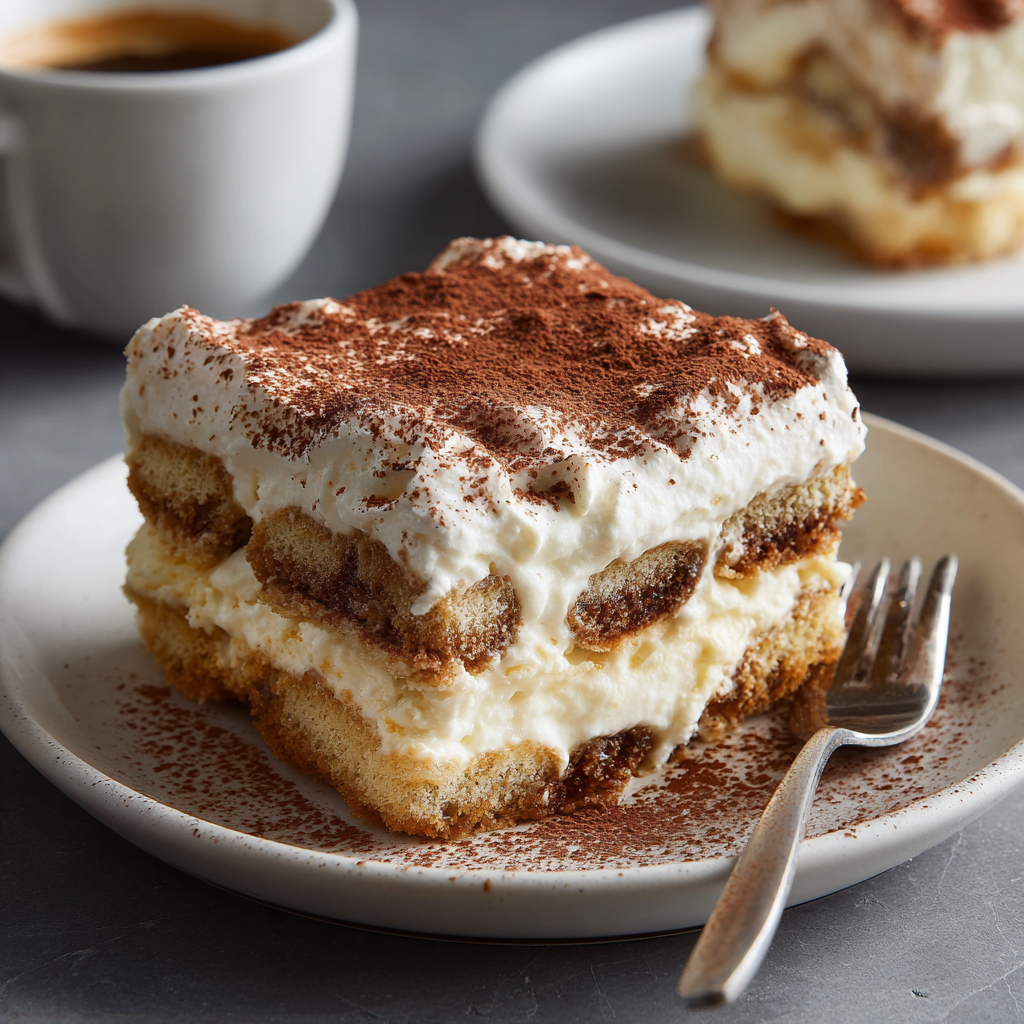
I know what you might be thinking. “Olivia, tiramisu sounds fancy and complicated.” But what if I told you that the most irresistibly classic tiramisu is also the easiest? This isn’t a dessert that requires a pastry degree or hours of slaving over a hot stove. This is a no-bake wonder that comes together with a handful of simple ingredients and a whole lot of heart. We’re talking layers of espresso-soaked ladyfingers nestled under a cloud of sweet, mascarpone-infused cream, all finished with a snowy dusting of cocoa powder. It’s the kind of dessert that sparks “oohs” and “aahs,” that turns a simple Tuesday into a celebration, and that, I promise, will make you feel like a rockstar in the kitchen. So, tie on your favorite apron (the messy one with all the character!), and let’s create some magic together.
A Roman Holiday and a Life-Changing Slice of Tiramisu
My love affair with tiramisu didn’t start in a fancy restaurant; it began at a wobbly little table in a sun-drenched piazza in Rome. I was 19, wide-eyed, and traveling on a shoestring budget. I’d saved my lira (yes, I’m dating myself!) for one special meal, and after a plate of perfect cacio e pepe, the waiter convinced me to try their homemade tiramisu. Friends, when that first spoonful hit my tongue, it was a revelation. The cool, creamy richness. The bold, bitter kick of espresso. The delicate, almost-cakey texture of the soaked cookies. It was complex yet so comforting. I closed my eyes and just savored it. In that moment, I wasn’t just a tourist; I was part of the bustling, joyful life of the city. I understood that food isn’t just fuel—it’s a memory, a feeling, a story. I must have tried to recreate that dessert a dozen times when I got home, tweaking and tasting until I landed on this beautifully simple, no-fuss version that I’m sharing with you today. It’s my little piece of Roman holiday magic, right here in my kitchen.
Gathering Your Tiramisu Toolkit: Simple Ingredients, Big Flavor
Part of the beauty of this recipe is its simplicity. We’re using humble ingredients that, when combined, create pure alchemy. Here’s your shopping list, complete with my chef-y insights and substitution tips to make this recipe your own.
- 1 cup heavy whipping cream: This is the backbone of our fluffy cream layer. Make sure it’s very cold—I sometimes even pop my bowl and beaters in the freezer for 10 minutes beforehand. For a lighter version, you can use a combination of half heavy cream and half well-drained plain Greek yogurt, but the texture won’t be *quite* as luxuriously light.
- 8 oz mascarpone cheese, room temperature: The star of the show! Mascarpone is a rich, creamy Italian cheese that’s less tangy than cream cheese. Room temp is non-negotiable—if it’s cold, it will be lumpy when you try to mix it. If you’re in a pinch, full-fat cream cheese can be substituted, but the flavor will be tangier and less authentic.
- ¼ cup granulated sugar: Just enough to sweeten the cream without making it cloying. Feel free to use superfine sugar if you have it, as it dissolves more easily.
- 1 tsp vanilla extract: A little splash of warmth and sweetness that makes the cream layer sing. A scrape of a real vanilla bean pod would be divine here!
- 1 cup strong brewed espresso or coffee, cooled: This is the “pick me up”! The stronger and better the coffee, the better your tiramisu. I use freshly brewed espresso and let it cool completely. Don’t use hot coffee, or you’ll melt the cream and turn the ladyfingers to mush. Strong cold brew is a fantastic option too.
- 2 tbsp coffee liqueur (optional): This is for the grown-ups and adds a lovely depth of flavor. Kahlúa is my go-to, but you can use rum, amaretto, or even skip it entirely for a family-friendly version. The tiramisu will still be incredible.
- 1 pack (about 24) ladyfinger cookies (savoiardi): These long, dry, finger-shaped cookies are the traditional choice because they absorb the coffee mixture perfectly without falling apart. Look for them in the international aisle. Chef’s Tip: Avoid soft, cake-like ladyfingers—they’ll get too soggy.
- Unsweetened cocoa powder, for dusting: The classic finishing touch! A fine dusting of high-quality cocoa powder (I love a dark Dutch-processed one) adds a hint of bitterness that balances the sweetness beautifully.
Let’s Build Some Layers: Your Foolproof Tiramisu Assembly
Ready for the fun part? This is where we bring it all together. It’s like building a delicious, edible puzzle. Read through all the steps once before you begin, and remember: confidence is your best ingredient!
- Whip the Cream to Soft Peaks: In a large, clean bowl, pour in your cold heavy cream. Using a hand mixer or a stand mixer with the whisk attachment, beat on medium-high speed until the cream thickens and forms soft peaks. What’s a soft peak? When you lift the beaters, the peak of cream should curl over gently at the top. Don’t over-whip it into stiff peaks, or it will be grainy and difficult to fold in. Set this beautiful, fluffy cloud aside.
- Create the Mascarpone Mixture: In a separate, medium-sized bowl, add your room-temperature mascarpone, sugar, and vanilla extract. Using the same beaters (no need to wash them!), mix on low speed at first to incorporate the sugar, then increase to medium until the mixture is smooth, creamy, and lump-free. This should only take a minute or two. Pro Hack: If you mix the mascarpone and sugar first before adding any other liquid, you’ll avoid lumps every single time.
- Marry the Creams: Now, let’s combine our two mixtures. Add about one-third of the whipped cream to the mascarpone bowl. Use a spatula to gently fold it in. “Folding” is a gentle, cutting-and-scooping motion that preserves all the air we whipped into the cream. Once that’s incorporated, gently fold in the remaining whipped cream until you have a uniform, dreamy, and light cream. Try not to overmix! Cover and pop this in the fridge while you work on the coffee station.
- Prepare the Coffee Bath: Grab a shallow dish or pie plate—something wide enough to fit a ladyfinger. Pour your cooled espresso or strong coffee into the dish and stir in the coffee liqueur, if using. This is your flavor station!
- The Art of Dipping: Here’s the step that intimidates people the most, but you’ve got this! Working with one ladyfinger at a time, quickly dip it into the coffee mixture. I mean quickly—about 1 to 2 seconds per side. You want it to be moist and flavorful, but not so saturated that it falls apart in your hands. It should still feel firm. If it starts to feel soft and bendy, you’ve dipped it for too long. Lay the dipped cookies in a single layer in your 9×9-inch dish (or a similar-sized trifle dish), breaking a few if needed to fill in any gaps.
- Layer One: Once you have a complete layer of coffee-kissed ladyfingers, grab half of your cream mixture from the fridge and spread it evenly over the top. I like to use an offset spatula for this to get a nice, smooth layer.
- Repeat and Complete: Now, do it all again! Dip another layer of ladyfingers, arrange them over the cream, and then top with the remaining cream mixture. Smooth the top beautifully.
- The Waiting Game (The Hardest Part!): Cover the dish tightly with plastic wrap and refrigerate for at least 4 hours, but honestly, overnight is best. This waiting period is crucial—it allows the flavors to meld, the cookies to soften perfectly into cake-like layers, and the whole dessert to set up so you can get those gorgeous clean slices.
- The Grand Finale: Just before serving, place a tablespoon or two of cocoa powder in a fine-mesh sieve and dust the entire top of the tiramisu with a beautiful, even layer of chocolatey snow. Slice, serve, and get ready for the compliments!
Presenting Your Masterpiece
You’ve created a masterpiece, so let’s serve it with style! For a classic look, slice it into neat squares and serve on simple white plates. For something more rustic and dramatic, use a large spoon to scoop out portions and create a beautiful, swoopy presentation in a bowl. I love serving tiramisu in pretty glass trifle dishes or even individual martini glasses for a dinner party. A final, light dusting of cocoa powder right at the table never hurts, and a few coffee beans or chocolate shavings on the side make for a gorgeous garnish. Pair it with a shot of espresso or a glass of dessert wine for the ultimate “wow” moment.
Make It Your Own: Delicious Tiramisu Twists
The classic version is perfect, but don’t be afraid to play with your food! Here are a few of my favorite riffs on this timeless dessert.
- Chocolate Lovers’ Dream: Add a layer of chocolate shavings or mini chocolate chips between the cream and ladyfinger layers.
- Berry Bliss: In the spring, I love adding a thin layer of macerated raspberries or sliced strawberries for a fresh, fruity twist.
- Pumpkin Spice Latte Version: For a fall flair, fold ½ cup of pumpkin puree and a teaspoon of pumpkin pie spice into the mascarpone mixture. Use chai tea instead of coffee for the dipping liquid.
- Dairy-Free Delight: Use chilled coconut cream (the solid part from a can) instead of heavy cream, and a vegan mascarpone alternative. Ensure your ladyfingers are vegan-friendly.
- Lemon Zest Refresh: Add the zest of one lemon to the mascarpone cream for a bright, sunny flavor. It’s incredible with an iced tea-soaked ladyfinger!
From My Kitchen to Yours: A Few Parting Thoughts
This recipe has been my go-to for years, and it has seen it all—from fancy dinner parties to panicked “I need a dessert in 20 minutes!” moments. It has never let me down. Over time, I’ve learned to embrace the little imperfections. Maybe the top isn’t perfectly smooth, or one corner has a little more cocoa—that’s the charm of homemade! I once accidentally used salted caramel cold brew for the dipping liquid, and you know what? It was a happy accident that my friends still talk about. The beauty of this easy tiramisu is its flexibility and forgiving nature. It’s a recipe that invites you to relax, have fun, and trust your instincts. So, don’t stress. Pour yourself a cup of coffee, put on some music, and enjoy the process. The most important ingredient will always be the joy you stir into it.
Your Tiramisu Questions, Answered!
I’ve gotten so many wonderful questions about this recipe over the years. Here are the ones that pop up most often, so you can bake (or in this case, no-bake!) with confidence.
- Q: My tiramisu is runny! What happened?
A: A runny tiramisu is usually caused by one of three things: 1) The mascarpone was too cold and curdled when mixed, or it was overmixed. 2) The whipped cream was under-whipped or over-whipped. 3) The ladyfingers were dipped for too long and released too much liquid. To fix it, just let it chill longer—often, an extra few hours in the fridge will help it set up. For next time, ensure your mascarpone is at room temp and be gentle when folding!
- Q: Can I make this ahead of time?
A: Absolutely! In fact, I highly recommend it. Tiramisu tastes best when it’s had time for the flavors to meld. You can make it up to 24-48 hours in advance. Just wait to dust it with cocoa powder until right before you serve it, as the cocoa can dissolve and get blotchy over time.
- Q: My mascarpone mixture is lumpy. Can I save it?
A: Don’t panic! This usually happens if the mascarpone was too cold. You can try to beat it vigorously with your mixer to smooth it out. If that doesn’t work, you can press the entire mixture through a fine-mesh sieve. It’s a little extra work, but it will salvage your cream beautifully.
- Q: I can’t find ladyfingers. What can I use instead?
A: While ladyfingers are traditional, you can use other dry, crisp cookies. Boudoir biscuits or even dry sponge cake cut into strips can work in a pinch. Just avoid soft, moist cakes or cookies, as they will become a soggy mess.

Easy Tiramisu Recipe : No-Bake, Creamy & Irresistibly Classic
Description
Easy Classic Tiramisu Recipe
A creamy, no-bake Italian dessert made with layers of espresso-soaked ladyfingers and a light, fluffy mascarpone cream. It’s elegant, simple, and absolutely irresistible!
Ingredients
-
1 cup heavy whipping cream, very cold
-
8 oz mascarpone cheese, room temperature
-
¼ cup granulated sugar
-
1 teaspoon vanilla extract
-
1 cup strong brewed espresso or coffee, cooled
-
2 tablespoons coffee liqueur (optional, such as Kahlúa or rum)
-
24 ladyfinger cookies (savoiardi type, crisp and dry)
-
Unsweetened cocoa powder, for dusting
Instructions
-
Whip the cream:
In a large chilled bowl, beat the cold heavy cream with an electric mixer until soft peaks form. Do not overbeat. Set aside. -
Make the mascarpone mixture:
In another bowl, beat mascarpone, sugar, and vanilla until smooth and creamy. -
Combine the creams:
Gently fold the whipped cream into the mascarpone mixture using a spatula until fully combined and fluffy. Do not overmix. -
Prepare the coffee mixture:
In a shallow dish, stir together the cooled espresso and coffee liqueur (if using). -
Assemble the tiramisu:
-
Quickly dip each ladyfinger into the coffee mixture for about 1–2 seconds per side.
-
Arrange a single layer in the bottom of a 9×9-inch dish.
-
Spread half of the cream mixture over the cookies.
-
Repeat with another layer of dipped ladyfingers and the remaining cream.
-
-
Chill and set:
Cover tightly with plastic wrap and refrigerate for at least 4 hours, or overnight for best flavor and texture. -
Finish and serve:
Just before serving, dust generously with unsweetened cocoa powder. Slice or scoop and enjoy!
Notes
-
Use cold cream and room-temperature mascarpone for a perfectly smooth mixture.
-
Dip ladyfingers quickly — they should be moist but not soggy.
-
The longer it chills, the better! Overnight chilling gives the most balanced flavor.
-
For a non-alcoholic version, skip the liqueur — it’s still delicious.
Nutrition
- Calories: 350 cal Per Serving
- Sugar: 15g
- Fat: 25g
- Carbohydrates: 25g
- Protein: 5g
Nutritional Information (Approximate, per serving)
This is a treat, through and through! Here’s a rough estimate for those who are curious.
Calories: ~350 | Fat: 25g | Carbohydrates: 25g | Protein: 5g
Please note: This is an estimate and can vary based on specific ingredients and portion sizes used.
Option 1: Heartfelt and Reflective (Matches the tone of your post)
Final Thoughts: More Than Just a Dessert
And there you have it—the story and the secret to my perfect, easy tiramisu. This dessert is so much more than a list of ingredients to me; it’s a edible time machine. Every time I take that first bite, with its familiar rush of coffee and cream, I’m transported back to that sun-drenched Roman piazza, feeling the same wonder and joy I felt at 19.
I hope this recipe does more than just give you a delicious dessert. I hope it gives you the confidence to create your own kitchen magic, to embrace the beautiful imperfections of homemade food, and to share something made with love with the people who matter most. This tiramisu isn’t about perfection; it’s about the connection, the memory, and the simple, profound pleasure of a “pick me up” that truly delivers.
Now, I’d love to hear from you! Did this recipe become a new favorite in your home? What happy accidents or twists did you create? Share your stories and photos with me—my kitchen corner is always open for a chat.
With love and a full heart (and an empty tiramisu dish),


