
Strawberry Chocolate Cookies: Your New Favorite Sweet Obsession
Hello, my fellow food lovers! Olivia here, welcoming you back to my cozy kitchen corner. Is there anything in the world that smells better than cookies baking in the oven? That warm, sweet, buttery aroma that just seems to hug your entire house? I don’t think so. It’s pure magic. And today, we’re making a batch of pure, unadulterated magic that combines two of the greatest flavors on earth: strawberry and chocolate.
Imagine your favorite chocolate-covered strawberry. Now, picture it transformed into a soft, chewy, buttery cookie that’s somehow even better. That’s exactly what we’re creating. These Strawberry Chocolate Cookies are a total game-changer. They’re studded with pools of melted, high-quality dark chocolate and dotted with little bursts of fresh, tangy strawberry that bake into sweet, jammy pockets. We’re even taking things up a notch by browning the butter first, which gives the whole cookie a deep, nutty, almost caramel-like flavor that will make you feel like a certified pastry genius.
I know you might be looking at that fresh fruit and thinking, “Wait, fruit in a cookie? Will it get soggy?” Trust me, my friend, I’ve got you covered. We’re going to walk through every single step together, and I’ll share all my little chef hacks to ensure you get a perfect, bakery-worthy cookie every single time. So, tie on your favorite apron (the messy one with all the stains tells the best stories, right?), and let’s bake some joy.
A Sweet Spark of Inspiration
This recipe didn’t just appear out of thin air. It was born from a happy little accident and a whole lot of nostalgia. A few years ago, my husband surprised me with a last-minute Valentine’s Day gift: a giant, beautiful box of chocolate-covered strawberries. They were gorgeous, but we quickly realized we could never finish them all before they went bad.
Later that week, I was craving cookies and found myself staring at a half-eaten berry, a bar of dark chocolate, and a bowl of cookie dough. A lightbulb went off. What if I just… chopped it all up and threw it in? The first batch was a little wet, sure, but the *flavor* was there. It instantly transported me back to my grandmother’s kitchen, where she’d let me dip strawberries into melted chocolate, making a glorious mess. That combination of rich, dark chocolate and the bright, fruity strawberry is just pure happiness. After many, many (many!) tests and tweaks, we landed on this perfect version. It’s a cookie that tastes like a hug and a celebration all at once.
Gathering Your Cookie Crew: The Ingredients
Here’s your shopping list! Using great ingredients is the secret to making these cookies truly unforgettable. I’ve included my little insights and substitution tips for each one so you can bake with confidence.
- 1 cup Unsalted Butter, browned: This is our secret weapon! Browning the butter gives it a deep, nutty, toasty flavor that makes these cookies taste incredibly complex. Using unsalted lets you control the salt level perfectly.
- 4 tbsp Vegetable Oil: A little bit of oil is my hack for keeping cookies super soft and chewy, even days later. The butter gives flavor, the oil gives that perfect texture.
- 2½ cups Dark Brown Sugar & 1 cup Granulated Sugar: The dynamic duo! The dark brown sugar brings that deep molasses flavor and moisture, while the white sugar helps the cookies spread and get those lovely crisp edges.
- 4 large Eggs: These are the binding agents that hold our cookie universe together. Make sure they’re at room temperature to blend smoothly into the butter and sugar.
- 4 tsp Vanilla Extract: Don’t be shy! A generous pour of good vanilla enhances all the other flavors. It’s the warm, cozy background note.
- 5½ cups All-Purpose Flour: The foundation of our cookie. It gives the structure. We’ll measure it correctly (spoon and level!) to avoid dry, crumbly cookies.
- 2 tsp Baking Soda: Our leavening agent. This is what gives the cookies their lift and that perfect, slightly craggy top.
- 1½ tsp Salt: Crucial. Salt makes all the flavors pop and balances the sweetness. It’s the difference between a “sweet” cookie and a “wow” cookie.
- 4 bars High-Quality Dark Chocolate (about 14 oz total), chopped: Please, please use a bar of chocolate and chop it yourself! It creates those beautiful, irregular pools and shards of melted chocolate. I love Lindt 70% or Ghirardelli 72% for a perfect bittersweet balance.
- 2 cups Diced Fresh Strawberries: The star of the show! We’re using real, fresh strawberries for that authentic burst of flavor. The key is to pat them very dry with paper towels to avoid a soggy dough.
Let’s Get Baking: The Step-by-Step Magic
Ready to create some magic? Follow these steps, read my little commentary, and you’ll have a tray of perfect cookies in no time.
- Brown the Butter Like a Boss: Place your unsalted butter in a light-colored saucepan over medium heat. Melt it, then let it cook, swirling the pan occasionally. You’ll hear it sizzle and pop – that’s the water cooking off. Watch for golden brown specks forming at the bottom and a wonderfully nutty aroma. Chef’s Hack: The second it smells like toasted hazelnuts, take it off the heat and pour it into a heatproof bowl to stop the cooking. Let it cool for about 15-20 minutes. We want it warm, not hot, so it doesn’t cook the eggs in the next step!
- Create the Wet Mix Base: In a large bowl, combine your slightly cooled browned butter, vegetable oil, dark brown sugar, and granulated sugar. Whisk them together until they’re smooth and well-combined. It will look a little grainy and separated, and that’s totally fine! Now, whisk in the eggs, one at a time, followed by the glorious vanilla extract. Whisk until the mixture becomes smoother and lightens in color just a bit.
- Incorporate the Dry Team: In a separate bowl, whisk together your flour, baking soda, and salt. This is our chance to evenly distribute the baking soda so we don’t get any bitter bites. Now, gradually add the dry ingredients to the wet ingredients, mixing with a spatula or on low speed with a mixer until just combined. Pro-Tip: A few streaks of flour are okay! Overmixing is the enemy of a tender cookie.
- Fold in the Good Stuff: This is the best part! Take your chopped dark chocolate and your very thoroughly dried diced strawberries. Gently fold them into the dough with a spatula until they’re evenly distributed. The dough will be soft and a bit sticky – that’s perfect.
- The All-Important Chill Time: Cover the bowl and pop it in the fridge for 30 minutes. I know, I know, waiting is hard! But this step is non-negotiable. It firms up the butter, which prevents the cookies from spreading too much into thin puddles in the oven. It also allows the flour to hydrate fully, giving us that ideal chewy texture.
- Bake to Perfection: Preheat your oven to 350°F (175°C) and line your baking sheets with parchment paper. Using a cookie scoop (or a tablespoon), portion out the dough onto your sheets, leaving about 2 inches between each one for spreading. Bake for 9-11 minutes. Look for: golden brown edges and puffy, soft centers that look slightly underdone. They will continue to cook on the hot baking sheet! Do not overbake.
- The Final Rest: As soon as you pull them out, you can gently press a few extra chocolate chunks on top for a bakery-style look. Let the cookies rest on the hot baking sheet for a full 5 minutes. This is when they finish setting up and achieve their final, perfect texture. Then, transfer them to a wire rack to cool completely (or, let’s be real, eat one immediately with a glass of cold milk).
How to Serve These Beauties
Presentation is part of the fun! I love piling these cookies high on a rustic wooden board or a pretty vintage plate. They’re fantastic still slightly warm when the chocolate is gloriously gooey. A cold glass of milk is their classic partner, but for the adults, I highly recommend a cup of strong black coffee or a glass of red wine—the flavors are a stunning match. They’re the ultimate shareable treat for a picnic, a potluck, or just a Tuesday night victory dance.
Get Creative! Recipe Variations
Feel like mixing it up? Here are a few delicious twists on the classic:
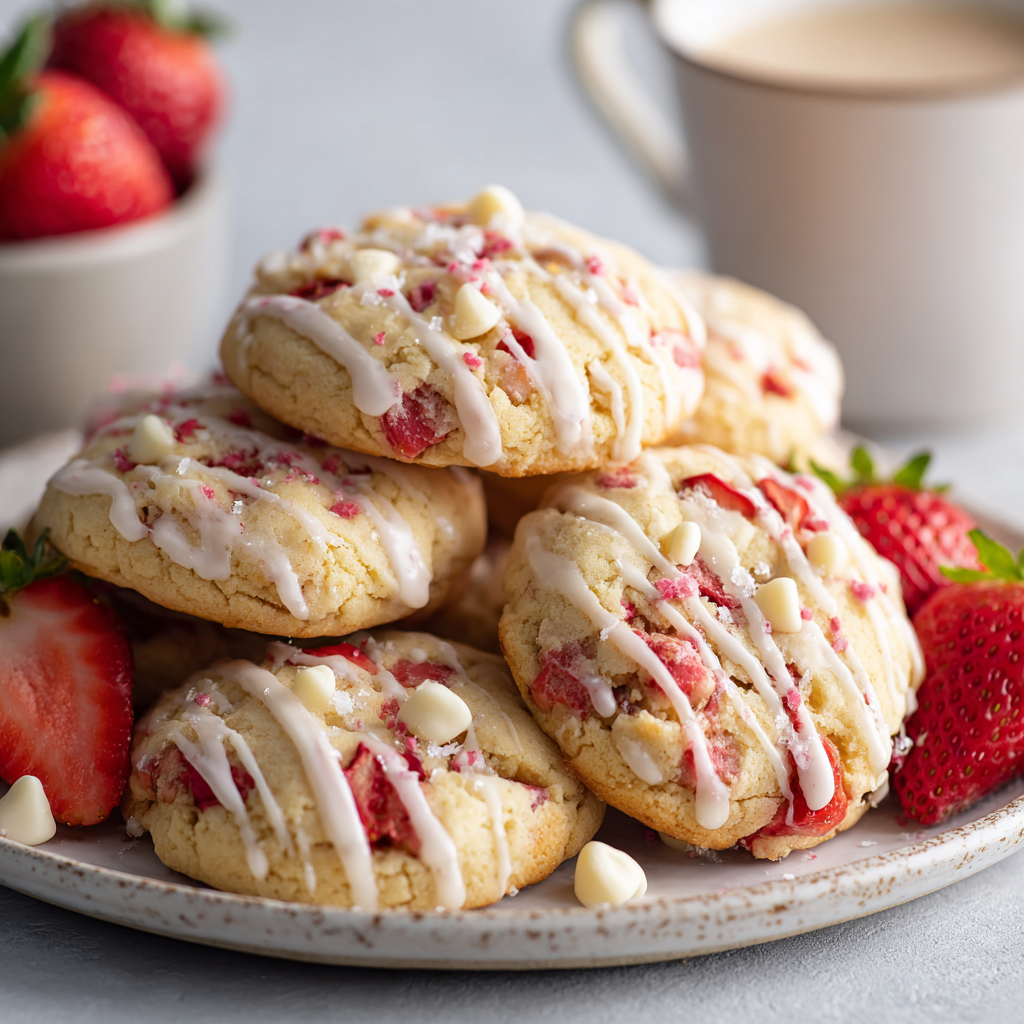
- White Chocolate Dream: Swap the dark chocolate for high-quality white chocolate chunks. The creamy sweetness paired with the strawberry is divine.
- Nutty Crunch: Add ¾ cup of chopped toasted pecans or walnuts to the dough for a wonderful textural contrast.
- Funfetti Vibe: For a birthday twist, use white chocolate and add ¼ cup of rainbow sprinkles when you fold in the strawberries.
- Gluten-Free Friendly: Use a 1:1 gluten-free all-purpose flour blend. The texture will be slightly more delicate, but just as delicious.
- Dried Strawberry Swap: In a pinch, you can use 1 cup of chopped dried strawberries instead of fresh. The cookies will be less moist but still packed with flavor.
Chef’s Notes & Kitchen Confessions
This recipe has been a labor of love, let me tell you. The first time I tried it, I didn’t dry the strawberries enough, and I ended up with what I lovingly call “Strawberry Chocolate Soup Puddles.” They tasted amazing but looked… interesting. My husband still ate three, so I knew I was onto something!
Over time, I learned that the pat-dry step is everything. I also started browning the butter on a whim one day, and it elevated the cookie from “really good” to “where have you been all my life?!” I encourage you to make this recipe your own. Maybe you like a little flaky sea salt sprinkled on top right when they come out of the oven? Do it! That’s the joy of homemade cooking—it’s all about creating something that brings you and your people joy.
Your Questions, Answered!
Q: My cookies turned out flat and spread way too much. What happened?
A: This is usually one of three things! First, your butter might have been too warm when you started. Make sure your browned butter has cooled adequately. Second, did you skip or shorten the chill time? That 30-minute fridge rest is crucial for controlling spread. Third, double-check that your baking soda is fresh and not expired.
Q: Can I use frozen strawberries instead of fresh?
A: I don’t recommend it for this specific recipe. Frozen strawberries release a tremendous amount of water as they thaw, which will make your dough far too wet and lead to steaming instead of baking. This results in a gummy texture and flat cookies. Fresh is definitely best here!
Q: Why are parts of my cookie pink or greenish?
A> Don’t worry, your cookies are perfectly safe! This is just a natural reaction that can happen when fresh berries bake. The acidity can sometimes cause little color shifts. I think it adds to their homemade charm—it’s proof you used real fruit!
Q: How should I store these cookies, and how long do they last?
A> Store them in an airtight container at room temperature for up to 3 days. The strawberries do make them best enjoyed relatively fresh. If you want to keep them longer, you can freeze the baked cookies for up to 2 months, or freeze the portioned dough balls and bake them straight from the freezer (just add 1-2 minutes to the bake time).

Strawberry Chocolate Cookies
Description
Hello, my fellow food lovers! Olivia here, welcoming you back to my cozy kitchen corner. There’s something absolutely magical about the smell of cookies baking—the buttery warmth, the sweet anticipation—it’s comfort in its purest form. And today, we’re bringing two icons together in one irresistible bite: strawberry and chocolate.
Ingredients
Wet Ingredients:
-
1 cup unsalted butter, browned and cooled
-
4 tbsp vegetable oil
-
2½ cups dark brown sugar
-
1 cup granulated sugar
-
4 large eggs, room temperature
-
4 tsp vanilla extract
Dry Ingredients:
-
5½ cups all-purpose flour
-
2 tsp baking soda
-
1½ tsp salt
Mix-ins:
-
14 oz (4 bars) high-quality dark chocolate, chopped
-
2 cups fresh strawberries, diced and patted completely dry
Instructions
-
Brown the Butter:
Melt butter in a light-colored saucepan over medium heat. Swirl occasionally until golden brown specks form and it smells nutty (like toasted hazelnuts). Remove from heat immediately and pour into a heatproof bowl to cool for 15–20 minutes. -
Make the Base:
In a large bowl, whisk together the browned butter, vegetable oil, brown sugar, and white sugar. Add eggs one at a time, whisking well after each addition. Stir in vanilla until smooth and glossy. -
Mix the Dry Ingredients:
In a separate bowl, whisk together flour, baking soda, and salt. Gradually add to the wet mixture, stirring until just combined. Don’t overmix! -
Fold in the Good Stuff:
Gently fold in chopped chocolate and dried strawberries until evenly distributed. -
Chill the Dough:
Cover and refrigerate for 30 minutes. This helps control spread and gives you a thicker, chewier cookie. -
Bake:
-
Preheat oven to 350°F (175°C).
-
Line baking sheets with parchment paper.
-
Scoop dough into balls (about 2 tablespoons each) and space them 2 inches apart.
-
Bake for 9–11 minutes, until edges are golden but centers look slightly underdone.
-
-
Rest & Cool:
Press extra chocolate chunks on top for a bakery-style look. Let cookies rest on the baking sheet for 5 minutes before transferring to a wire rack to cool completely.
Notes
-
Dry those strawberries! Patting them thoroughly prevents soggy dough.
-
Cool your butter: Hot butter can melt your sugar and lead to flat cookies.
-
Don’t skip the chill: It makes all the difference in texture and shape.
-
Add a pinch of sea salt on top after baking for a flavor boost.
Nutrition
- Calories: 210 cal Per Cookie
- Fat: 11g
- Carbohydrates: 26g
- Protein: 2g
Nutritional Information (Approximate, Per Cookie)
- Calories: 210
- Protein: 2g
- Carbohydrates: 26g
- Fat: 11g
Prep Time: 40 mins | Cook Time: 10 mins | Total Time: 50 mins | Yield: ~48-52 cookies
Final Thoughts: A Cookie Worth Celebrating
And there you have it! What started as a desperate attempt to save some gifted strawberries has become my absolute go-to cookie for spreading a little joy. These Strawberry Chocolate Cookies are more than just a treat; they’re a experience. From the intoxicating smell of browning butter to the moment you break one open to reveal the melted chocolate and jammy strawberry pockets, every step is a delight.
They may look and taste fancy, but as we’ve walked through together, they’re completely achievable in your own kitchen. You’ve got the secrets now: the power of browned butter, the importance of patting those berries dry, and the patience for a quick chill. You are more than ready.
So, whether you’re baking these for a special occasion, a well-deserved treat for yourself, or just to make your kitchen smell like a hug, I hope this recipe becomes a new favorite in your home. It’s a reminder that the best creations often come from happy accidents and a little bit of culinary courage.
Now, I’d love to hear from you! Did you stick with the classic dark chocolate or try a fun variation? Share your cookie creations and stories with me on social media by tagging #SweetObsessionBakes. Happy baking, my friends!


