
Your New Favorite Valentine’s Day Tradition Is Here!
Hello, my fellow flavor-lovers! Olivia here, welcoming you back to my cozy kitchen. Can you feel it? That little flutter of excitement in the air? Valentine’s Day is just around the corner, and while I’m a firm believer in showing love all year long, there’s something extra special about a day dedicated to sweet, heartfelt gestures.
Now, I know what you might be thinking: “Olivia, I want to make something beautiful and homemade, but I don’t have the time or patience for fussy, complicated recipes!” Friend, I hear you. That’s precisely why I’m so thrilled to share these Valentine’s Day Swirl Slice-and-Bake Cookies with you today.
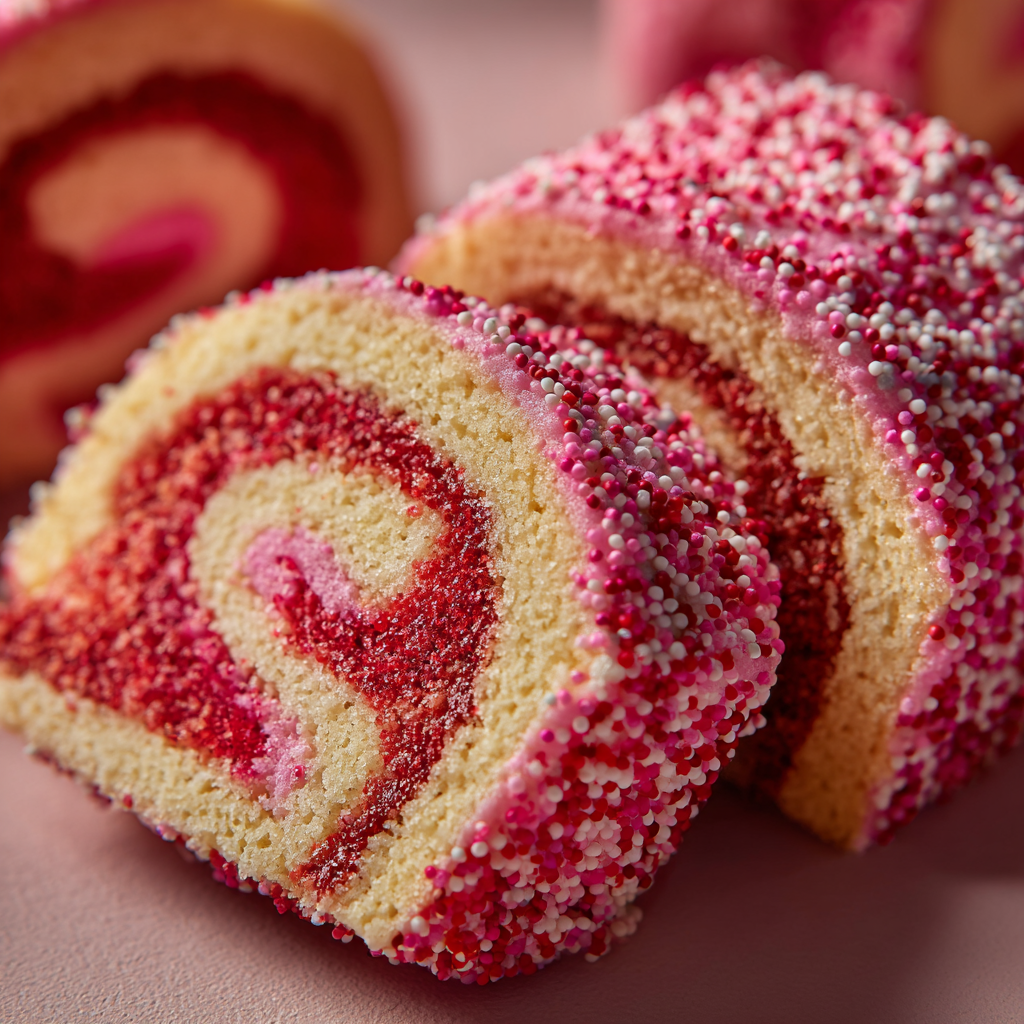
Imagine this: the most tender, buttery sugar cookie, swirled with beautiful shades of pink and red, and wrapped in a gorgeous, crunchy coat of Valentine’s nonpareil sprinkles. They look like you spent hours in a fancy bakery, but the secret is… they are incredibly simple. No cookie cutters, no rolling pins, no floury countertops. Just a little mixing, a fun swirl, a quick chill, and then—slice, bake, and watch the magic happen. These cookies are a joy to make and an absolute delight to share. They’re the perfect way to say “I love you” to your partner, your kids, your galentines, or hey, even to yourself! Let’s create some edible joy together.
A Sweet Slice of Nostalgia
This recipe always takes me back to my grandma’s kitchen. She wasn’t a fancy baker, but she was a wizard with a tube of store-bought slice-and-bake cookies. To my young eyes, the way she could slice a log of dough and transform it into a perfect, round cookie was nothing short of magic. We’d sit at her formica table, the warm, sugary smell filling the whole house, and she’d let me decorate the still-warm cookies with a shaky, generous hand.
My version is a from-scratch homage to her simple, no-fuss approach. I’ve added the swirl for a bit of modern flair, but the soul of the recipe—the ease, the comfort, the pure, uncomplicated joy of a homemade cookie—is all hers. Every time I roll that colorful dough into a log, I’m eight years old again, watching my grandma work her quiet magic. It’s a reminder that the best recipes aren’t just about taste; they’re about the memories we bake into them.
Gathering Your Cookie Crew: The Ingredients
Part of the beauty of this recipe is its simplicity. You likely have most of these ingredients in your pantry right now! Here’s what you’ll need and why each one plays a starring role.
- 3 cups all-purpose flour: This is the backbone of our cookie, giving it structure. For a slightly more tender cookie, you can swap in 1/2 cup of cake flour, but all-purpose works perfectly!
- 2 tsp baking powder: This is our leavening agent, and it’s the secret to a cookie that’s soft and cakey, not thin and crisp. Make sure it’s fresh for the best rise!
- 1 cup (2 sticks) unsalted butter, softened: This is non-negotiable for flavor and texture. Using unsalted butter lets us control the salt level. And “softened” is key! It should be cool to the touch but leave a slight indent when you press it. This ensures it creams beautifully with the sugar for a light, fluffy base.
- 1 cup granulated sugar: For sweetness and, when creamed with the butter, that dreamy, melt-in-your-mouth texture.
- 1 large egg: Our binding agent, bringing the dough together and adding richness.
- 1 tsp vanilla extract: The classic flavor enhancer. Use the good stuff—it makes a difference!
- ½ tsp almond extract: My little chef’s secret! This adds a subtle, sophisticated depth that makes people go, “Wow, what is that amazing flavor?” If you’re not a fan, just use an extra 1/2 tsp of vanilla.
- Pink and red gel food coloring: Gel coloring is my hero here. It gives you vibrant, beautiful colors without watering down your dough like liquid food coloring can.
- ½ cup Valentine’s nonpareil sprinkles: These are the tiny, round sprinkles. They create that stunning, colorful crust and add a delightful little crunch. Feel free to use any Valentine’s-colored sprinkles you love!
Let’s Bake! Your Step-by-Step Guide to Cookie Bliss
Ready to make some magic? Put on your favorite apron (the messy one is always the best), and let’s get started. I’ll walk you through every step with my favorite tips and tricks.
- Combine the Dry Ingredients: In a medium bowl, whisk together your all-purpose flour and baking powder. Giving these a good whisk ensures the baking powder is evenly distributed, which means every cookie will rise perfectly. Set this bowl aside for now.
- Cream the Butter and Sugar: In a large mixing bowl, beat the softened butter and granulated sugar together on medium-high speed for 2-3 minutes. Chef’s Hack: Don’t rush this step! We’re not just mixing; we’re “creaming.” This process incorporates tiny air bubbles into the dough, which is what gives us that wonderfully soft and tender cookie texture. You’ll know it’s ready when the mixture turns pale yellow and looks fluffy.
- Add the Wet Ingredients: Beat in the large egg, vanilla extract, and that secret weapon—the almond extract. Mix just until everything is smoothly combined, scraping down the sides of the bowl as needed.
- Bring the Dough Together: Gradually add your flour mixture to the wet ingredients, mixing on low speed. Mix just until the flour disappears and a soft dough forms. Pro-Tip: Overmixing at this stage can lead to tough cookies, so as soon as you don’t see any dry flour pockets, stop the mixer!
- Create the Swirls of Color: Now for the fun part! Divide the dough in half. Tint one half with pink gel food coloring and the other with red. I like to use a spatula to start the mixing, then finish kneading the color in with my hands (food-safe gloves are a lifesaver here!).
- Form the Masterpiece Log: Here’s where the magic happens. On a piece of parchment paper, roll each color of dough into a rectangle, about 1/2-inch thick. Place one colored rectangle on top of the other. Gently roll them together into a log, pressing slightly as you go to help them adhere. Don’t worry about it being perfect—rustic swirls are part of the charm! Chef’s Hack: If the dough is too soft, pop it in the fridge for 15 minutes before rolling. This makes it much easier to handle.
- The Sprinkle Coat: Pour your nonpareil sprinkles onto a baking sheet or another piece of parchment. Roll your beautiful dough log through the sprinkles, pressing gently to make sure they stick and cover the entire outside. You’ve just created a masterpiece!
- Chill Out: Wrap the sprinkle-covered log tightly in plastic wrap and chill it in the refrigerator for at least 1 hour. This step is crucial! It firms up the butter, which prevents the cookies from spreading too much in the oven and gives us those clean, sharp slices.
- Slice and Bake: Preheat your oven to 350°F (175°C) and line baking sheets with parchment paper. Using a sharp knife, slice the log into 1/4-inch thick rounds. Place them about 1 inch apart on the baking sheets. Bake for 9-10 minutes. You’re looking for the edges to be just set—they shouldn’t brown. The centers will still look soft, and that’s perfect! They’ll firm up as they cool.
- Cool and Enjoy: Let the cookies cool on the baking sheet for 5 minutes before transferring them to a wire rack to cool completely. This patience allows them to set up properly. Then, dig in!
Sharing the Love: How to Serve Your Cookies
Presentation is part of the fun! Pile these vibrant cookies high on a beautiful cake stand or a simple wooden board for a stunning centerpiece. They look absolutely gorgeous arranged in a circle, with the swirls creating a gorgeous pattern. Tuck a few into a cellophane bag tied with a ribbon for the sweetest homemade gift. Or, my personal favorite, serve them stacked beside a tall glass of cold milk or a warm cup of coffee for the coziest Valentine’s moment. However you present them, they’re guaranteed to bring a smile.
Make It Your Own: Delicious Recipe Variations
Feel like playing? This recipe is a wonderful canvas for your creativity!
- Chocolate Swirl: Replace 1/4 cup of the flour in one dough half with 1/4 cup of unsweetened cocoa powder for a stunning pink-and-brown chocolate swirl.
- Lemon Zest Delight: Add the zest of one lemon to the dough for a bright, citrusy twist. It pairs wonderfully with the almond extract.
- Funfetti Fun: Skip the food coloring and mix 1/2 cup of rainbow sprinkles right into the dough before forming your log.
- Gluten-Free Swap: Use a 1:1 gluten-free all-purpose flour blend in place of the regular flour for a treat everyone can enjoy.
- Confetti Coat: Instead of nonpareils, roll the log in heart-shaped sprinkles or red and pink sanding sugar for a different texture.
From My Kitchen to Yours: A Few Parting Thoughts
This recipe has become a Valentine’s Day staple in my home, but it’s gone through a few evolutions! The first time I made it, I was so impatient that I skipped the full chilling time. Let’s just say I ended up with puddles of buttery, colorful… art? They tasted amazing, but they were definitely not slice-and-bake cookies! It was a delicious lesson in patience.
I’ve also learned that these dough logs are a freezer-friendly dream. You can make the log up to a month in advance, wrap it tightly, and freeze it. When a cookie craving strikes (or surprise guests appear!), you just slice off what you need while it’s still a little firm and bake. No need to thaw the whole log! It’s my little secret to always having something homemade and delightful on hand.
Your Cookie Questions, Answered!
I’ve answered thousands of questions from readers over the years. Here are the most common ones for this recipe, so you can bake with confidence!
Q: My dough is too soft to roll after adding the color. Help!
A: No worries! This is super common, especially if your kitchen is warm. Just pop the colored dough balls into the fridge for 15-20 minutes before you try to roll them out. This will firm up the butter and make the dough much more manageable.
Q: Why did my cookies spread too much in the oven?
A> The two most likely culprits are: 1) Your butter was too soft when you creamed it, or 2) The dough log didn’t chill long enough. The chilling step is non-negotiable for controlling spread. Make sure your log is firm to the touch before slicing. Also, double-check that your baking powder is fresh!
Q: Can I use liquid food coloring instead of gel?
A> You can, but be prepared for a much more pastel result. Liquid food coloring adds extra moisture, which can slightly alter the dough’s texture and requires you to use a lot more to achieve a vibrant color. I highly recommend gel for the best, most vibrant swirls without any textural issues.
Q: My swirls aren’t very defined. What did I do wrong?
A> This usually happens if the dough is overworked when you’re rolling the two colors together. You want a gentle roll, not a vigorous kneading. Also, make sure your two colored dough pieces are cold when you layer and roll them—this helps the colors stay distinct.

Valentine’s Day Swirl Slice-and-Bake Cookies : Buttery Sugar Cookies with a Festive Twist
Description
These Valentine’s Day Swirl Slice-and-Bake Cookies are the ultimate way to share a little homemade love! Buttery, tender, and stunningly swirled in shades of pink and red, they’re rolled in festive sprinkles for that perfect Valentine’s sparkle. Best part? They look bakery-worthy but are deceptively simple—no cookie cutters or fancy tools required. Just mix, roll, chill, slice, and bake your way to sweet perfection. Perfect for gifting, sharing, or enjoying with a cup of coffee and someone you adore (yes, that can totally be you).
Ingredients
-
3 cups all-purpose flour
-
2 tsp baking powder
-
1 cup (2 sticks) unsalted butter, softened
-
1 cup granulated sugar
-
1 large egg
-
1 tsp vanilla extract
-
½ tsp almond extract (optional but magical)
-
Pink & red gel food coloring
-
½ cup Valentine’s nonpareil sprinkles
Instructions
-
Whisk Dry Ingredients: Mix flour and baking powder in a bowl; set aside.
-
Cream Butter & Sugar: Beat butter and sugar for 2–3 minutes until light and fluffy.
-
Add Wet Ingredients: Mix in egg, vanilla, and almond extract.
-
Combine: Gradually add dry mixture until a soft dough forms.
-
Divide & Tint: Split dough in half; color one pink, the other red. Chill 15 minutes if soft.
-
Layer & Roll: Roll each color into a rectangle, stack, then gently roll into a log.
-
Coat in Sprinkles: Roll the log in sprinkles to cover completely, wrap in plastic, and chill 1 hour.
-
Slice & Bake: Preheat oven to 350°F (175°C). Slice ¼-inch rounds, place on parchment-lined sheets, and bake 9–10 minutes until just set.
-
Cool & Enjoy: Let cool on sheet for 5 minutes, then transfer to a rack.
Notes
-
Chocolate Swirl: Swap ¼ cup flour for cocoa in one half.
-
Lemon Love: Add zest of 1 lemon to the dough.
-
Funfetti: Skip coloring; mix rainbow sprinkles into the dough.
-
Gluten-Free: Use a 1:1 gluten-free flour blend.
Nutrition
- Calories: 110 cal Per Slice
- Sugar: 6g
- Fat: 6g
- Carbohydrates: 13g
- Protein: 1g
Nutritional Information (Per Cookie – Approximate)
Calories: 110 | Fat: 6g | Saturated Fat: 4g | Carbohydrates: 13g | Sugar: 6g | Protein: 1g | Sodium: 55mg
There you have it, friends! My ultimate, heart-filled, no-fuss Valentine’s Day cookie. I hope this recipe brings as much warmth and happiness to your kitchen as it has to mine. Happy baking, and don’t forget to share your beautiful creations with me by tagging #OliviasCozyKitchen! I can’t wait to see your swirls.
With love and a sprinkle of sugar,
A Final Note from My Kitchen to Yours
Every time I pull a batch of these swirl cookies from the oven, I’m reminded that the best traditions aren’t about perfection. They’re about the laughter that happens while your hands are stained with food coloring. They’re about the patience of waiting for the dough to chill and the simple, shared joy of that first warm, buttery bite.
This recipe is my heartfelt gift to you and your kitchen. I hope it becomes a cherished part of your own Valentine’s Day story for years to come. Thank you for letting me share a piece of my family’s story with you.


