
Welcome to My Kitchen: Let’s Make Some Magic (and a Little Noise!)
Hey there, friend! Come on in, grab an apron, and get ready to fill your kitchen with the most incredible smell: the warm, buttery, nutty aroma of homemade peanut brittle. Is there anything more wonderfully nostalgic? That satisfying CRACK as you break into a piece, the perfect balance of sweet and salty, the way it just makes you feel… happy. If you’ve ever walked past a candy counter and dreamed of making that kind of magic at home, I’m here to tell you—you absolutely can.
I know candy-making can sound a little intimidating. Words like “hard crack stage” might make you want to run for the hills, but I promise you, with a good thermometer and a dash of courage, this is one of the most rewarding and fun recipes you’ll ever try. This isn’t about fancy techniques; it’s about following your senses and having a blast. This peanut brittle recipe is my go-to for holiday gifts, party platters, or just a sweet treat to have stashed away for when that 3 pm sugar craving hits. It’s crisp, it’s loaded with crunchy roasted peanuts, and it has that classic, unforgettable flavor that takes you right back to your grandma’s kitchen. So, let’s preheat that confidence and get cooking! This is going to be a delicious adventure.
The Christmas We Almost Burned the Kitchen Down (A Love Story)
My love affair with peanut brittle started not with a perfect batch, but with a spectacularly failed one. I was about ten years old, “helping” my grandmother in her wonderfully chaotic kitchen during Christmas break. She was a woman who measured nothing and everything by intuition. We were making her famous brittle, and I was in charge of stirring. Well, I got distracted by the dog chasing his tail (a truly captivating spectacle, I assure you), and I stopped stirring. The sugar seized, the mixture turned a terrifying shade of dark amber, and before we knew it, the entire pot was a smoky, burnt mess.
But instead of getting upset, my grandma just laughed. A deep, hearty laugh that filled the whole room. She said, “Well, Olivia, looks like we made caramelized coal this year! Santa might appreciate it.” We started over, and that second batch was perfect. That moment taught me two things: first, always keep stirring. Second, and more importantly, the best memories in the kitchen aren’t about perfection; they’re about the joy of the attempt, the laughter in the mess, and the love you stir into every single bite. Every time I make this brittle, I think of her and that smoky kitchen, and it makes me smile. Now, let’s make some memories (and hopefully, less smoke) of our own!
Gathering Your Candy-Making Crew: The Ingredients
One of the best things about this recipe is its beautiful simplicity. You only need a handful of pantry staples to create something truly special. Here’s the lineup and my little chef insights for each one:
- 1 cup granulated sugar: This is the foundation of our candy, providing that classic, clear, glass-like sweetness. It’s what gives the brittle its structure and satisfying snap. For best results, don’t try to substitute with brown sugar here—it contains molasses, which will change the texture and flavor profile completely.
- ½ cup light corn syrup: I know some folks like to avoid corn syrup, but in candy-making, it’s a superstar. It’s an “interfering agent” (fancy term, right?) that prevents the sucrose molecules in the granulated sugar from recrystallizing. In simple terms: it keeps your brittle smooth and glassy, not grainy and sugary. If you must, you can substitute it with golden syrup or honey, but know that it will impart a distinct flavor and may make the brittle a bit chewier.
- ¼ cup water: This helps the sugar dissolve evenly at the beginning of the cooking process, setting us up for success. It will all cook off, I promise!
- 1 cup roasted, salted peanuts: The star of the show! Using salted peanuts is my secret weapon—that hit of saltiness against the sweet candy is everything. I prefer standard roasted peanuts for their classic flavor, but feel free to use dry-roasted if that’s what you have. Just avoid raw or unsalted peanuts; they won’t give you that iconic salty-sweet punch.
- 2 tbsp unsalted butter: Added right at the end, the butter gives the brittle a richer flavor and a more tender, less tooth-shattering bite. Using unsalted lets you control the salt level perfectly. Plus, it makes the mixture foam up dramatically when you add the baking soda—it’s the best part!
- 1 tsp baking soda: This is the magic ingredient! When stirred in at the end, it creates millions of tiny air bubbles in the candy. This makes the brittle lighter, more porous, and easier to bite into. Without it, you’d have a very hard, dense slab of candy. It’s non-negotiable for the perfect texture.
- 1 tsp vanilla extract: A flavor enhancer that adds a warm, aromatic depth to the background. It complements the peanuts beautifully. For a fun twist, you could use almond extract instead!
- Pinch of salt: Even with salted peanuts, a little extra pinch at the end ensures every single bite is perfectly seasoned. Trust me on this.
Let’s Get Cooking: The Step-by-Step Symphony
Okay, team! This is where the fun begins. Read through all the steps once before you start. Have all your ingredients measured out and sitting right next to the stove (this is called mise en place—fancy French for “get your stuff together,” and it’s a lifesaver in candy-making).
Step 1: Line a baking sheet with parchment paper or a silicone mat. Do this first! Once the sugar is at temperature, you will have zero time to fumble around. I lightly grease the parchment paper with a tiny bit of butter or non-stick spray for extra insurance, but it’s not always necessary. Have this sheet ready and waiting.
Step 2: In a heavy-bottomed saucepan over medium heat, combine sugar, corn syrup, and water. Stir until the sugar dissolves. Use a saucepan that’s larger than you think you need. The mixture will foam up later, and you don’t want a boil-over! A heavy-bottomed pot (like a Dutch oven) distributes heat evenly, preventing hot spots that can burn the sugar. Stir gently but consistently with a wooden spoon or heatproof spatula until the mixture goes from looking cloudy to perfectly clear. This means the sugar has fully dissolved.
Step 3: Attach your candy thermometer to the side of the pan and add the peanuts. Continue to cook, stirring constantly, until the mixture reaches 300°F (the hard crack stage). This is the most crucial step. Clip the thermometer to the side of the pan, making sure the tip is immersed in the syrup but not touching the bottom of the pan. Add the peanuts—they’ll sink at first, but that’s okay. Now, stir constantly. I mean it! This prevents the peanuts from burning on the bottom. You’ll watch the temperature climb. Be patient. It might hover around 250°F for a bit, then it will start to climb more quickly. The goal is 300°F. At this stage, if you drop a bit of the syrup into a glass of cold water, it will form hard, brittle threads that snap when you bend them. Hence the name!
Step 4: Remove from heat and immediately stir in butter, vanilla, baking soda, and salt. The mixture will foam up dramatically—this is good! Stir quickly to incorporate everything. As soon as that thermometer hits 300°F, yank that pot off the heat! Working quickly but carefully (it’s crazy hot), add the butter and vanilla. They’ll sizzle and melt. Then, dump in the baking soda and salt. Get ready for the magic! The mixture will puff up, double in volume, and turn a lovely pale, golden color. This is the baking soda doing its thing. Stir vigorously for just a few seconds until it’s all combined. Don’t over-stir once the soda is in, or you’ll deflate those beautiful bubbles.
Step 5: Immediately pour the mixture onto your prepared baking sheet. Using two forks or a heatproof spatula, spread and stretch it to your desired thickness. Pour quickly—it starts setting up fast. Don’t worry about it being perfectly even; rustic is charming! If you like a thinner brittle, use the forks to gently pull and stretch the candy outward. Work fast, as it becomes unworkable within a minute or two.
Step 6: Let it cool completely. I mean it—walk away! This will take about 30 minutes. Do not touch it. Do not try to break a piece off early. You must let the candy cool and the structure set completely. This is a great test of your willpower! You’ll know it’s ready when it’s firm to the touch and makes a hollow sound when you tap it.
Step 7: Once completely cool, break it into pieces. The best part! Use your hands to crack it into rustic, irregular pieces. For more uniform pieces, you can place the slab in a zip-top bag and gently tap it with the bottom of a heavy pan or a rolling pin.
Sharing the Sweetness: How to Serve Your Masterpiece
Now for the fun part: enjoying your homemade creation! Pile the pieces high in a beautiful ceramic bowl or a rustic wooden tray for a party. For gifting, nothing beats a classic cellophane bag tied with a pretty ribbon or a festive holiday tin. It’s the most thoughtful (and delicious) gift. I love serving peanut brittle alongside a cheese board for a sweet and salty contrast, or crumbling it over a scoop of high-quality vanilla bean ice cream for an incredible dessert. However you choose to serve it, do it with pride. You just made candy from scratch!
Get Creative! Flavor Twists & Dietary Swaps
Once you’ve mastered the classic, the world of brittle is your oyster! Here are a few of my favorite ways to mix it up:
- Spicy Kick: Add ½ teaspoon of cayenne pepper or a dash of hot sauce with the baking soda for a sweet-and-heat combination that will wow everyone.
- Chocolate-Dipped: Melt some dark or milk chocolate and dip half of each piece of cooled brittle into it. Place on parchment paper to let the chocolate set. Absolutely divine.
- Nutty Variations: Swap the peanuts for an equal amount of almonds, pecans, or cashews. You can even use a mix!
- Sea Salt & Vanilla Bean: Use vanilla bean paste instead of extract for those beautiful little specks, and after pouring, immediately sprinkle the top with a few flakes of fancy flaky sea salt.
- Vegan-Friendly: Use a plant-based butter stick (like Miyoko’s or Earth Balance) and ensure your corn syrup is vegan (most are). It works like a charm!
Olivia’s Chef Notes & Kitchen Confessions
Over the years, this recipe has become a trusted friend in my kitchen. I’ve learned a few things: First, a good candy thermometer is worth its weight in gold. I finally invested in a digital one, and it was a game-changer for my candy-making confidence. Second, don’t be afraid of the foam! That initial panic when the baking soda hits is real, but it’s a sign you’re on the right track. Just keep stirring!
One time, I was filming a reel for Instagram and was so focused on looking at the camera that I poured the entire batch of 300°F candy directly onto my silicone mat… which was sitting on my plastic countertop. Let’s just say I now have a permanent reminder of that batch melted into my kitchen counter. The moral of the story? Always put the baking sheet on a heatproof trivet or your stovetop before pouring! We live and we learn (and sometimes we melt things).
Your Questions, Answered: Peanut Brittle FAQ
Q: My brittle turned out chewy and sticky, not hard and crisp. What happened?
A: This almost always means the sugar syrup didn’t get hot enough. The most likely culprit is an inaccurate candy thermometer. Test your thermometer by placing it in a pot of boiling water; it should read 212°F (100°C). If it’s off by more than a degree or two, you’ll need to adjust your target temperature accordingly, or better yet, get a new one. Undercooking is the number one cause of sticky brittle.
Q: Why is my brittle grainy and sugary?
A: Graininess is caused by sugar crystals forming during the cooking process. This can happen if you didn’t fully dissolve the sugar at the beginning, if sugar crystals splashed up on the sides of the pan, or if you stirred too vigorously after the sugar dissolved. To prevent this, after the initial stir to dissolve the sugar, you can use a wet pastry brush to wash down any sugar crystals on the sides of the pan. Once it’s boiling, avoid stirring until you add the peanuts.
Q: The brittle is too hard to bite! Did I overcook it?
A: You might have cooked it just a tad too long. 300°F is the perfect spot, but if your thermometer is old or you let it creep up to 305°F or higher, the candy can become darker and more difficult to bite. It will still be delicious, but just be careful with your teeth! The butter and baking soda are there to prevent it from becoming a jawbreaker, so if you followed the recipe, this shouldn’t be an issue.
Q: How do I store it, and how long will it last?
A: The enemy of peanut brittle is moisture. Store it in an airtight container at room temperature. I like to layer it between sheets of parchment or wax paper. Properly stored, it will stay perfectly crisp and delicious for up to 3 weeks… if it lasts that long!

Peanut Brittle
Description
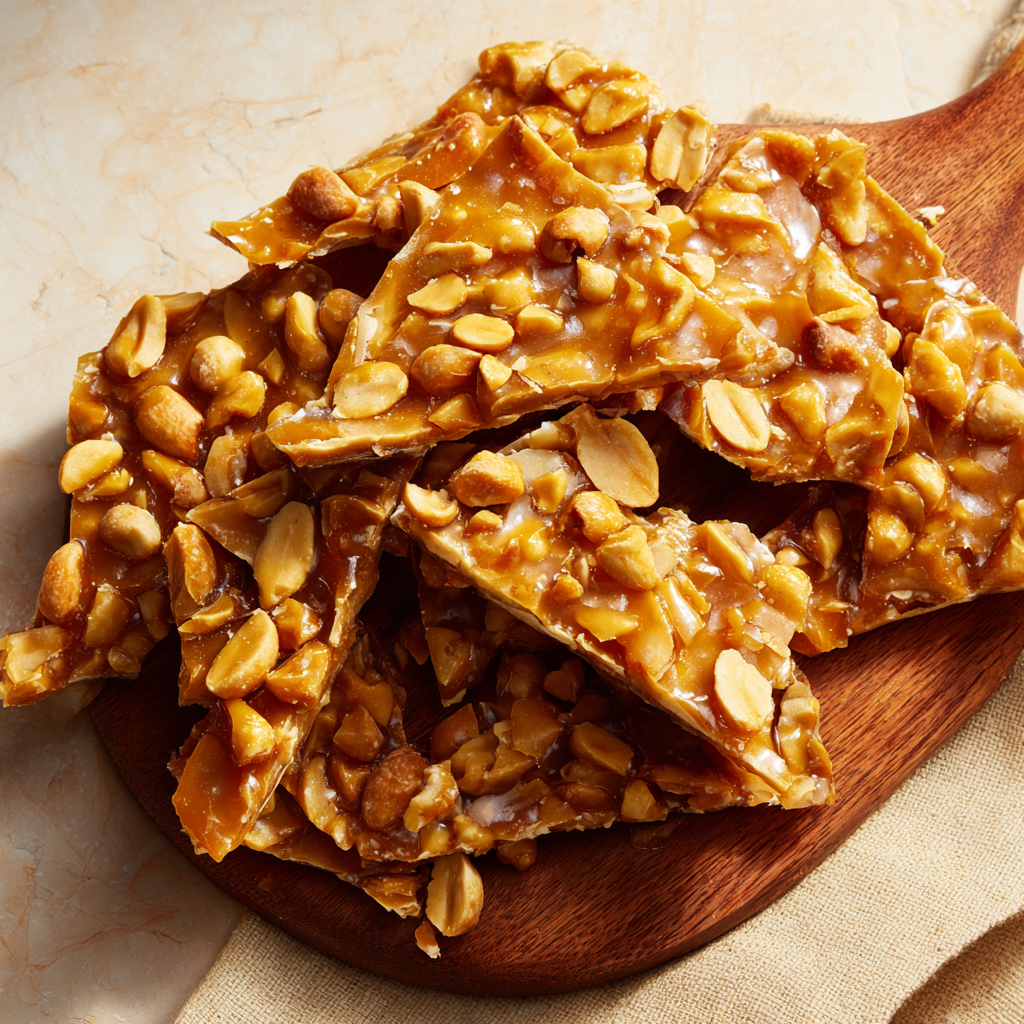
Crisp, nutty, and loaded with roasted peanuts, this peanut brittle is a nostalgic treat that brings the magic of candy-making straight into your kitchen. Perfect for holiday gifts, party platters, or a sweet snack anytime. With a candy thermometer and a bit of patience, you’ll create candy that cracks perfectly and melts hearts.
Ingredients
-
1 cup granulated sugar
-
½ cup light corn syrup (or golden syrup/honey)
-
¼ cup water
-
1 cup roasted, salted peanuts
-
2 tbsp unsalted butter
-
1 tsp baking soda
-
1 tsp vanilla extract
-
Pinch of salt
Instructions
-
Prep: Line a baking sheet with parchment or a silicone mat. Lightly grease if desired.
-
Cook Sugar Syrup: In a heavy-bottomed saucepan over medium heat, combine sugar, corn syrup, and water. Stir gently until sugar dissolves and syrup is clear.
-
Add Peanuts & Boil: Attach a candy thermometer. Stir in peanuts and continue cooking, stirring constantly, until the mixture reaches 300°F (hard crack stage).
-
Finish & Foam: Remove from heat. Quickly stir in butter, vanilla, baking soda, and salt. The mixture will foam and lighten in color—this creates that perfect brittle texture. Stir just a few seconds to combine.
-
Spread: Immediately pour onto prepared baking sheet. Using forks or a heatproof spatula, spread to desired thickness. Work fast before it sets.
-
Cool: Let candy cool completely, about 30 minutes.
-
Break & Serve: Once firm, break into rustic pieces or gently tap with a rolling pin for more uniform shapes.
Notes
-
Spicy Kick: Add ½ tsp cayenne or a dash of hot sauce with baking soda.
-
Chocolate-Dipped: Dip cooled pieces in melted chocolate and let set.
-
Nut Swaps: Try almonds, pecans, cashews, or a mix.
-
Sea Salt & Vanilla Bean: Use vanilla bean paste and sprinkle flaky sea salt on top.
-
Vegan-Friendly: Use plant-based butter and vegan corn syrup.
Nutritional Information*
*Please note: these are estimates based on the ingredients used and will vary slightly depending on the exact size of your pieces.
Per Piece (approx. 1/25th of recipe):
Calories: 150 | Fat: 7g | Saturated Fat: 2g | Carbohydrates: 19g | Sugar: 16g | Protein: 2g | Sodium: 60mg
Yield: ~25 pieces | Prep Time: 10 mins | Cook Time: 20 mins | Cool Time: 30 mins | Total Time: ~1 hour
Final Thoughts: You’re a Candy Maker Now!
Look at what you just did! You took sugar, peanuts, and a little bit of courage and transformed them into something truly magical. That satisfying SNAP you hear when you break a piece? That’s the sound of your success. You conquered the candy thermometer, you weathered the foamy fury of the baking soda, and you created a treat that’s bursting with love and nostalgia.
I hope this recipe showed you that candy-making isn’t some mysterious, unattainable art form. It’s a science, yes, but it’s also an experience—one filled with the warmth of the stove, the sweet smell of toasting sugar, and the joy of creating something with your own hands. You didn’t just make peanut brittle; you made a memory. Whether it’s a gift from the heart, a centerpiece for your holiday table, or just a sweet secret stashed in the cupboard, you’ve made something special.
So the next time you’re craving that perfect combination of salty and sweet, that incredible crunch, you don’t have to wonder if you can make it. You know you can. You’ve got the recipe, you’ve learned the tricks, and you’ve officially earned your candy-making stripes.


