
Let’s Make Some Snowy, Sweet Coconut Magic!
Hello, my fellow flavor-lovers! Olivia here, welcoming you back to my cozy kitchen corner. Is there anything better than the smell of toasting coconut? It instantly whisks me away to a sun-drenched beach, even if I’m watching snowflakes fall outside my window. Today, we’re whipping up a treat that’s incredibly close to my heart: my famously easy, no-bake Coconut Balls.
These little bites of joy are the ultimate crowd-pleaser. They’re sweet, they’re chewy, they’re bursting with tropical flavor, and they require exactly zero oven time. I’m talking about a recipe you can decide to make and have finished, cleaned up, and be enjoying with a cup of tea in just over an hour. They’re my secret weapon for last-minute holiday gifting, a potluck savior, or just a sweet little “I love you” for my family on a random Tuesday.
If you’ve ever felt intimidated by candy-making or complicated desserts, this is your gateway recipe. It’s pure, simple, hands-on fun. We’re using just a handful of pantry staples to create something that feels truly special. So, tie on your favorite (probably messy) apron, put on some good music, and let’s get our hands a little sticky. I promise, the result is so worth it!
A Bowl Full of Memories
This recipe takes me right back to my grandmother’s linoleum-floored kitchen. She wasn’t a fancy baker; she was a “get your hands in the bowl” kind of cook. Every December, the counter would be covered in tins, and we’d spend a whole weekend making every no-bake cookie and bar known to man. But these coconut balls were always my favorite station to work at.
I was her official “ball roller,” a title I wore with immense pride. She’d mix the dough in her big yellow bowl, and I’d stand on a step stool, meticulously scooping and rolling, trying to make each one a perfect sphere. She’d tell me stories, and I’d inevitably get more coconut on my face and in my hair than in the bowl. The best part was always the “quality control” taste test of the first one, still warm from my hands. That combination of sweet, creamy coconut and the love poured into making them… that’s the real flavor I try to capture every time I make them now. It’s more than a recipe; it’s a little edible hug from the past.
Gathering Your Coconut Crew
Part of the beauty of this recipe is its simplicity. You likely have most of this in your pantry right now! Here’s what you’ll need:
- 2 cups shredded sweetened coconut: This is the star of the show! The sweetened variety gives us that classic, moist, and flavorful base. Chef’s Insight: For a deeper flavor, you can toast about half a cup of it in a dry skillet over medium heat until golden brown before adding it to the mix. Let it cool completely first!
- 1 cup powdered sugar: Also known as confectioner’s sugar, it dissolves beautifully and gives our balls their melt-in-your-mouth texture, unlike granulated sugar which would be grainy. Substitution Tip: You can make a decent DIY version by blending 1 cup of granulated sugar with 1 tablespoon of cornstarch in a high-speed blender until it’s a fine powder.
- ½ cup sweetened condensed milk: This is our magical binder. It adds richness, creaminess, and sweetness all at once. Substitution Tip: For a dairy-free version, canned coconut cream (the thick part, not the liquid) works wonderfully. You may need a touch less, so add it slowly.
- 1 tsp vanilla extract: A must for enhancing all the other flavors. Always use pure vanilla extract if you can—it makes a world of difference! For a fun twist, try coconut extract instead.
- Pinch of salt: Don’t you dare skip this! Salt is the secret weapon that makes the sweet flavors pop and prevents the candy from being one-dimensional.
- 8 oz white or dark chocolate (optional, for dipping): This is the fancy upgrade. White chocolate leans into the creamy sweetness, while dark chocolate provides a gorgeous, sophisticated bitter contrast. Chef’s Hack: For easy dipping, use chocolate melting wafers instead of chocolate bars. They’re designed to melt smoothly and set with a perfect snap.
Let’s Get Rolling: Your Foolproof Steps to Coconut Bliss
Ready? This is the fun part. I’ll walk you through each step, sharing all my little kitchen hacks to ensure your coconut balls are absolutely perfect.
Step 1: The Big Mix
Grab your largest mixing bowl. Seriously, go bigger than you think you need. It gives you room to really fold everything together without making a mess. Dump in the 2 cups of shredded coconut, 1 cup of powdered sugar, and that all-important pinch of salt. Give these dry ingredients a good whisk. This distributes the salt and sugar evenly so every single bite is perfectly balanced. Now, pour in your ½ cup of sweetened condensed milk and 1 teaspoon of vanilla. Time to get your hands in there! The best tool for this job is your own two hands. Squish, fold, and mix until no dry spots remain. You’ll know it’s ready when you can press a bit together and it holds its shape like a very sticky, soft dough.
Step 2: The Texture Test
This is the most common place where things can go slightly awry, but it’s an easy fix! If your mixture seems too dry and crumbly and won’t hold together, it means your coconut was particularly dry or you measured your condensed milk a little shy. No worries! Just add more condensed milk, a teaspoon at a time, mixing thoroughly after each addition, until it reaches that perfect, pliable consistency. If it’s too wet and gloopy (rare, but can happen), add a touch more powdered sugar or shredded coconut until it’s manageable.
Step 3: Roll Call!
Line a baking sheet with parchment paper or a silicone baking mat. This prevents sticking and makes cleanup a dream. Now, for rolling. I like to use a small cookie scoop (about 2 teaspoons) to ensure all my balls are the same size. It’s faster and neater! Scoop up some mixture and roll it firmly between your palms into a smooth, 1-inch ball. If the mixture starts sticking to your hands, a super helpful hack is to very lightly dampen your palms with water. It creates a thin barrier that lets you roll smoothly without the dough sticking to you. Place each finished ball on your prepared tray.
Step 4: The Chill Out
Once all your balls are rolled, pop the entire tray into the refrigerator for at least 30 minutes. This is a non-negotiable step, friends! This firming-up time is crucial. It makes them much easier to handle for dipping (if you’re doing that), and it gives the flavors a chance to meld together beautifully.
Step 5: The Chocolate Dip (Optional, but Highly Recommended)
If you’re going for the chocolate-coated glory, now’s the time! Melt your chocolate slowly and gently. You can do this in a double boiler, or my favorite lazy method: in a microwave-safe bowl in 20-second bursts, stirring vigorously between each burst. Don’t overheat it! Take one chilled ball and dip it halfway into the melted chocolate. Use a fork or a dipping tool to lift it out, gently tapping off the excess chocolate. Place it back on the parchment-lined tray. If you’re feeling fancy, sprinkle a little extra shredded coconut on top before the chocolate sets!
Step 6: The Final Set
Once all your balls are dipped (or if you’re skipping the dip), return the tray to the fridge for another 20 minutes, or until the chocolate is completely firm and shiny.
How to Serve These Little Bits of Sunshine
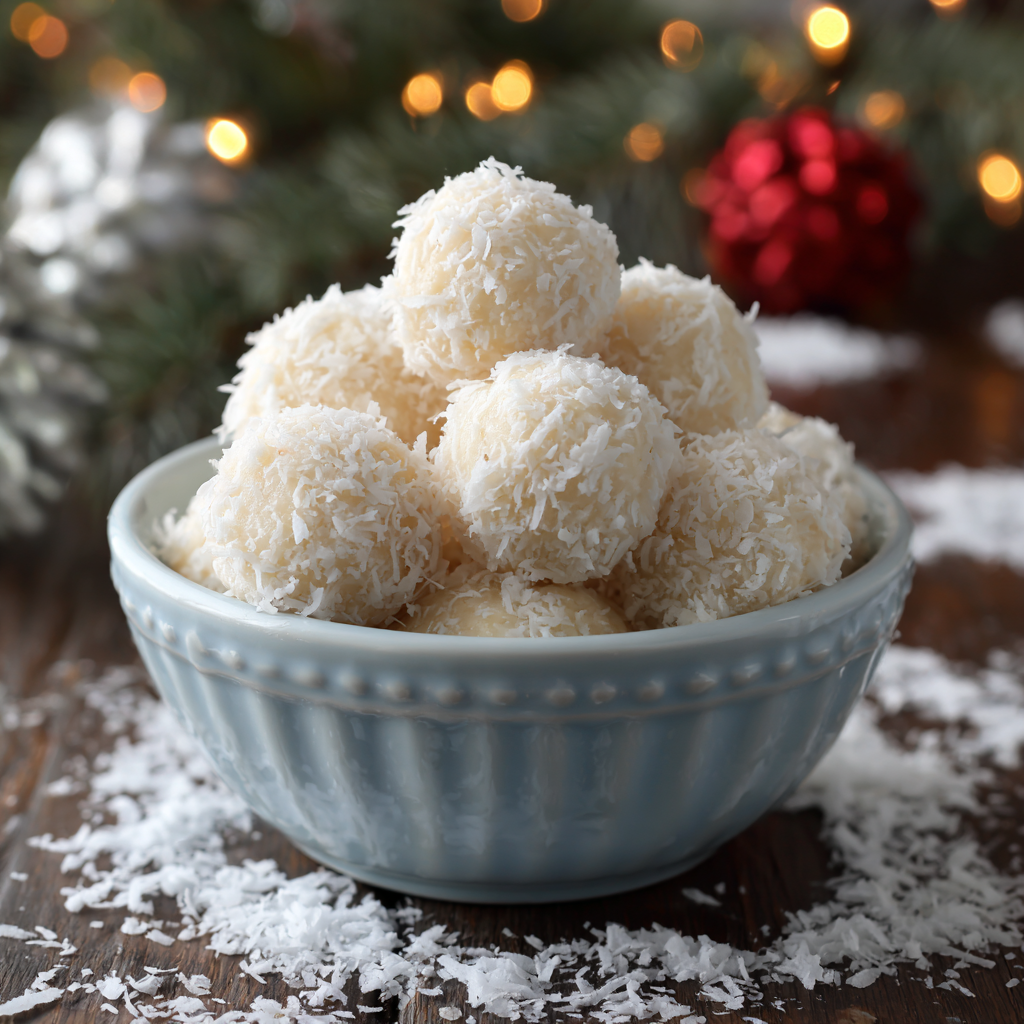
Presentation is part of the joy! For a casual family treat, just pile them high on a cute plate or in a rustic bowl. If you’re gifting them or serving them at a party, I love placing them in mini paper candy cups—it makes them look professional and keeps them from sticking together. They are fantastic alongside a plate of other Christmas cookies, but they also shine all on their own with a hot coffee, a cold glass of milk, or even a glass of dessert wine. Their tropical vibe also makes them a surprising and delightful addition to a summer BBQ dessert spread!
Get Creative! Flavor Twists & Dietary Swaps
The basic recipe is a perfect canvas for your creativity. Here are a few of my favorite ways to mix it up:
- Almond Joy: Before rolling, press a whole almond into the center of each ball. Dip in dark chocolate for that classic candy bar flavor.
- Key Lime Pie: Add 2 tablespoons of key lime juice and 1 teaspoon of lime zest to the mixture. You might need a touch more powdered sugar to compensate for the extra liquid. Dip in white chocolate.
- Mocha Madness: Add 1-2 tablespoons of instant espresso powder to the dry ingredients. Dip in dark chocolate for a coffee-chocolate-coconut trifecta.
- Dairy-Free Delight: Use full-fat canned coconut cream instead of condensed milk and ensure your chocolate is dairy-free. It works like a charm!
- Rolled & Coated: Instead of dipping in chocolate, roll the finished balls in extra coconut, crushed nuts, or even colorful sprinkles for a festive look.
Olivia’s Chef Notes & Kitchen Stories
This recipe has evolved so much since my grandma’s days. She used a recipe she’d clipped from a newspaper, and it was perfect in its simplicity. Over the years, I’ve added the salt (a game-changer!), played with toasting the coconut, and embraced the chocolate dip. I once tried to make a giant “coconut ball cake” for a birthday. It was… a structural disaster that we had to eat with spoons, but it was delicious! The moral of the story: don’t be afraid to play with your food.
These also freeze incredibly well. I always make a double batch, freeze them on a tray, and then toss them in a freezer bag. Then, I have a ready-made homemade dessert or gift for up to three months! Just thaw in the fridge for an hour or two. They are my little secret stash of happiness for busy days or unexpected guests.
Your Coconut Ball Questions, Answered!
Q: My mixture is too sticky to roll! What did I do wrong?
A: This usually means you might have added a bit too much condensed milk, or your coconut wasn’t as absorbent. Don’t panic! Just pop the whole mixture into the fridge for 15-20 minutes. This will firm up the fats and make it much easier to handle. You can also lightly dust your hands with powdered sugar to prevent sticking.
Q: Can I use unsweetened coconut instead?
A: You can, but be aware that it will significantly change the final product. The balls will be much less sweet and the texture will be a bit drier. If you use unsweetened coconut, I’d recommend increasing the condensed milk by a tablespoon or two and tasting the mixture before rolling to see if you’d like to add a bit more sugar.
Q: Why did my chocolate coating turn thick and clumpy?
A: That means your chocolate likely “seized,” which usually happens if a tiny bit of moisture got into it while melting. Even a drop of water or steam can do it! Always make sure your bowls and tools are completely dry. To fix seized chocolate, you can try stirring in a teaspoon of neutral oil (like vegetable or coconut oil) at a time until it becomes smooth again.
Q: How long will these keep fresh?
A: Stored in an airtight container in the refrigerator, they will stay perfectly fresh and delicious for up to 2 weeks. They also freeze beautifully for up to 3 months!

Coconut Balls
Description
Hello, flavor-lovers! These little bites are chewy, sweet, and packed with tropical coconut goodness—no oven required! Perfect for last-minute holiday gifts, potlucks, or a simple treat with tea or coffee. Quick to make, fun to roll, and deliciously nostalgic, they’ll transport you to a sunny beach even on snowy days.
Ingredients
-
2 cups shredded sweetened coconut (reserve ½ cup to toast for extra flavor)
-
1 cup powdered sugar
-
½ cup sweetened condensed milk (or full-fat coconut cream for dairy-free)
-
1 tsp vanilla extract (or coconut extract)
-
Pinch of salt
-
8 oz white or dark chocolate (optional, for dipping)
Instructions
-
Mix the Base: In a large bowl, combine coconut, powdered sugar, and salt. Stir in condensed milk and vanilla. Mix by hand until the mixture sticks together like soft dough.
-
Adjust Texture: If too dry, add condensed milk 1 tsp at a time. If too wet, add powdered sugar or coconut until manageable.
-
Shape the Balls: Line a baking sheet with parchment paper. Use a small scoop or your hands to roll 1-inch balls. Lightly dampen palms to prevent sticking.
-
Chill: Refrigerate for at least 30 minutes to firm up.
-
Optional Chocolate Dip: Melt chocolate slowly (double boiler or microwave in 20-second bursts). Dip chilled balls halfway, letting excess drip off. Place on parchment and sprinkle with extra coconut if desired.
-
Final Chill: Refrigerate for 20 more minutes until chocolate is firm.
Notes
-
Almond Joy: Press a whole almond into each ball before dipping in dark chocolate.
-
Key Lime Pie: Add 2 tbsp lime juice + 1 tsp lime zest; dip in white chocolate.
-
Mocha Madness: Mix in 1–2 tsp instant espresso powder; dip in dark chocolate.
-
Roll & Coat: Skip chocolate; roll in extra coconut, crushed nuts, or sprinkles.
Nutritional Information
*Please note: This is an estimate per coconut ball (without chocolate coating) generated by a nutrition calculator and should be used for informational purposes only.*
- Calories: 100kcal
- Fat: 5g
- Saturated Fat: 4g
- Carbohydrates: 13g
- Sugar: 11g
- Protein: 1g
- Sodium: 15mg
Prep Time: 15 mins | Chill Time: 50 mins | Total Time: 1 hour 5 mins | Yield: ~25 balls
Final Thoughts: A Little Bit of Sweetness to Hold Onto
And just like that, you’ve done it. You’ve created a batch of pure, uncomplicated joy. These little coconut balls are more than just a treat; they’re a testament to the fact that the most delicious things in life don’t have to be complicated. They’re proof that a few simple ingredients and your own two hands can create something truly magical.
I hope this recipe becomes a staple in your kitchen, your own secret weapon for spreading a little sweetness. I hope you make them for someone you love, or better yet, make them with someone you love, getting coconut everywhere and laughing while you do it. Because that’s what this is really about—creating those small, sticky, happy moments that turn into the best memories.
So, whether you’re hiding a few in the freezer for yourself or boxing them up as a gift from the heart, I hope every bite reminds you of sunshine, simplicity, and the sweet satisfaction of making something wonderful.


